


Woodwind instruments have been with us for as long as we can remember. In fact, the “Neanderthal flute” found by Slovenian archaeologist Ivan Turk in 1995 is estimated to be between 43 and 67 thousand years old, making it the oldest known musical instrument.
Woodwinds produce sound by splitting the air blown into them on a sharp edge. Despite the name, though, they can be made from any material, not just wood. 🙂 Because of the very simple concept and no need for additional hardware, woodwinds are perfect for our first steps into 3D printing of musical instruments. Let’s get started!
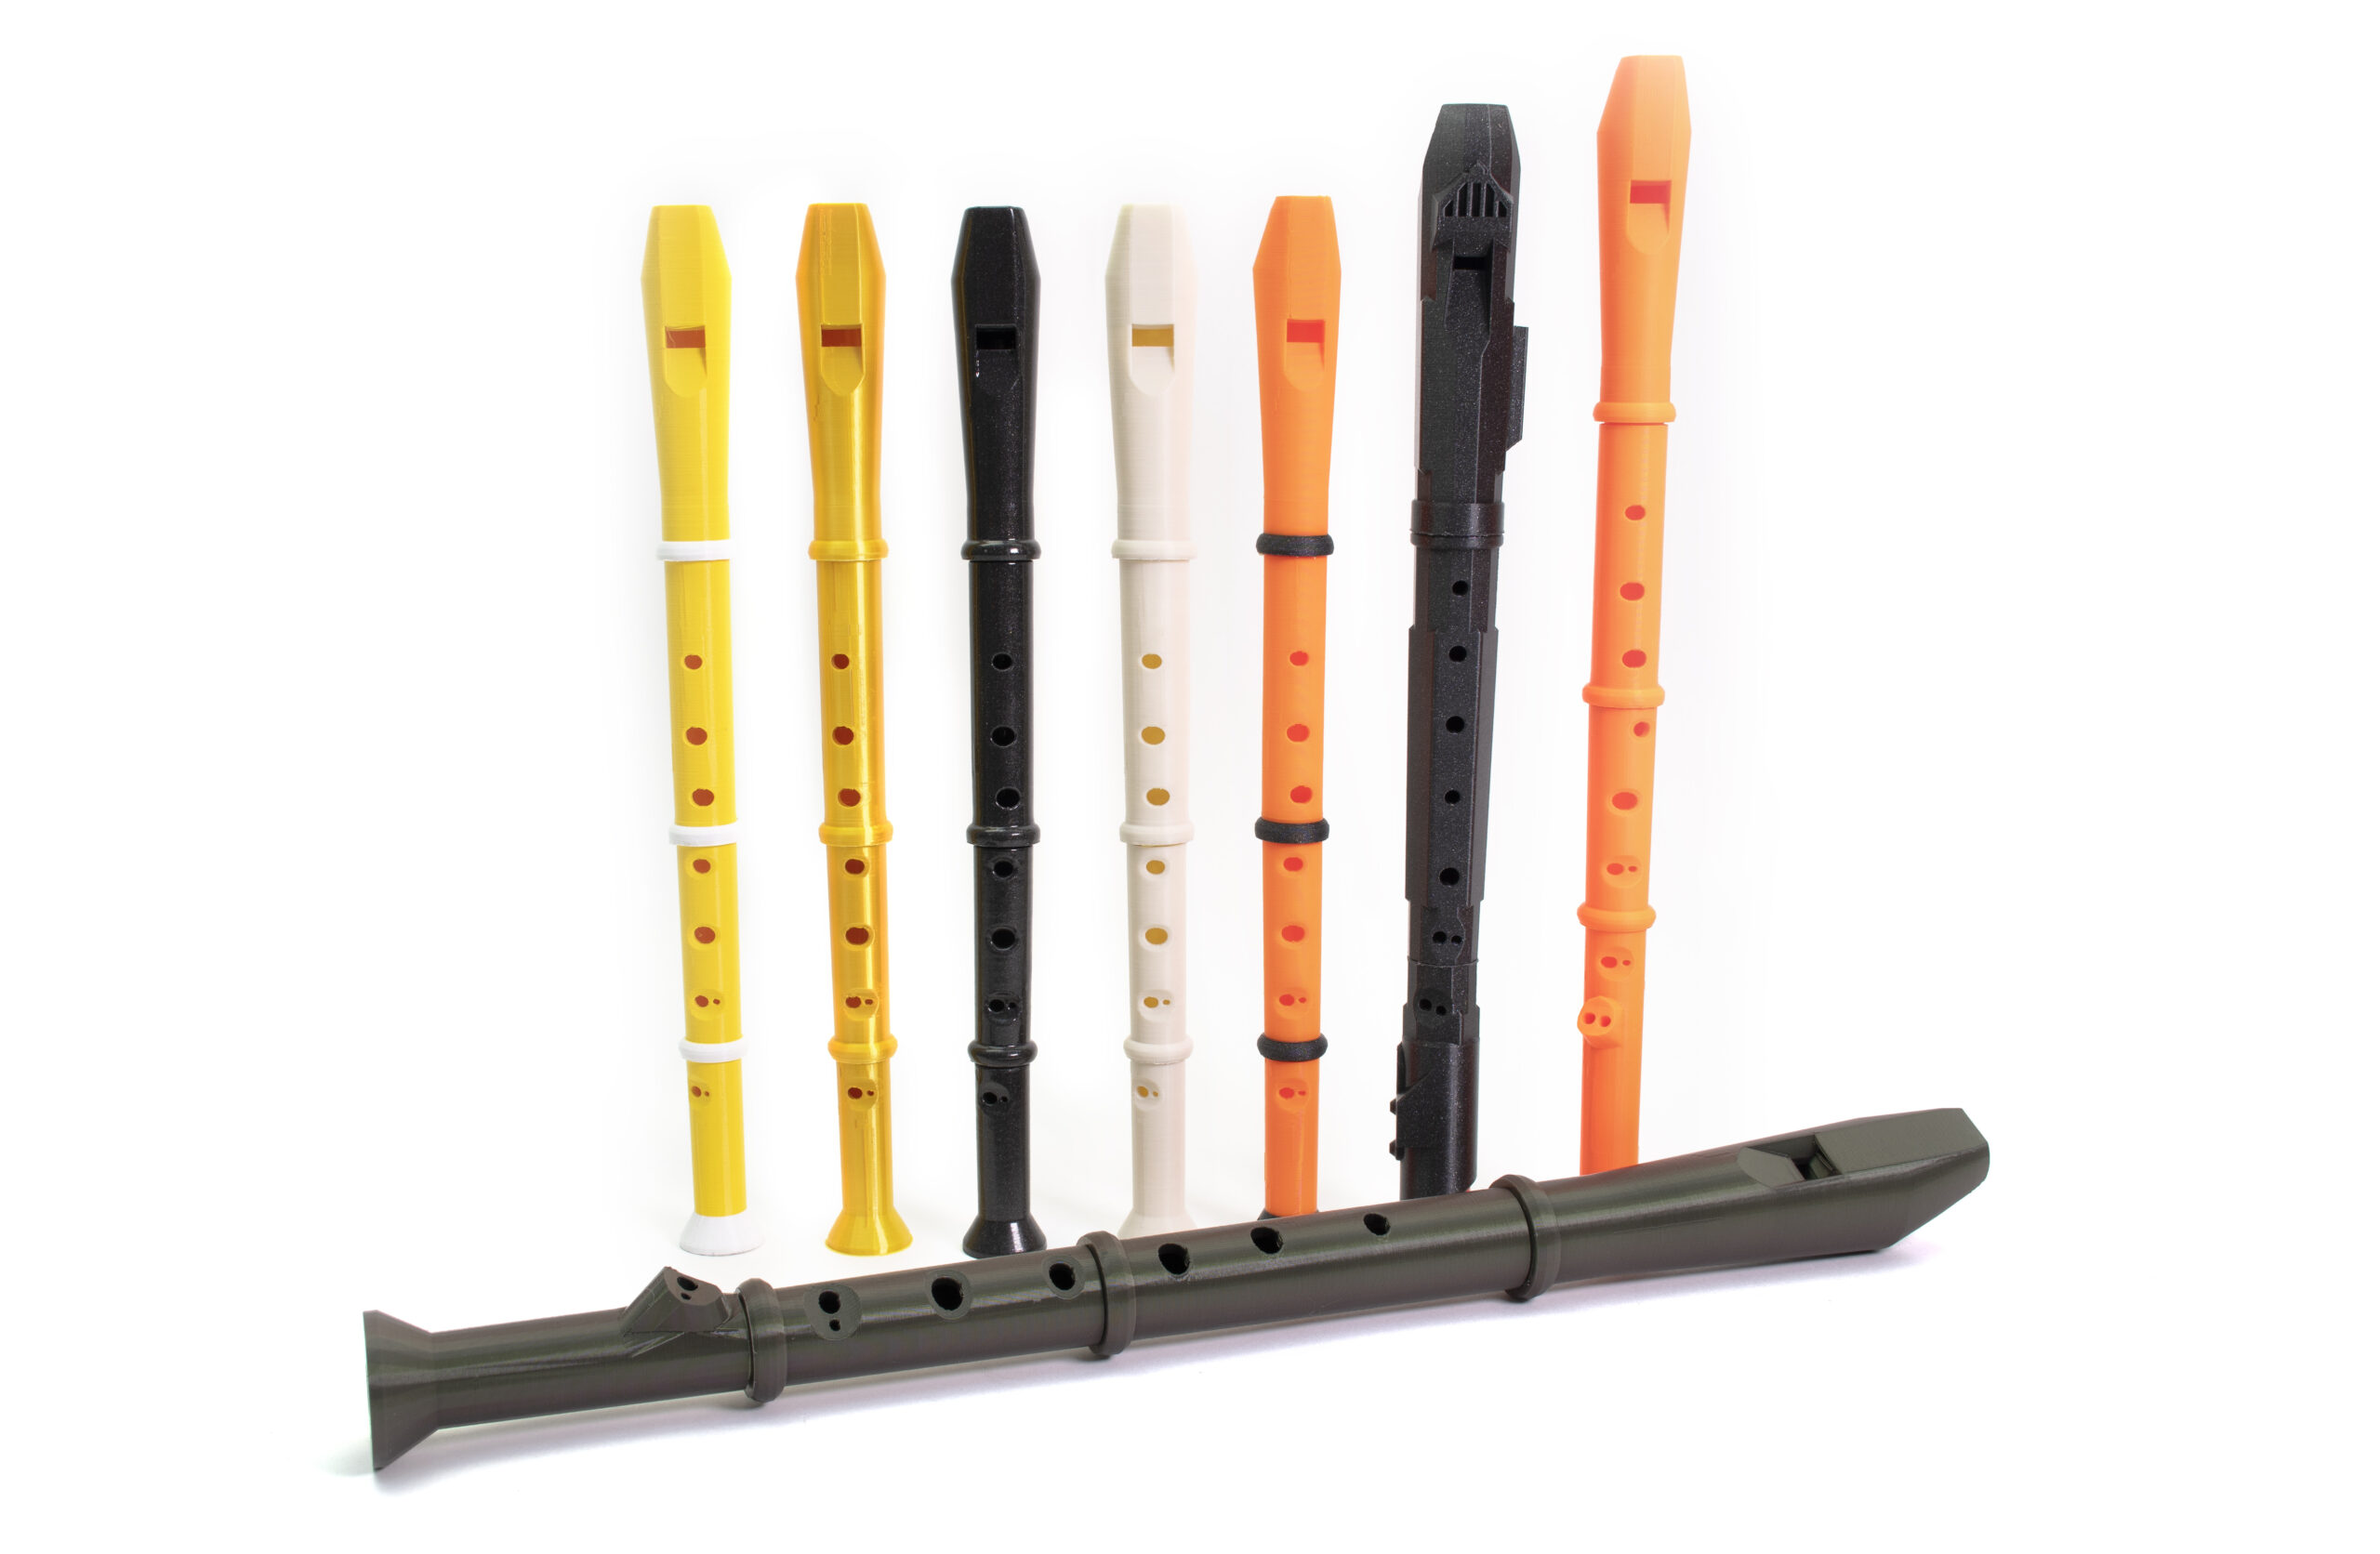
3D printed recorder/flute
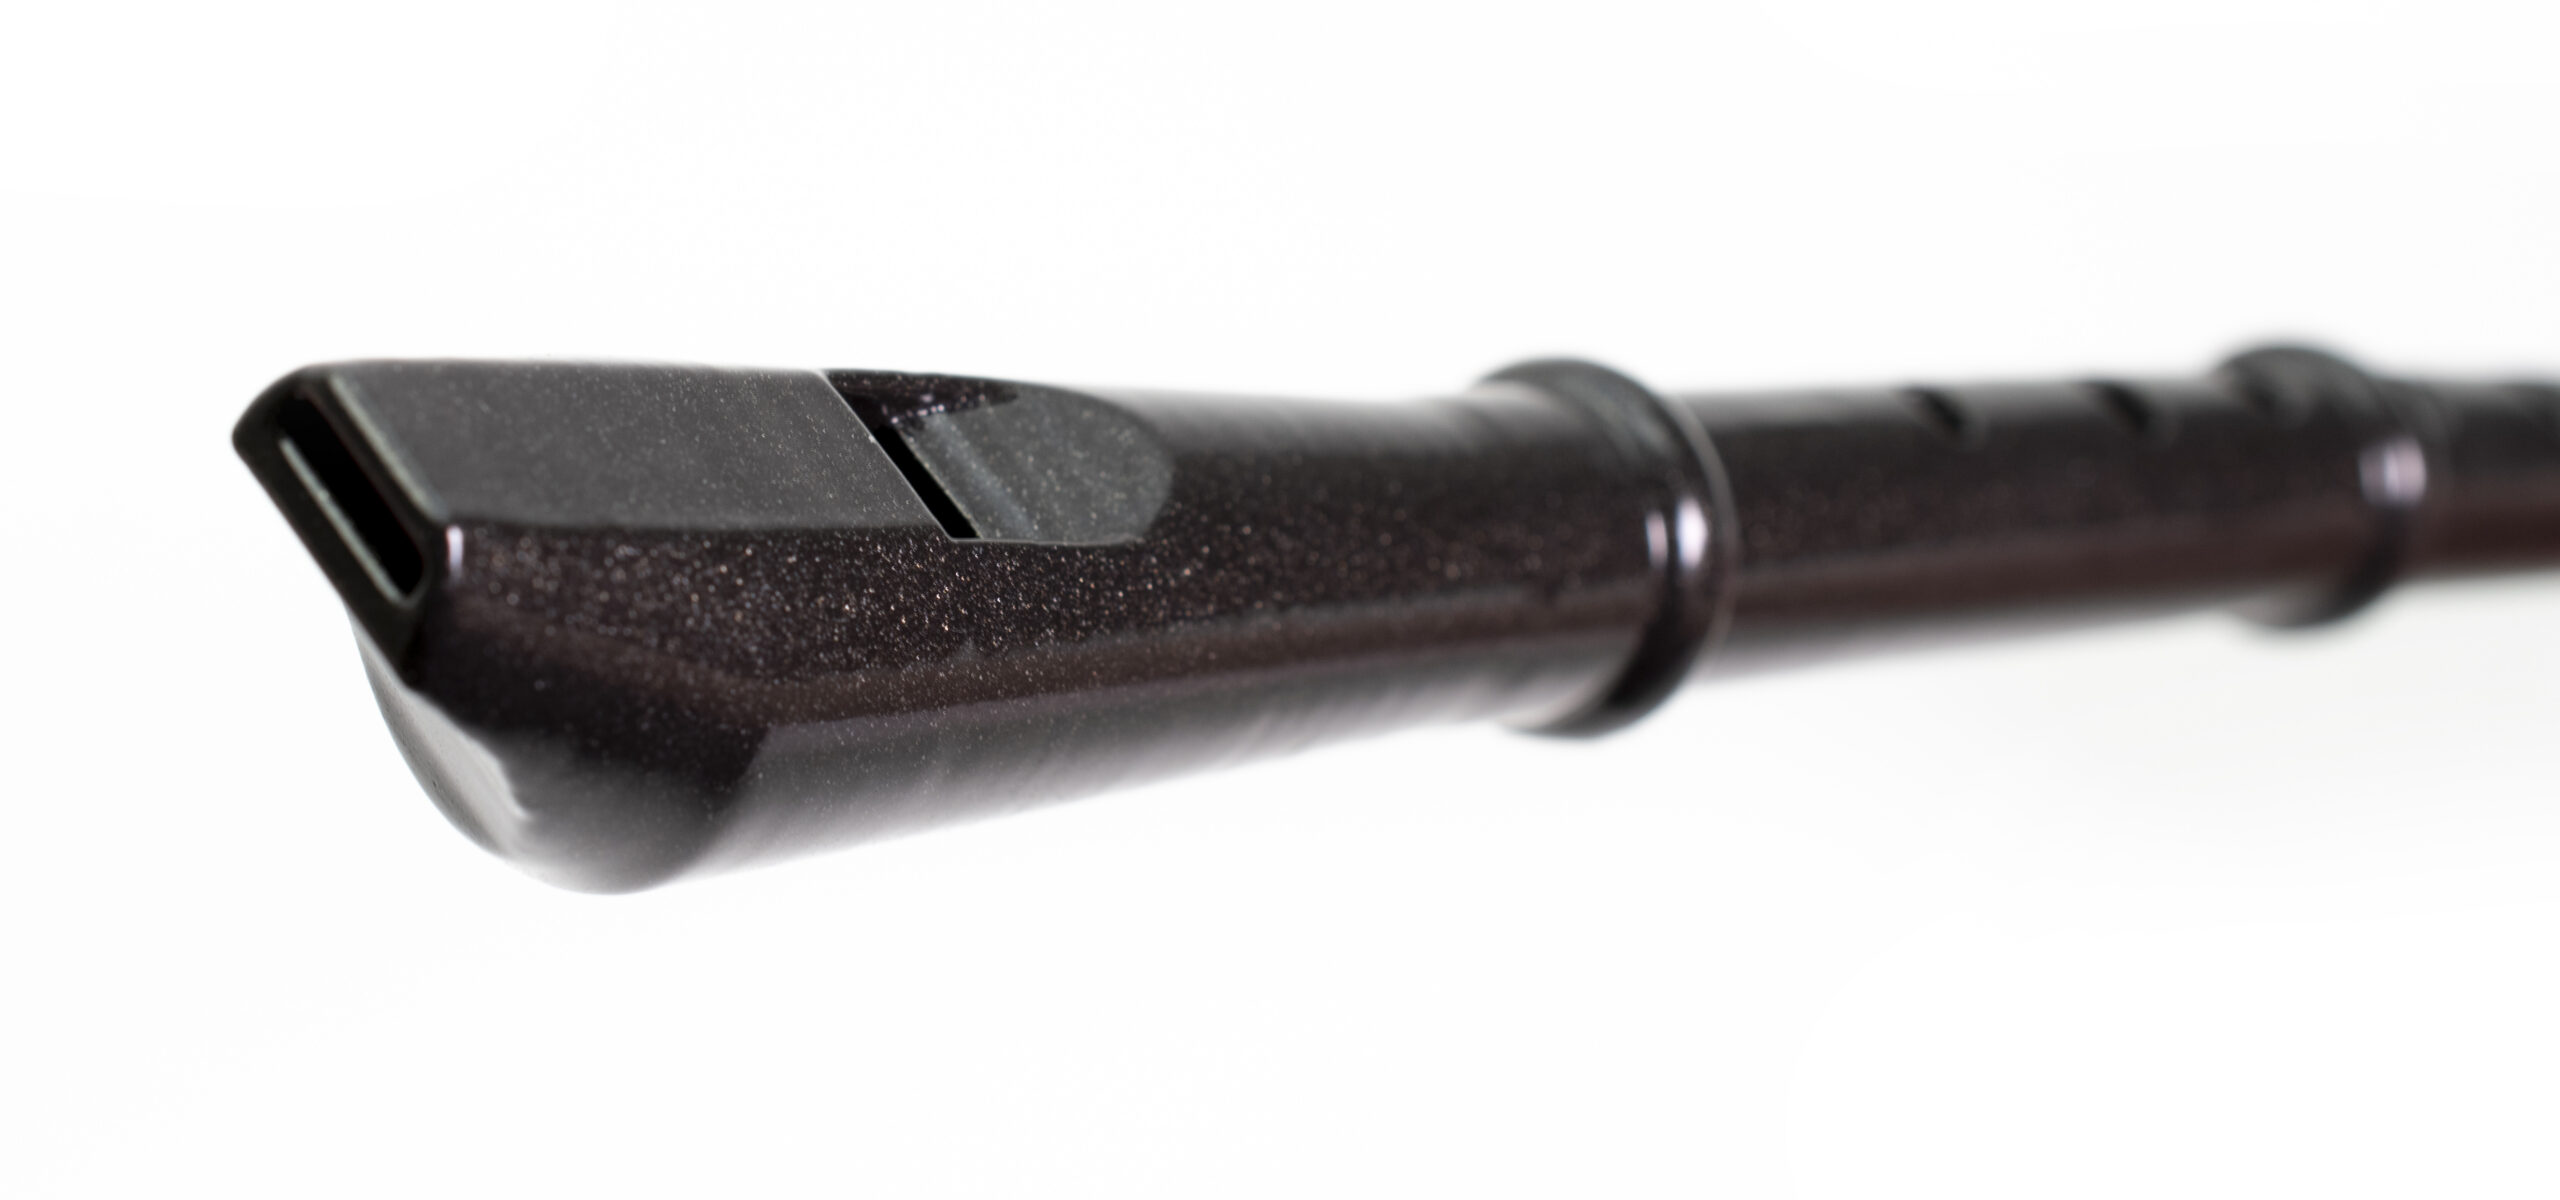
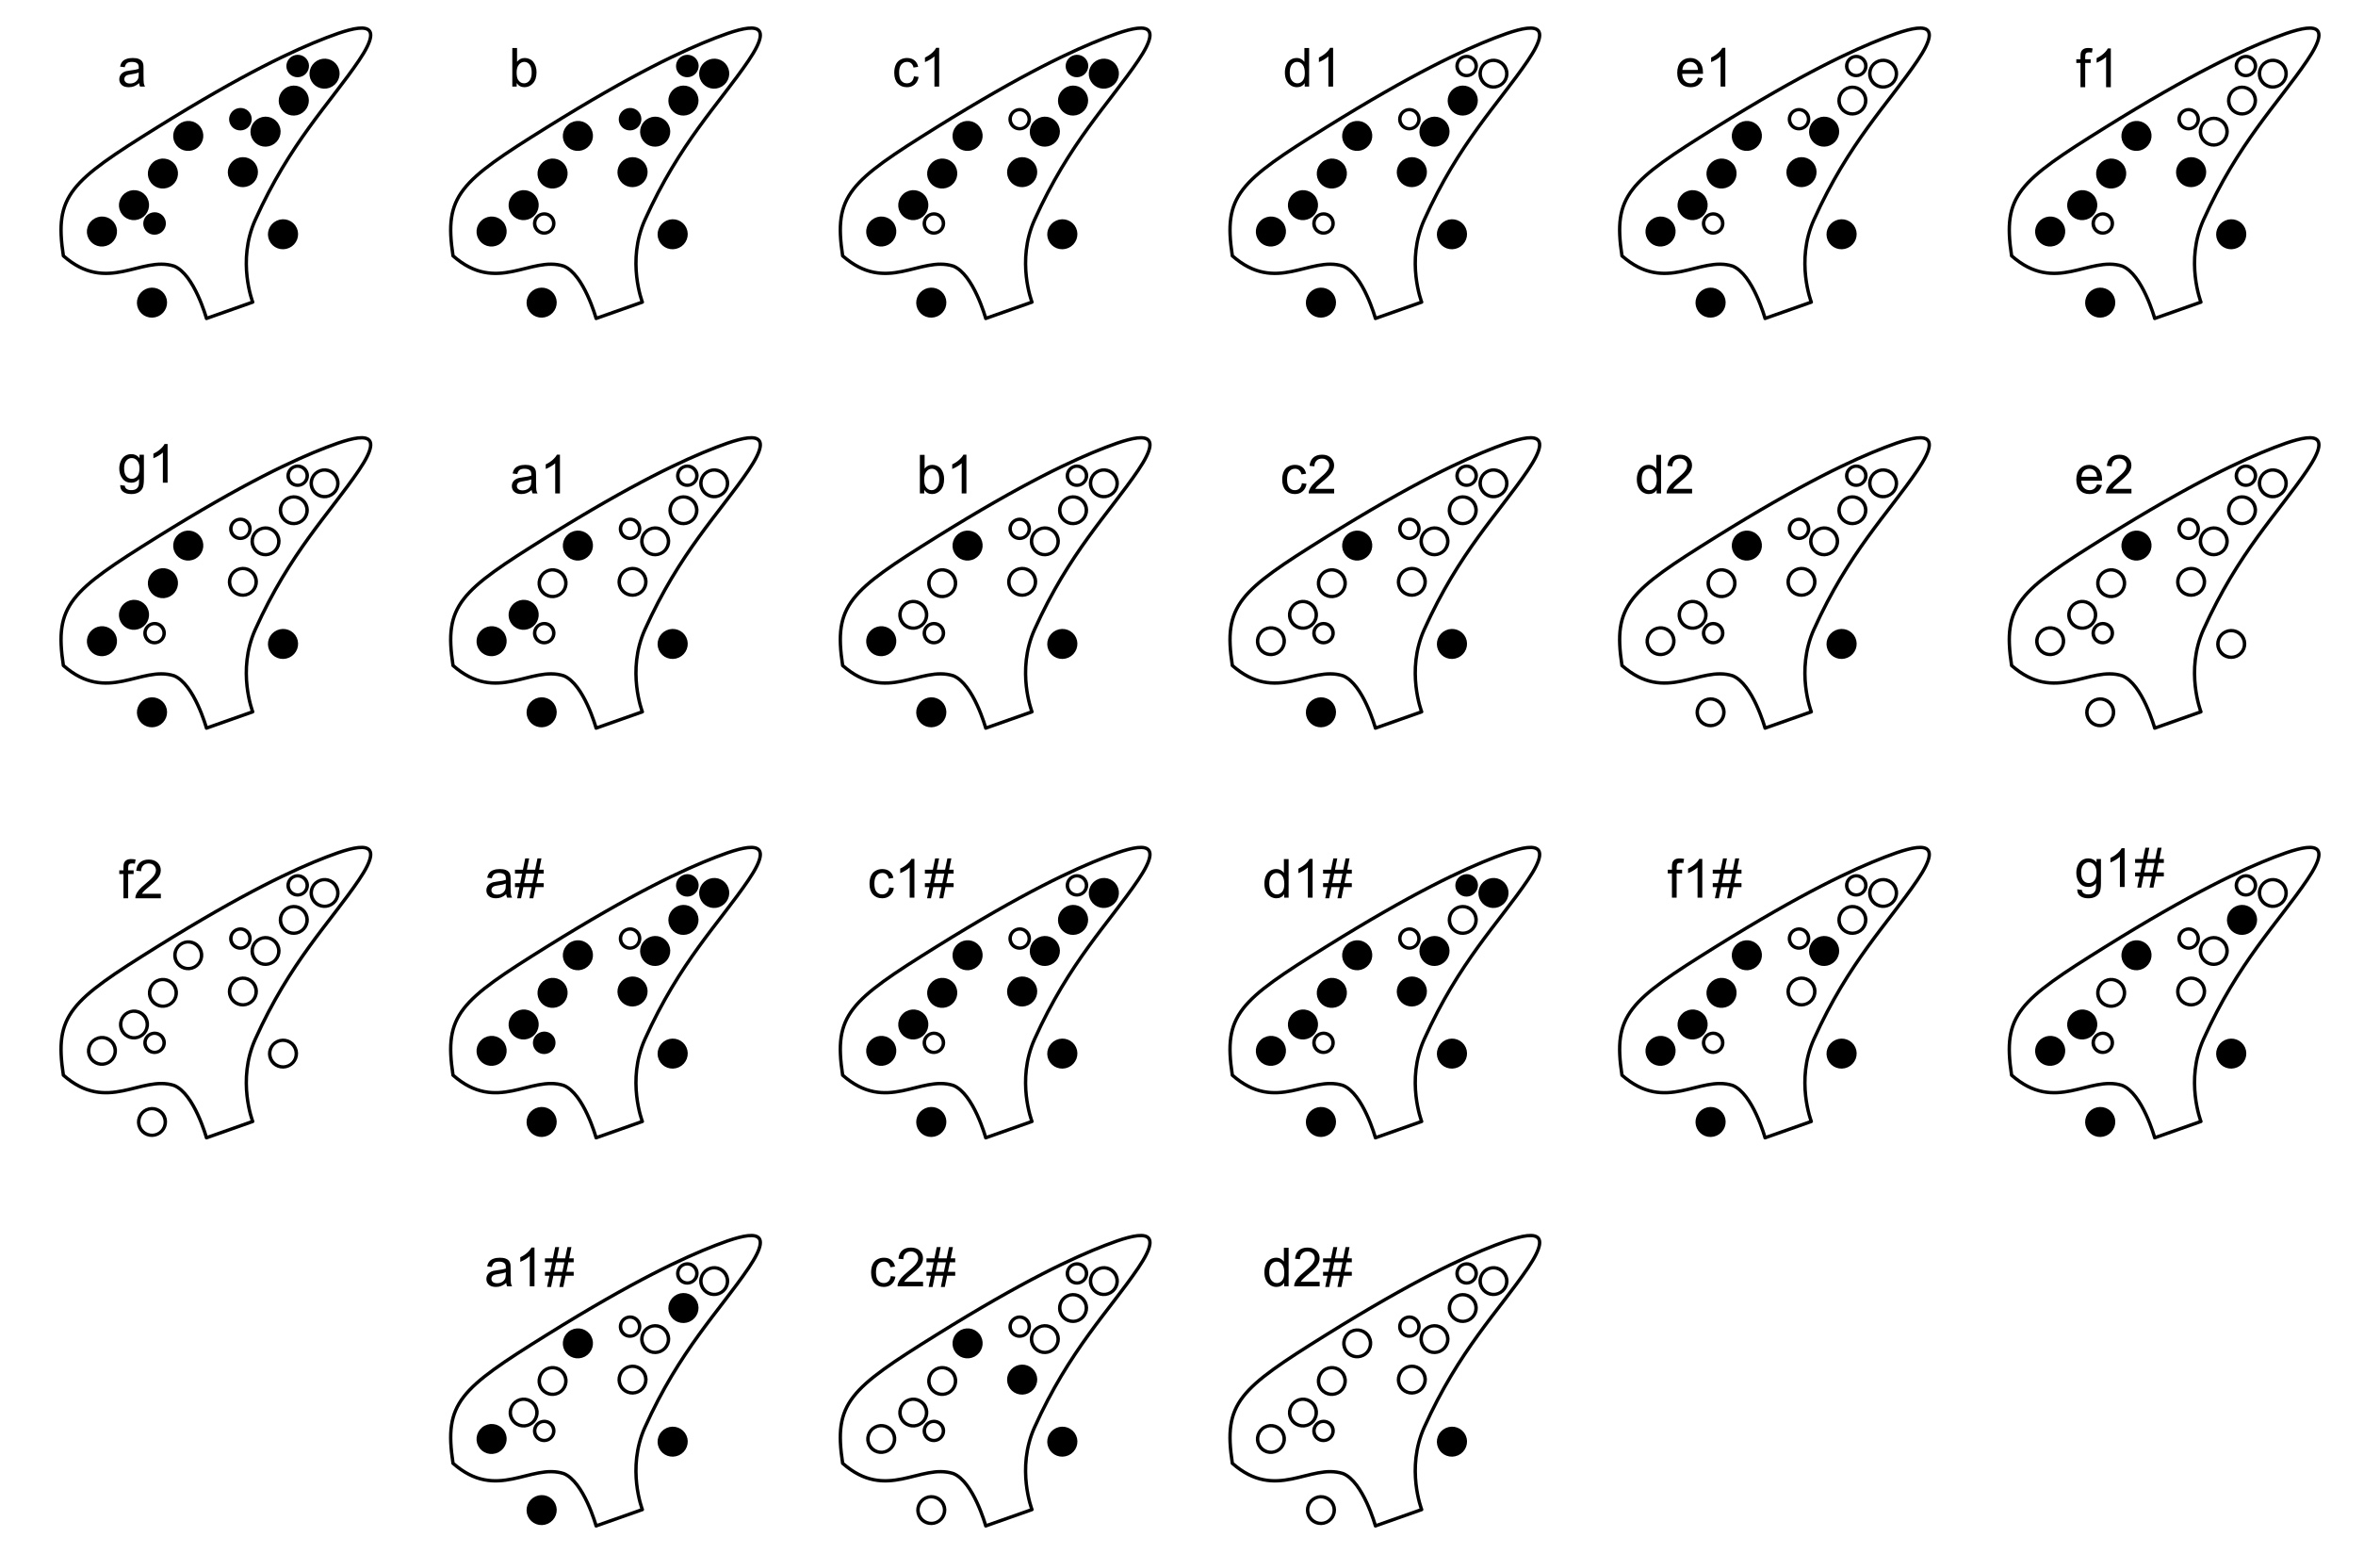
The recorder has a mouthpiece that is played like a whistle – by blowing in it. Following the mouthpiece is a hollow cylinder with finger holes, which are used to produce different notes. Typically a recorder has 7 holes on top, three for the left hand and four for the right hand. Additionally, one extra hole is on the underside of the recorder and the left-hand thumb is used to cover it.
There are two different fingering layouts:
- Baroque – hole 4 is smaller than hole 5 (our choice)
- German – hole 5 smaller than hole 4
The idea behind the German layout was to make fingering easier. But these days, due to its many limitations, you will only find German fingering on recorders created exclusively for educational purposes. If you played on a recorder in an elementary school, though, this might be the layout you’ve been taught.
The benefit of the Baroque layout, among other things, is how all baroque recorders use the same fingerings for all notes regardless of size. An F# on a soprano is the same as an F# on a tenor recorder. No need to learn anything new, just pick it up and go. For this reason, we decided to print our recorders using the Baroque layout.
Printing
Soprano recorders, the smallest from the group, are typically over 30 cm tall. Luckily, we can split the recorder into multiple pieces and it’s something that’s commonly done even to off-the-shelf recorders. This will make it easy to fit all of the pieces on almost any 3D printer and, as an added bonus, easier to clean.

PrusaPrinters user Lysithea81 has done exactly that with her recorder model and it’s a really nice one! It can be printed in under 4 hours and it doesn’t require supports. This design only consumes about 60g of filament, which makes it incredibly cheap. Though it has to be said that store-bought plastic recorders are usually not very expensive either. Because the individual pieces are still fairly tall and have a small contact area with the bed, it is worth turning on the brim function.
It’s freeing that you can print it in any color you want and the color schemes can be even cooler if you use the Color change feature in PrusaSlicer. Not only that, you can turn a soprano recorder into an alto one by scaling it to 150%. Though the increased size of the fipple will literally take your breath away as Lysinthea81 describes. While this one part needs a slight adjustment, the remaining parts will work without modifications. The design on PrusaPrinters thankfully includes this adjusted alto-version as well.
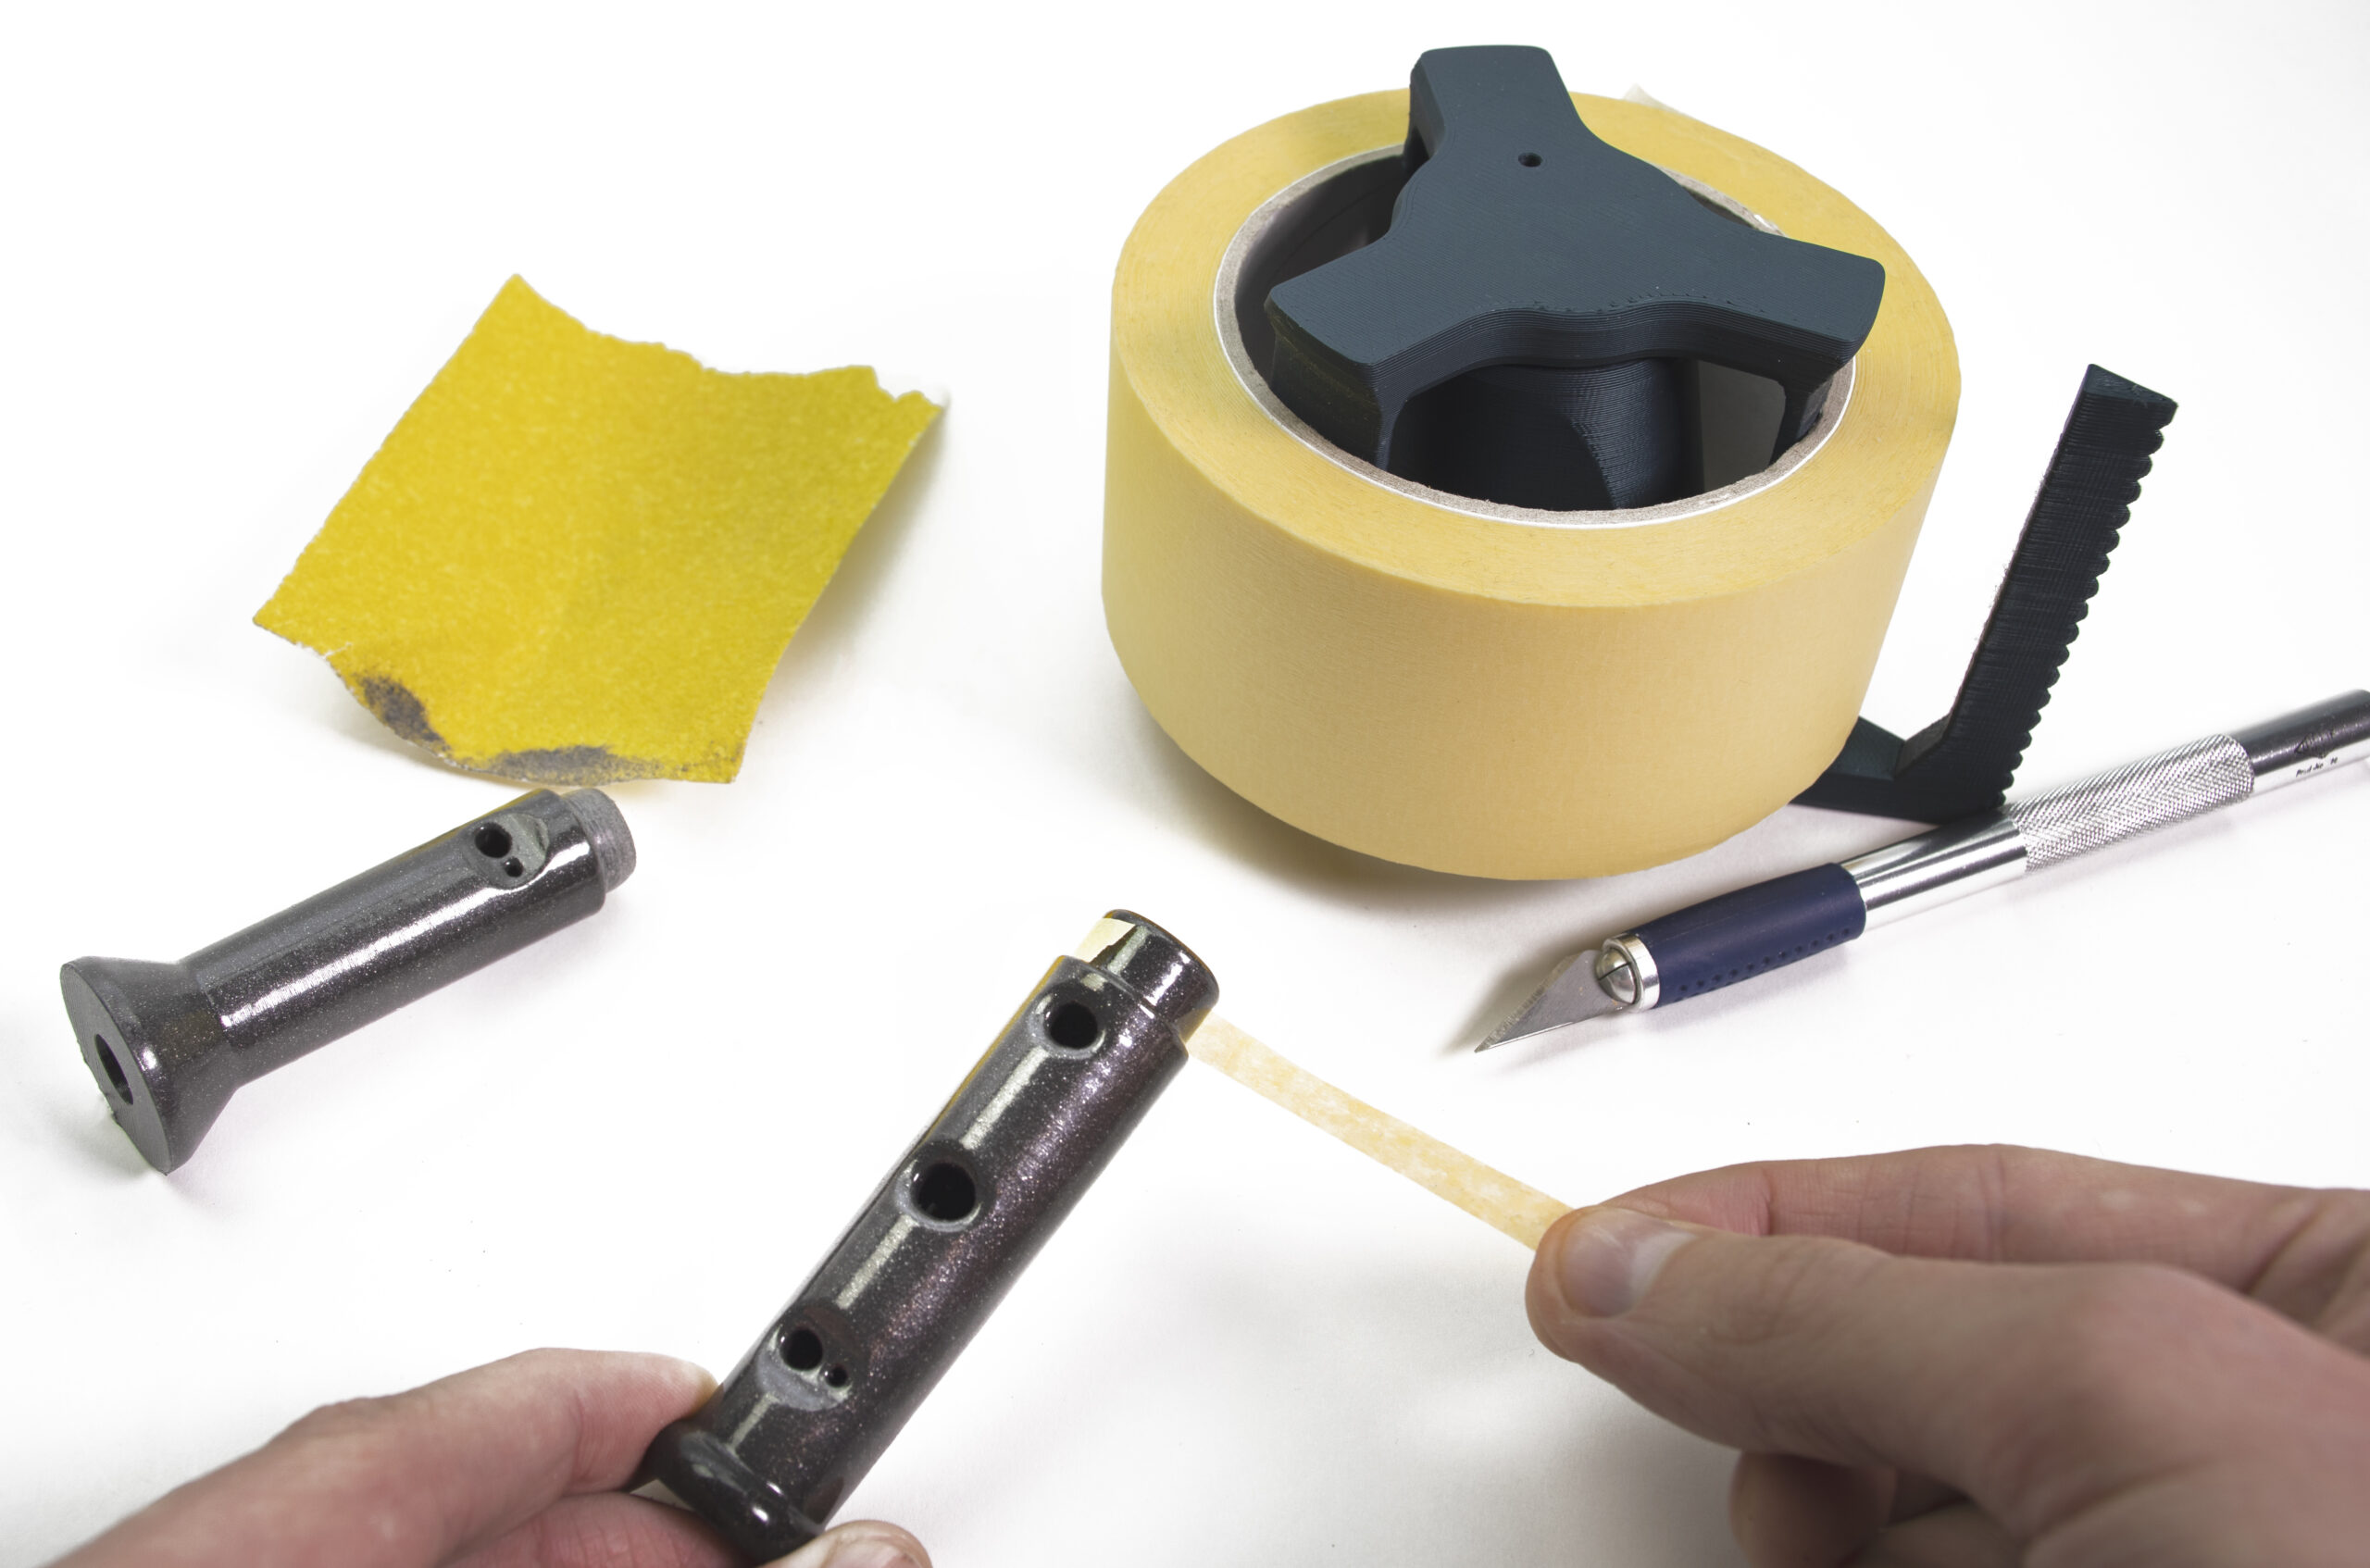
Assembly and tolerances
When assembling the parts together, the press-fit needs to be absolutely perfect to prevent any air leaks, otherwise, the recorder will sound terrible. Some connections may turn out that way right after printing and those that do not are easy to fix. If the fit is too tight and you’re unable to fully insert one part into another, use a piece of rough sandpaper to take some material away. Check the fit regularly as it’s really easy to sand away too much. If the fit is too loose, you can simply cut a piece of painter’s tape and wrap it around the printed part. The tape will compress a little bit when you put the parts together, so you can create really snug connections.
Custom shape recorders
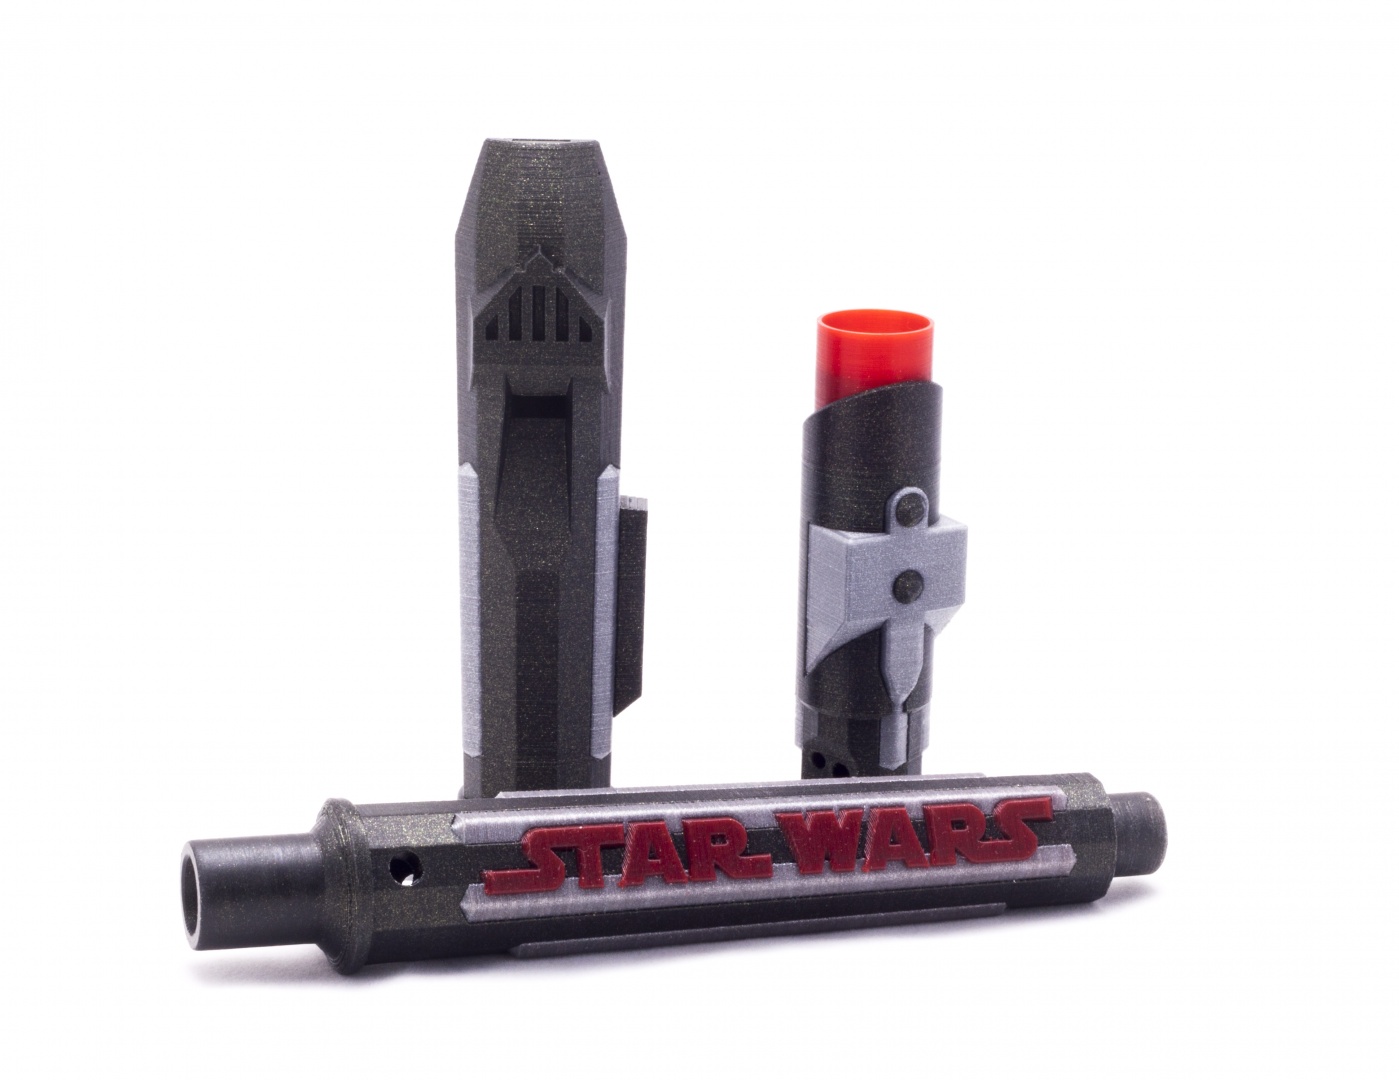
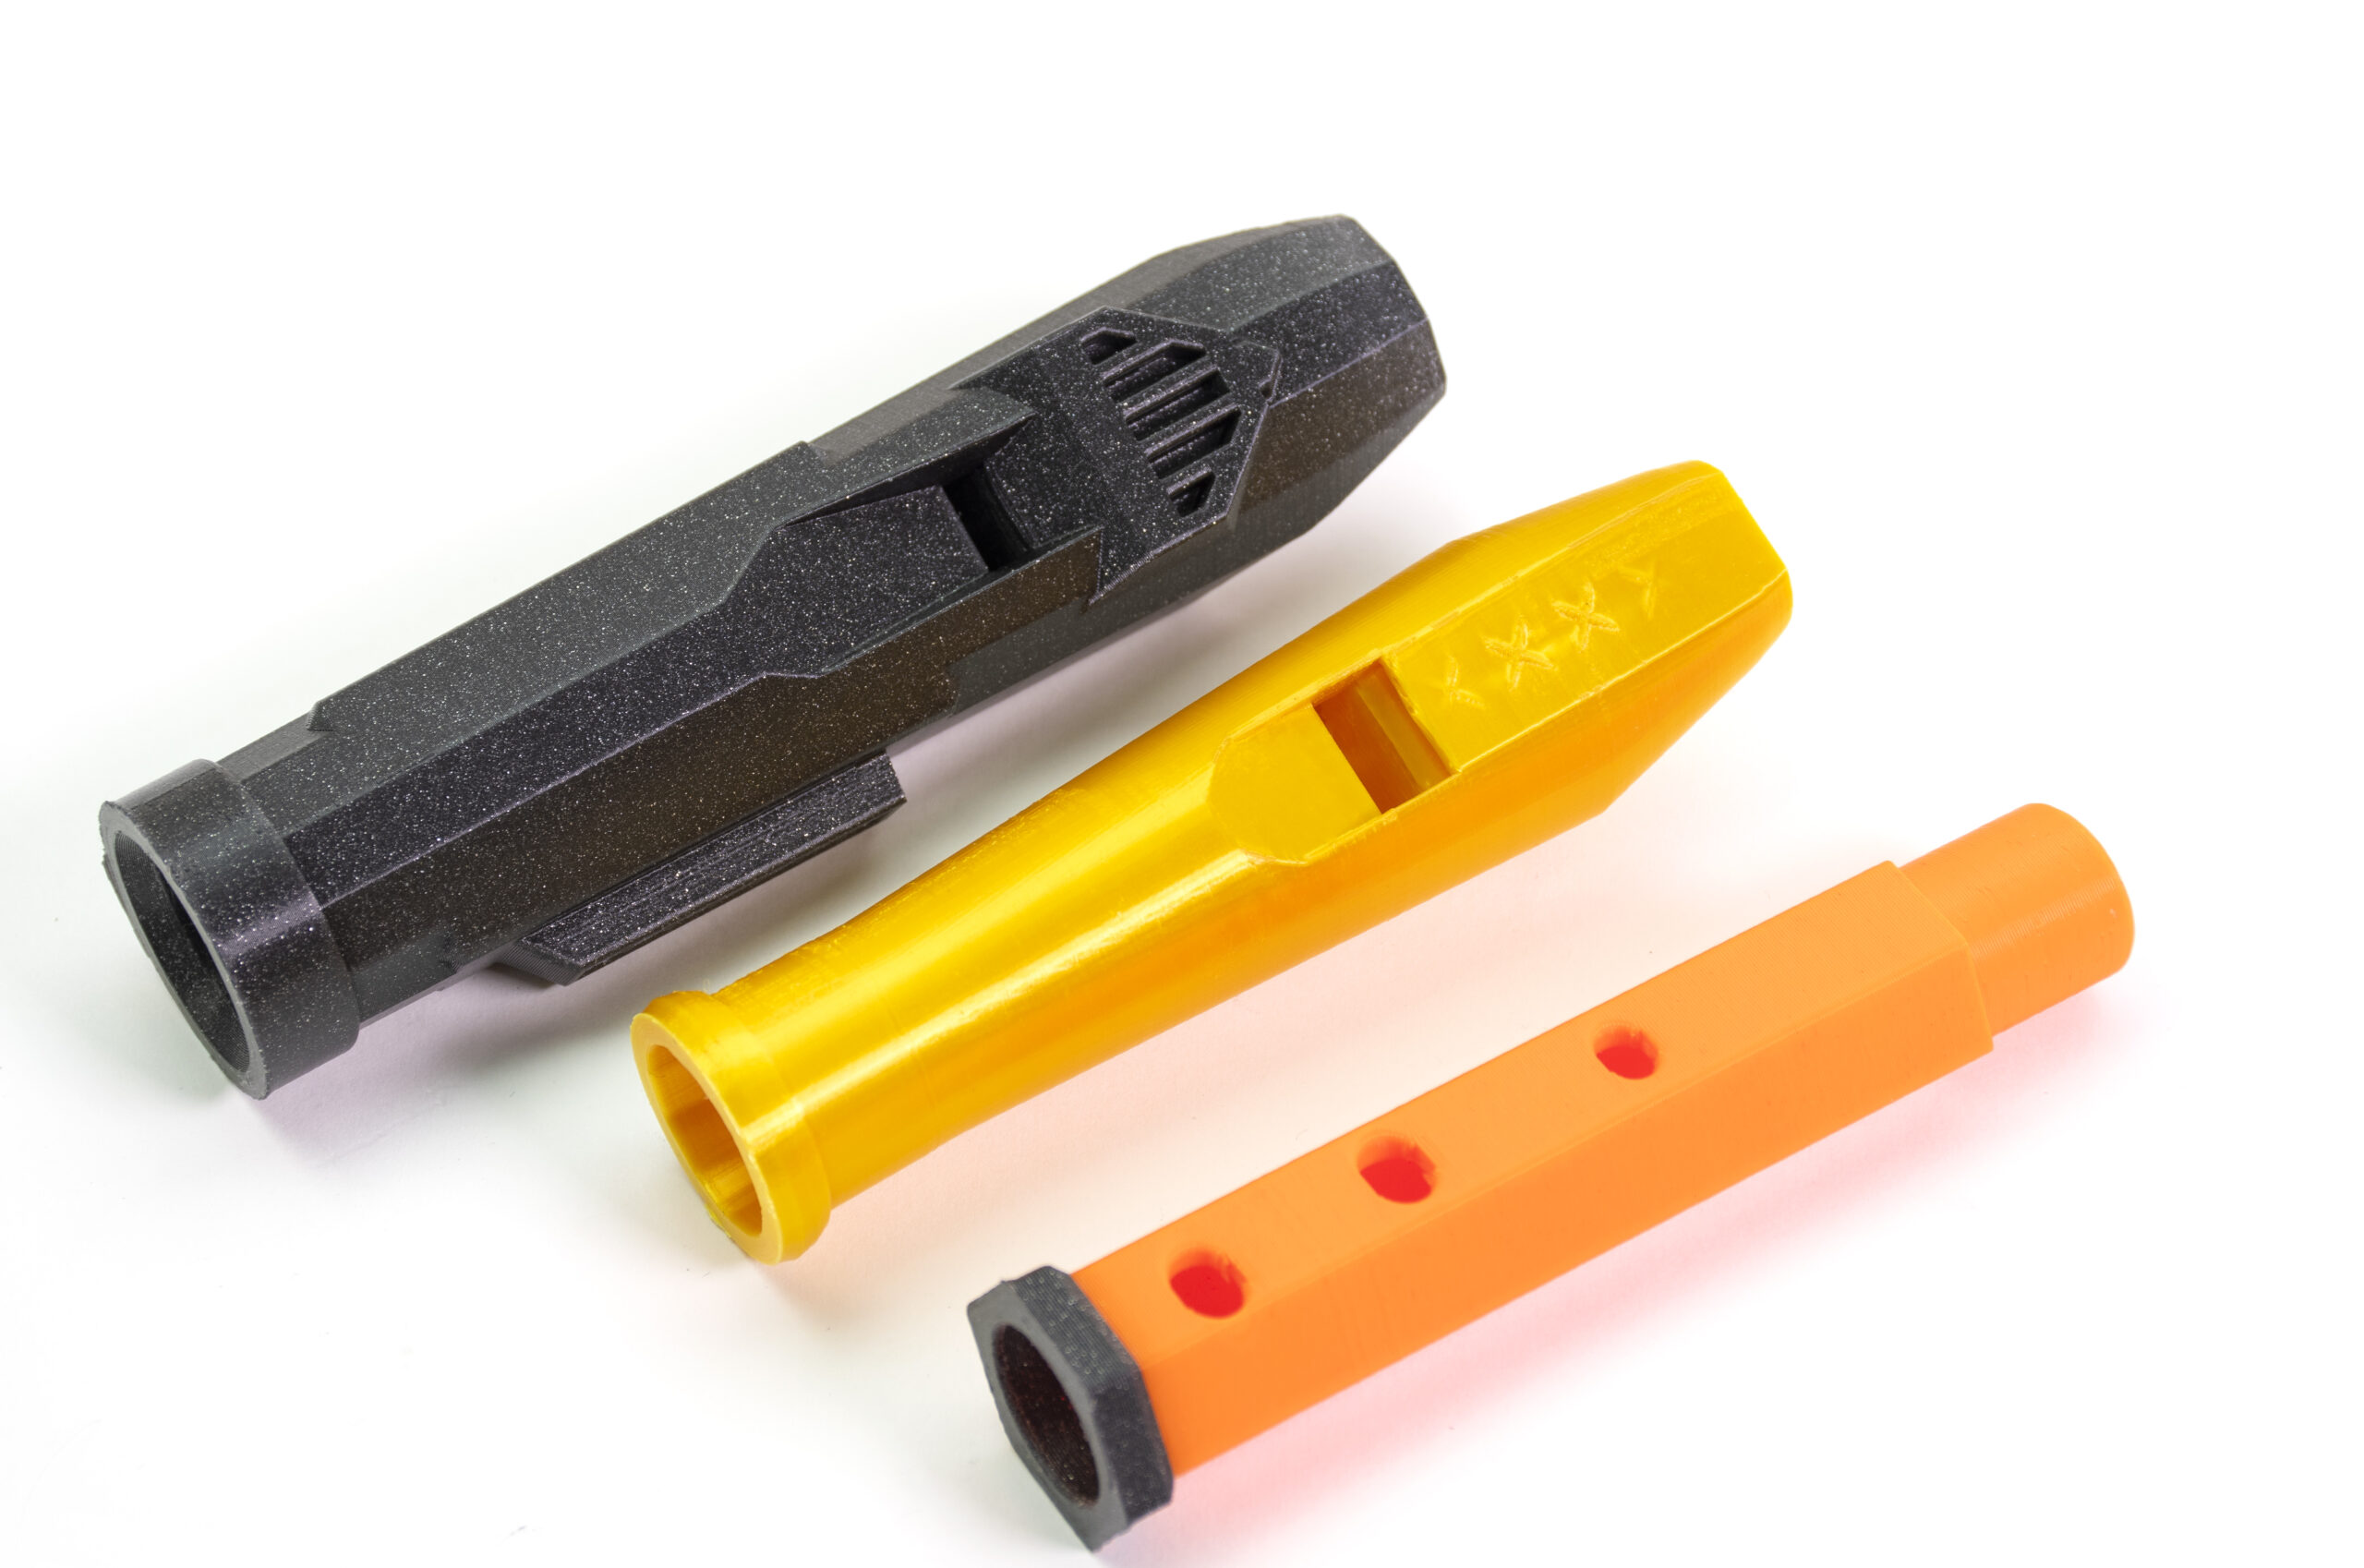
If you or your kid thought that custom colors for a recorder are cool, just think about the possibilities of customizing the shape of it! Michal Fanta, a super talented designer and for a few years now also a member of the Prusa team, has created this amazing Darth Vader recorder and even a Multi-material version of it. If looking cool wasn’t good enough, it plays really well too!
Design your own!
If you want to create your own design, we found it the easiest to import an existing recorder model into the modeling software and simply trace over the position of the finger holes. Or, to make things even easier, you can just add shapes to the existing recorder model, creating a remix. Alternatively, you can use a technical drawing to make sure all the holes are in the correct position. Different shapes will change the sound characteristics. You can even try to copy historic designs, which you’d normally have no way to try and play on.
Effect of different materials on the sound
Off-the-shelf recorders are usually made either from injection-molded ABS plastic or from wood. To an untrained ear, the difference between them isn’t huge. Plastic recorders are louder and brighter, whereas the wooden ones are typically more mellow. So how will different filament materials affect the sound?
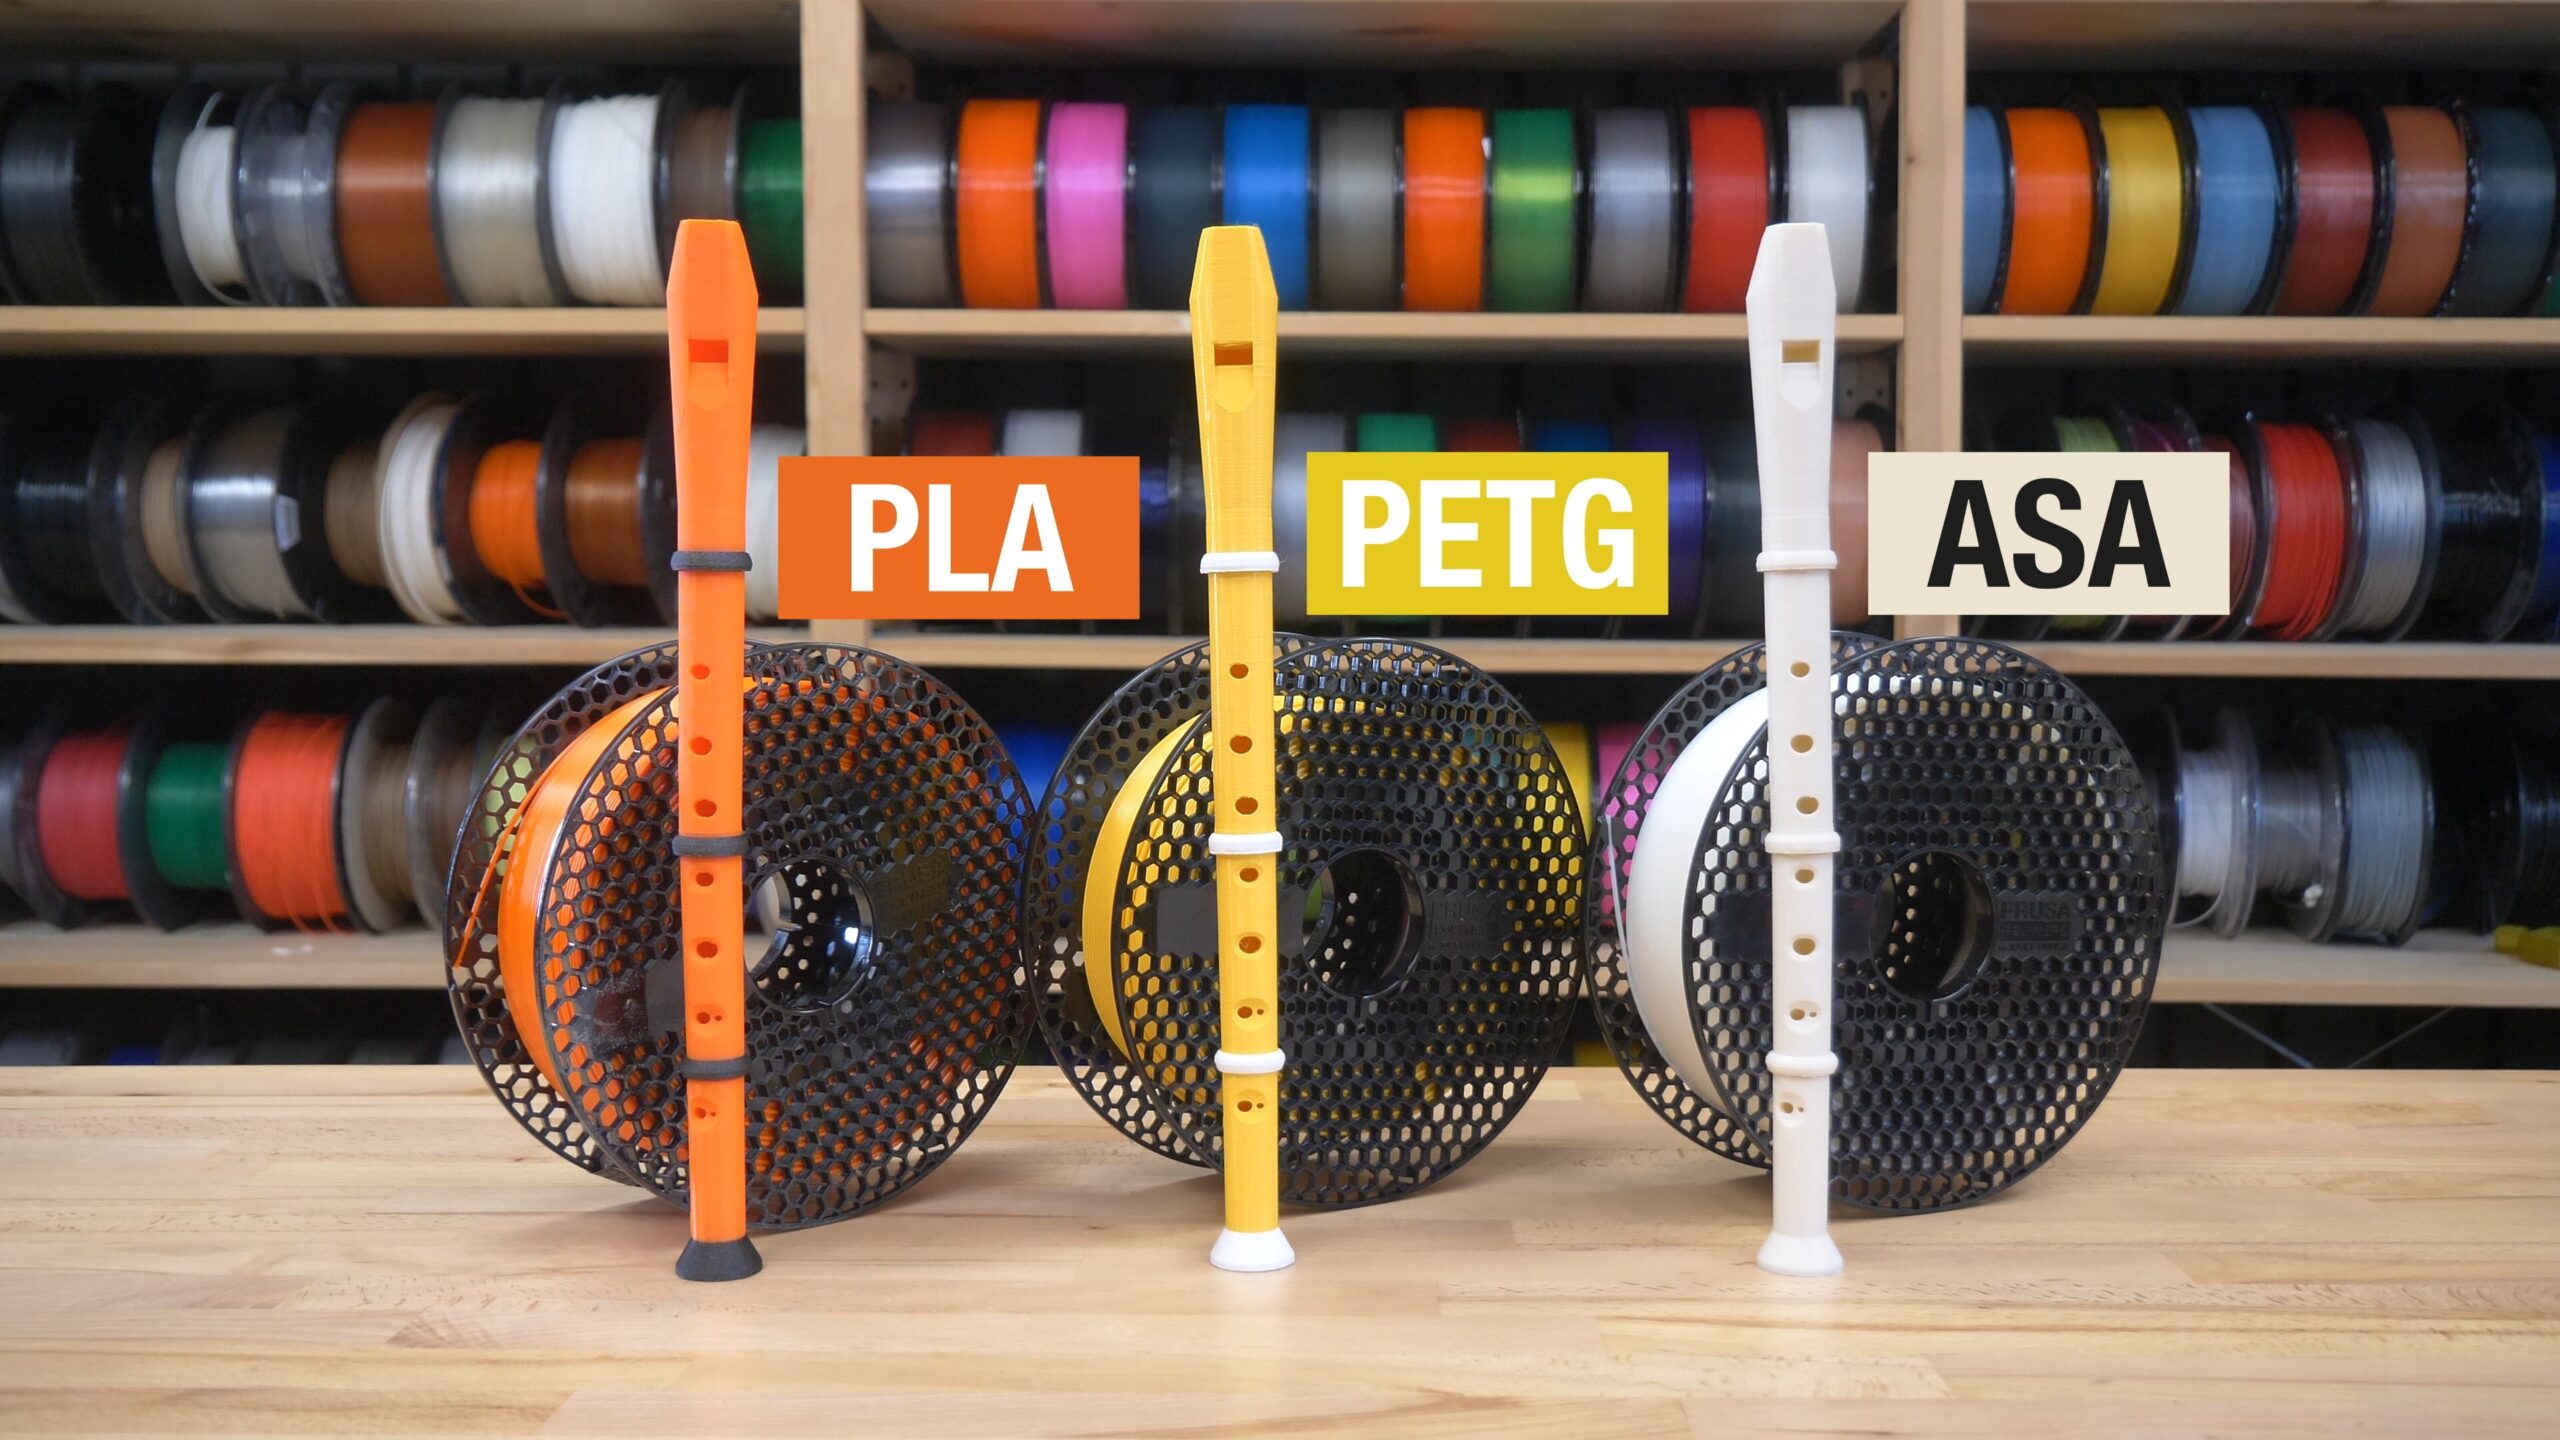
We tried printing one from Prusament PLA, PETG and ASA. The sound difference between them is, at least to us, really minor. If printed in PLA or ASA, the tone will be a bit warmer. PETG gives slightly more pronounced highs. Unless you repeatedly switch back and forth between them though, the difference is hardly noticeable.
ASA can be smoothed with acetone, so that was something we simply had to try. The difference is night and day. Smoothed ASA produces significantly louder and clearer sound. The recorder from smoothed ASA was by far our favorite. And it looks stunning too! The one in the photo below was printed from our Prusament ASA Galaxy Black.
Does it actually sound good and is it in tune?
Musical professionals are probably slapping their foreheads throughout this entire article. The exact shape of a recorder and the usage of the right material is something that has been carefully perfected over the years and here we are, just modifying the design to our whims. So let’s get it out of the way – we’re definitely not trying to build a perfectly sounding concert-grade recorder but it’s for sure very playable. We asked our friend Lucy, a student of a musical conservatory, to try them all out.
The more traditional design by Lysithea81 stays fairly well in tune across the whole two octaves. However, the fipple opening is quite large, so it needs a lot of air to play. Watch out and make sure you don’t get dizzy in more intense songs 🙂 Even though the notes were in tune relative to each other, the whole recorder was about half a step off.
The Darth Vader recorder by Michal Fanta plays more closely to a traditional recorder. The fipple size is almost identical to an off-the-shelf one. The A-note was well in tune at 440Hz. However, it doesn’t stay in tune the whole two octaves, especially the higher notes were off. To a certain degree, it’s something you can compensate for by blowing harder or softer.
Different prints of the same design behaved identically in this regard. After all, we’re talking about tenths of a millimeter when it comes to the precision of modern FDM 3D printers. So the mentioned flaws could likely be solved with a slight tweaking of the design.
Even if the recorders don’t sound perfect, you can imagine that bringing a custom colored or custom shaped recorder to a practice session/class will be great fun! But be prepared to print some extras, once you show it to others! 🙂
Ocarina (of time!)
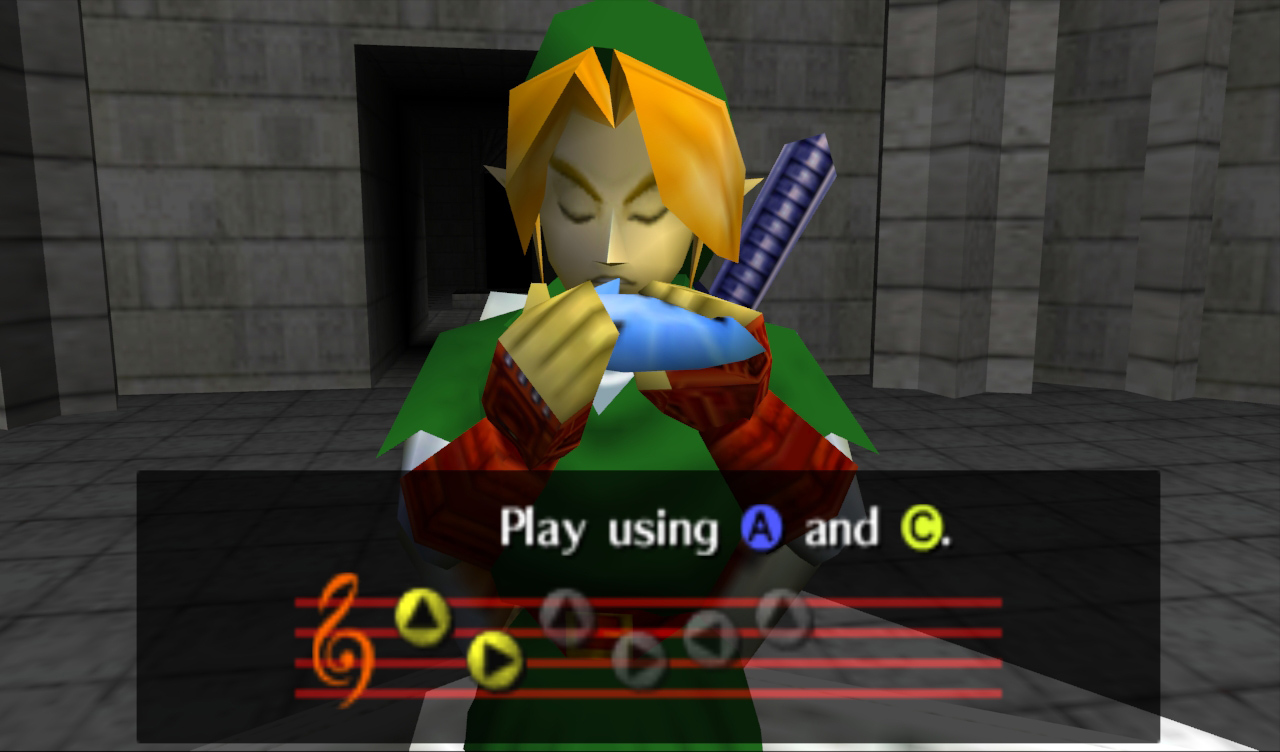
Ocarinas are another type of ancient woodwind instruments. Unlike flutes and recorders, they’re often made from earthy materials, such as clay or ceramic. Chances are you’ve heard about ocarinas thanks to the Nintendo game The Legend of Zelda: Ocarina of Time, whereas the name suggests, it plays an important role.
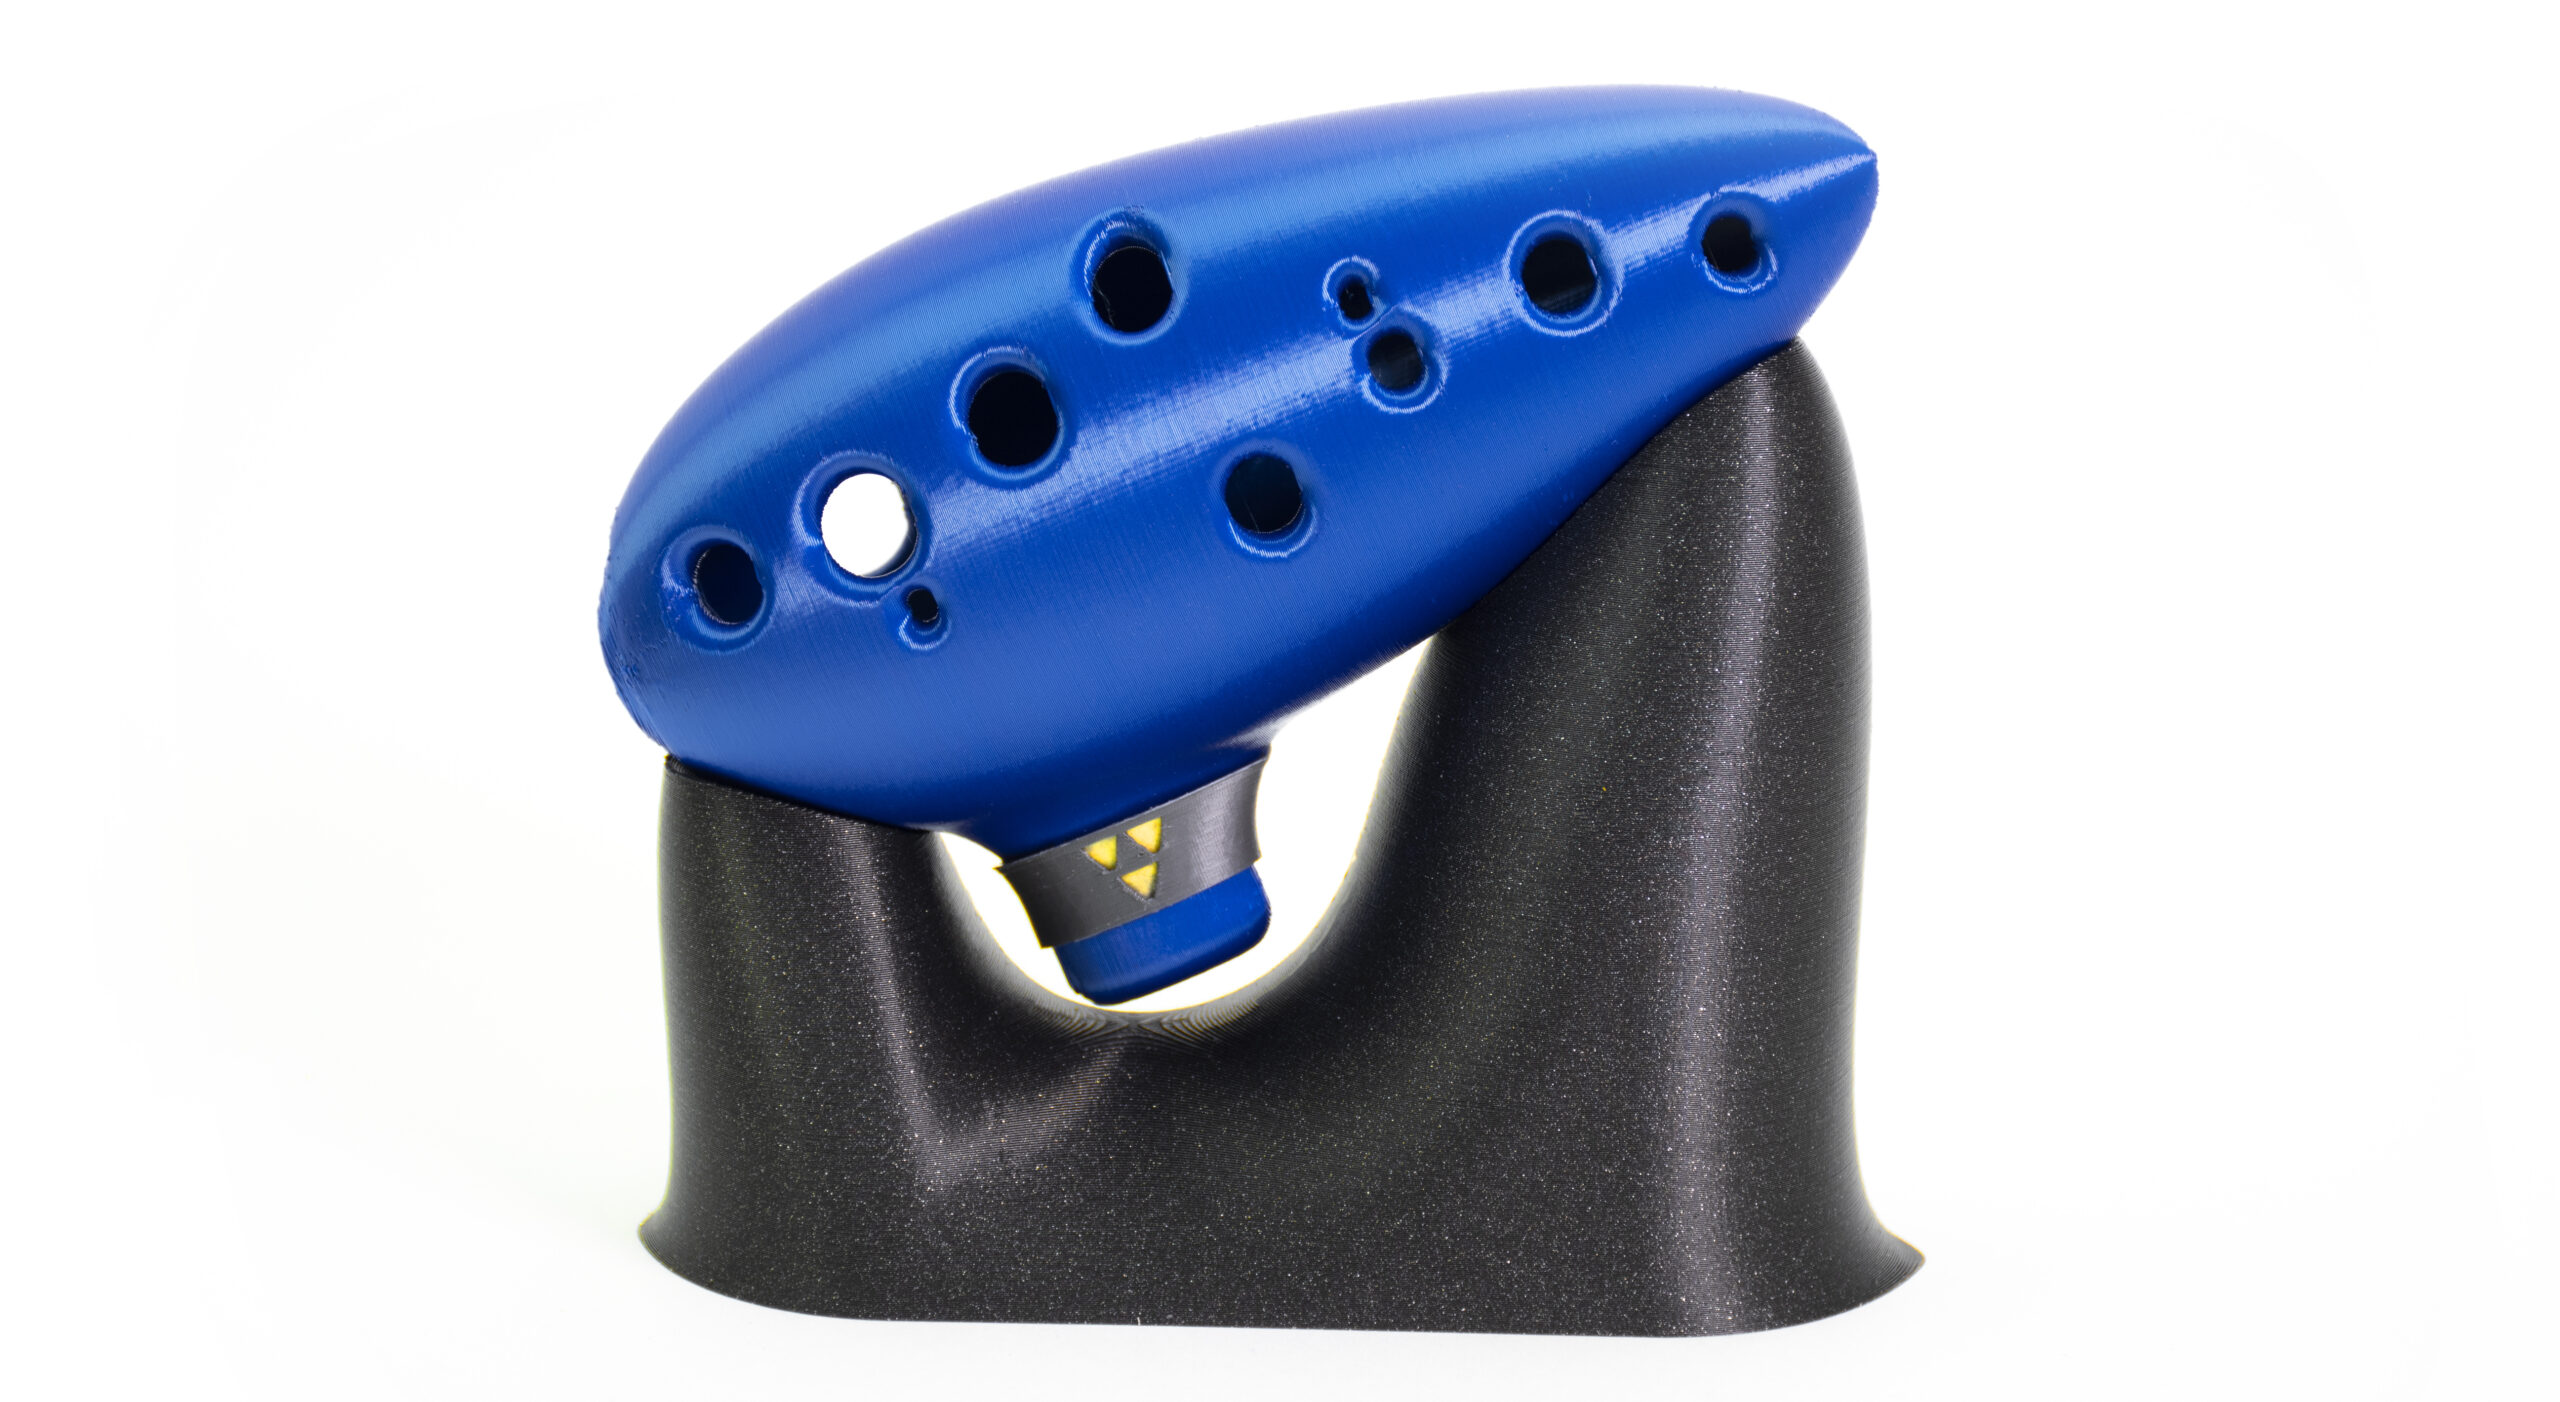
Ocarinas are quite compact, so it’s easy to print it as one piece, you’ll just have to use a bit of support material for the first few layers. We picked a great design by Rob Beggs and printed it with Prusament PLA Royal Blue, which closely matches Link’s ocarina color. To make it even better, we finished it by painting the Triforce symbol on it.
Even though it’s a bit of an exotic instrument, you can learn to play almost any song with this ocarina cheat sheet. It fits especially well for fantasy themes, such as the music from Hayao Miyazaki movies, Lord of the Rings movies or the mentioned Legend of Zelda game series.
How does it play?
To our pleasant surprise, the 3D printed Ocarina is very nicely in tune and plays well! Whether it’s because it’s printed as one piece or simply because the model has the holes in the perfect spots, we don’t know, but it sounds great!
Kazoo
The last instrument we’ll talk about is not a woodwind but a type of onion flute (a mirliton instrument). It uses a resonating membrane to amplify sound and to the displeasure of my colleagues, it works shockingly well when 3D printed! You can download the design by PistonPin from PrusaPrinters. The choice of the material for the kazoo body shouldn’t matter too much. We used Prusament PLA Azure Blue and Prusament PETG Orange. Blue and orange are complementary colors, so they look great together.
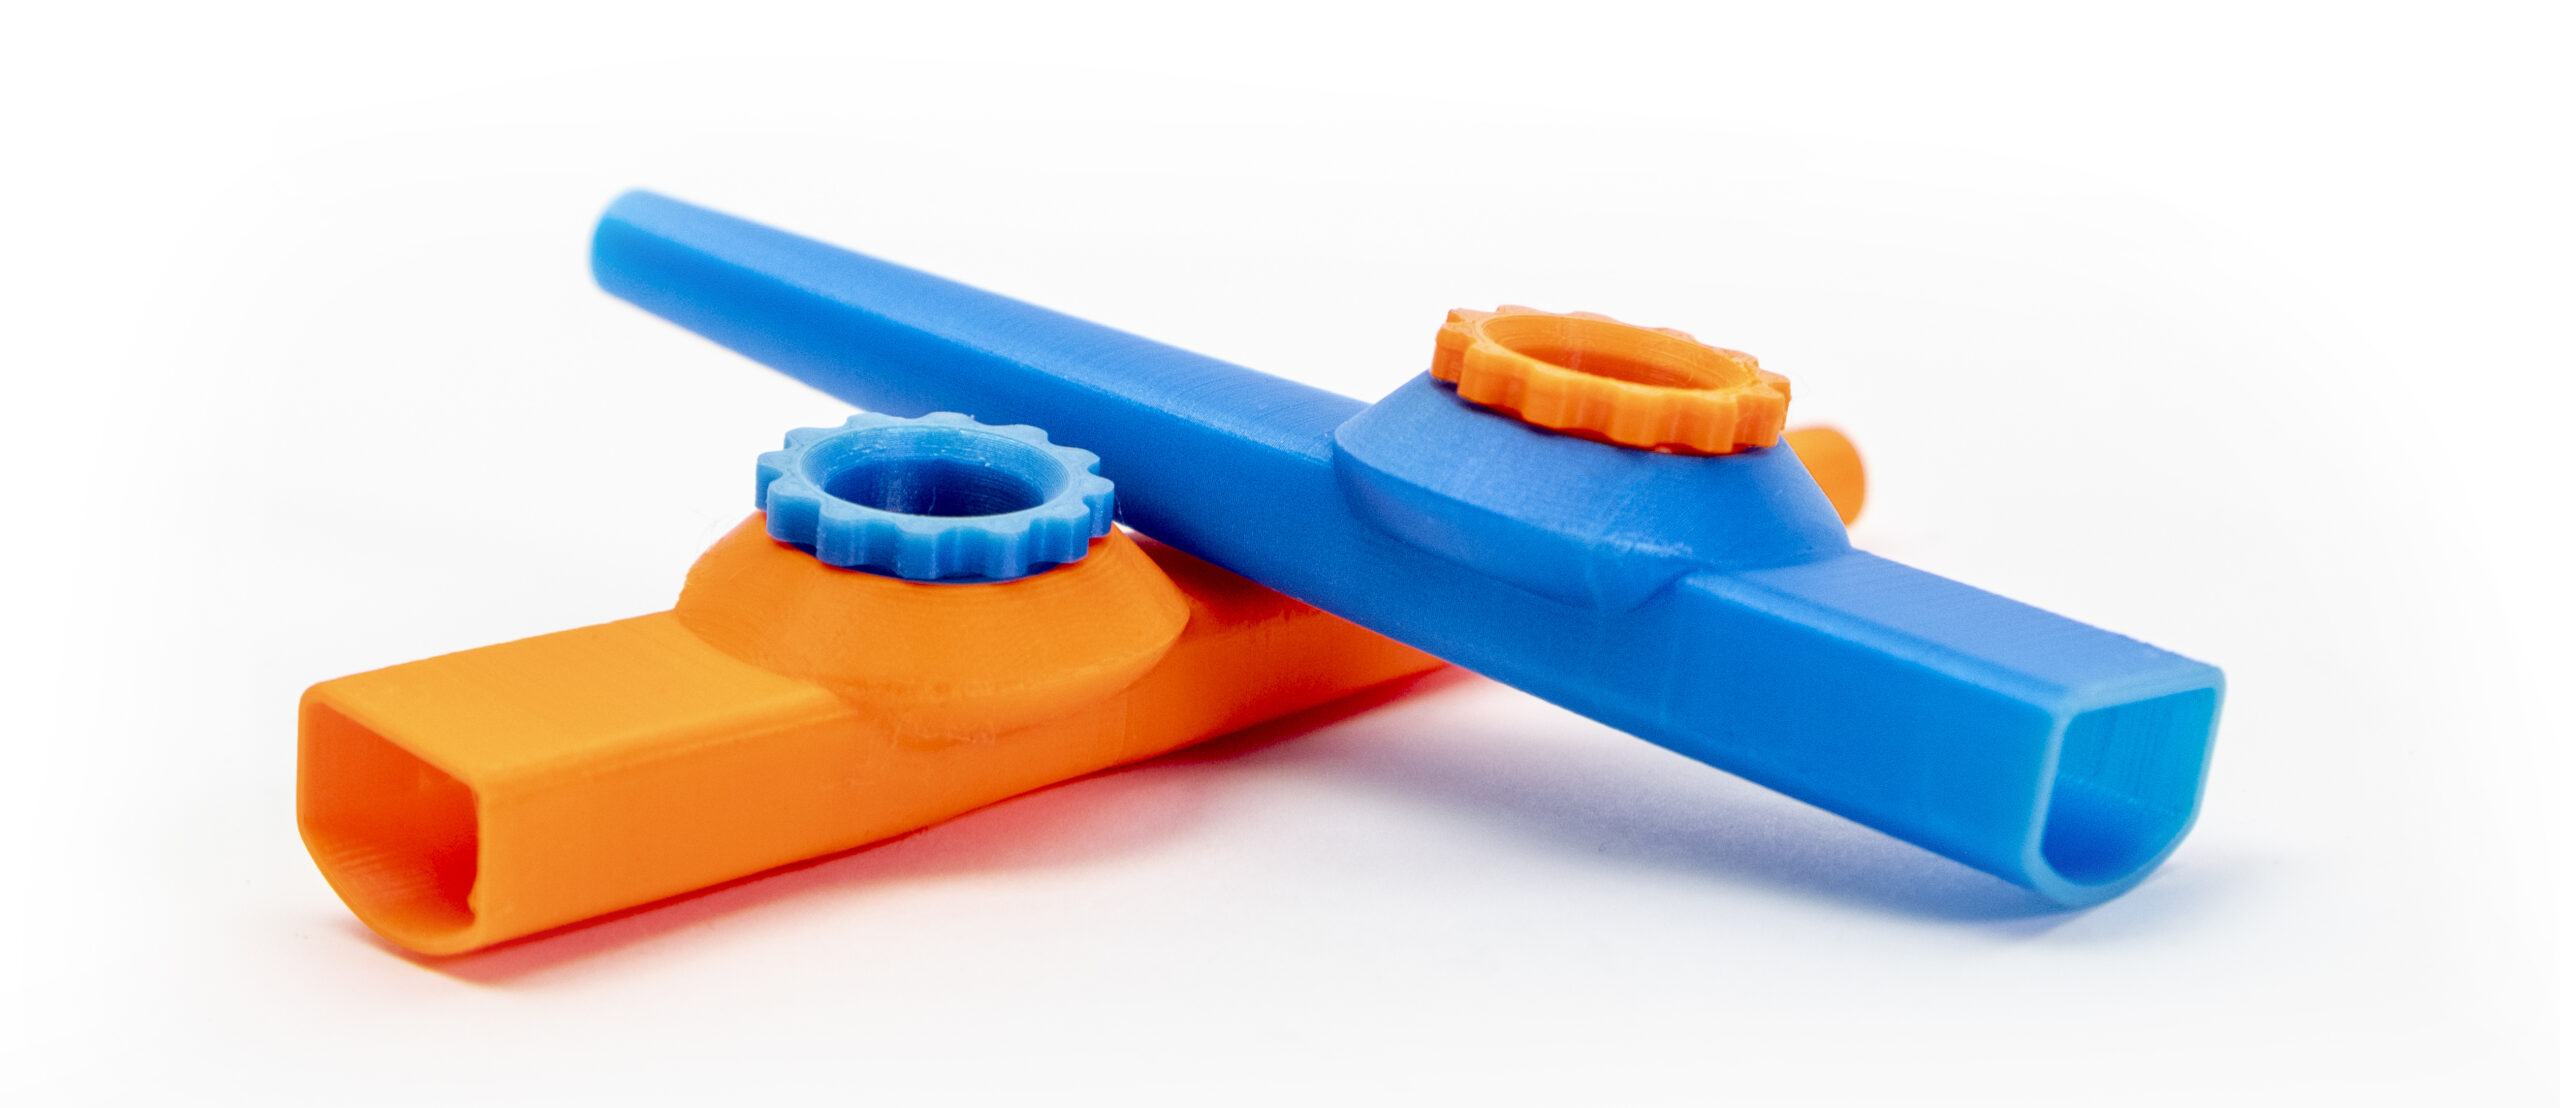
For the membrane, you can use a piece of thin plastic (for example, from a shopping bag) or wax paper. The choice of the membrane material significantly affects the sound of the Kazoo, so we ended up having a lot of fun experimenting with them. Really thin membranes will make the sound more intense with pronounced highs. Thicker membranes will make the buzzing sound deeper and a bit quieter.
You will have to cut out a small circular piece from the membrane material. We suggest using the printed washer as a template to cut it out. Then you just put in the membrane, the washer and secure it with the printed nut.

One important thing to keep in mind – you have to hum, not blow into a kazoo to produce sound. It may sound stupid, but it’s a common mistake to make if you’re not familiar with them (speaking from experience here).
Summary
Printing any of the mentioned instruments consumes so little filament, it’s honestly a no-brainer if you’re at least a little bit interested in them. You can make them in any color combination and even change the shape to create unique looks and sounds. If you’re serious about playing on a recorder, you likely already own a nice off-the-shelf one. The 3D printed one will still be fun to take out every once in a while, especially when playing in a group. And if you’re skilled in 3D modeling, you can customize it to modify the sound characteristics. The printed ocarina both looks and plays fantastic and the kazoo, oh well, that one works almost too well! If you print a dozen for your friends or kids, be prepared to hear the “buzzing” sound for the hours and days to come 🙂
Links for 3D models in this article
- Soprano recorder by Lysithea81
- Darth Vader recorder by Michal Fanta, MMU version
- Ocarina by Nimaid, RobSountrack, Mystikal and Mikolas Zuza
- Kazoo by PistonPin
Did you know that the cello can also be printed? In a crowdfunding campaign on HITHIT.com, it received 1 million CZK and is preparing for Kickstarter. See www.fb.com/mycello.info
It’s worth setting high fill percentages. Woodwind instruments tend to sound ‘dead’ when printed with low fill values, this is one of the rare cases when 100% fill gives a better result, in this case the tone is much brighter.
https://forum.prusaprinters.org/forum/english-forum-awesome-prints-hall-of-fame/clarinet-reed/#post-349813
Cheerio,
GotoAssignmentHelp.com is an established name in the market of Assignment help and homework help service providers. The company has been offering online assignment help service from quite some time
You also need a spectrometer for such cases, for example, to determine the harmful substances in the metal and so on. I use it myself, but for slightly different purposes, to measure sulfur in oil. Because I work for a refinery company and we often test the oil, especially if it’s a new supplier and we only have a preliminary contract. So it definitely needs to be done. I can say for myself that you should look here now https://elvatech.com/applications/sulfur-in-oil/ special spectrometers that can help with this. Unless of course someone is going to test something as well.
Really stunning designing tasks. Professional graphic designers have been popular in the current digital marketing strategies! I have been working as a senior advisor at this flirtymania plus website and help people to get reached with others across the world. Your article information encourages me to learn designing tasks. Thanks for sharing this post.
I love music! It wonders that nowadays with the help of 3D printing we can create almost everything… Just WOW!