


A lightsaber or a pirate’s sword is a certain success – no child can resist that. But why not go further? Get your child involved in toy making! 3D printers open up an almost infinite world of possibilities – how about printing more complex objects consisting of several parts which you can assemble together with your kid? Not only will you have a lot of fun, but maybe you’ll wake your child’s creative spirit, and you’ll enjoy your big moment of parental pride!
For most models, you’ll only need a few basic tools: a 3D printer, screws, nuts and bolts, glue, a pair of hands – and possibly some paint.
With a 3D printer, you are also no longer limited by commonly available/unavailable solutions or products. Thanks to the massive number of models available online, you have plenty of opportunities for cool experiments and discoveries. I tested this on my nephew: his parents tried to explain to him how wonderful it is to grow flowers. No success. Little did they know that all they had to do was make the best flower pot in the world.
It’s self-watering, of course, looks great, and all of his classmates envy it! My nephew now cherishes his own chili pepper. And this is just scratching the surface.
Fast and Furious: Printed toy gun accessories and racing cars
Do your kids like to play soldier? Cowboys and Indians? Thanks to a 3D printer, you can make them the coolest toy guns far and wide. First, try modeling different parts of the toy gun – or make the stock and body out of wood or cardboard. You can then use the 3D printer to print a whole range of accessories to spice up the toy gun. There’s this “optical” sight” for example. This is a very simple accessory that is sure to be appreciated – thanks to the tightening screw, it can be mounted on a wide range of toy weapons.
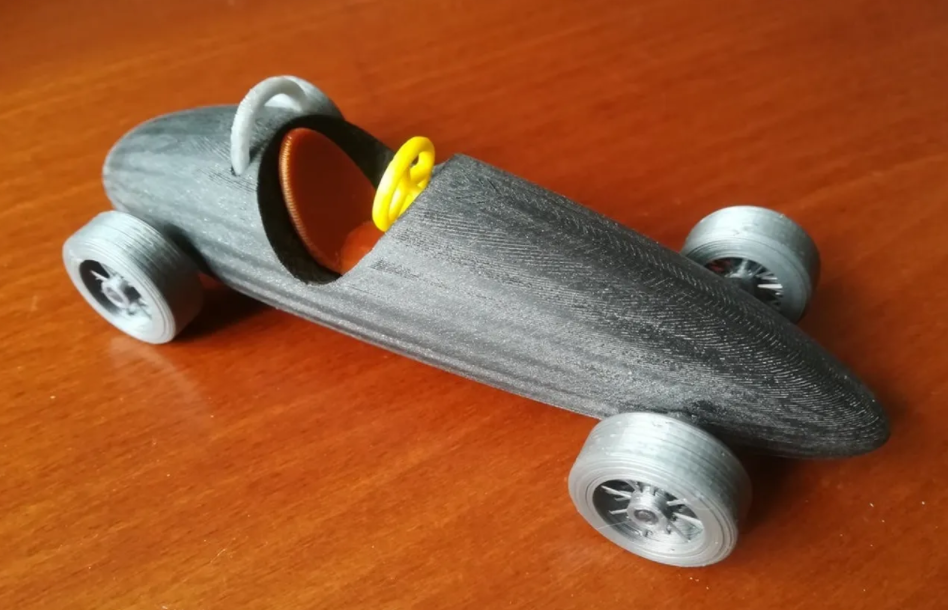
Young racers can then compete in a battle of veterans: a simple model of a historic formula car is waiting to be downloaded and printed at PrusaPrinters.
If you’re looking for something a bit more, let’s say, functional, then we have another great tip: what your home needs is a trebuchet! This model is slightly more challenging to build, but it’s very well worth it. You will need to get some wooden parts, but then it’s just about adding a couple of screws and you’ll have not only a completely sensational toy but also a simulator of several laws of physics. The shooting process is amazingly hypnotic.
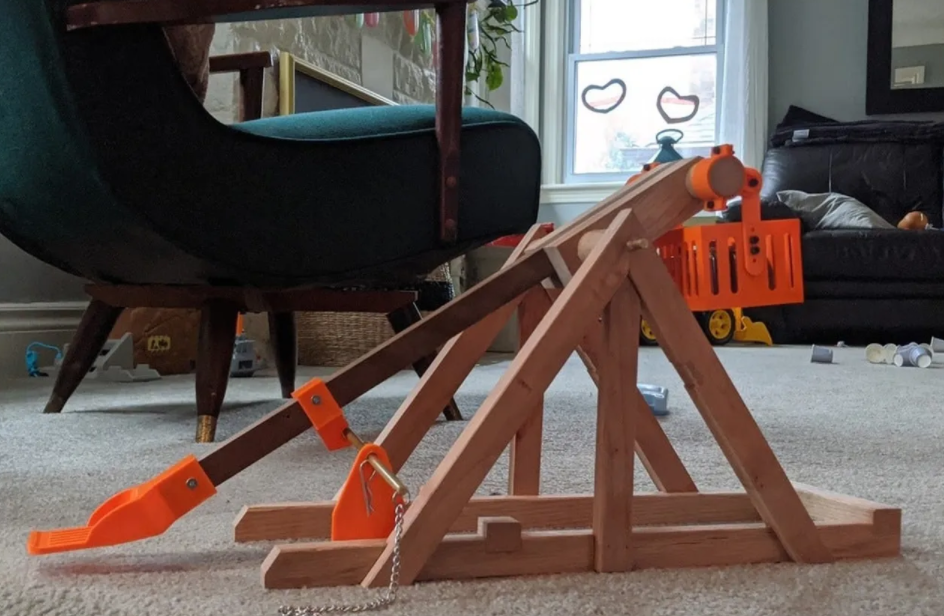
You can explain the principles of weight and counterbalance to your child while having fun shooting down some targets. How about a competition to see who can shoot down the most cups? Mobile game enthusiasts may be intrigued by its similarity to the Angry Birds phenomenon – you could even print out a bird and shoot it. 😉
Build them a beautiful home!
Getting kids interested in 3D printing might be a bit of a challenge. Luckily, there are models in our database that are guaranteed to win their hearts, too! Plus, you can create something that’s not commonly on the shelves of toy stores – something completely different and unique, something nobody has!
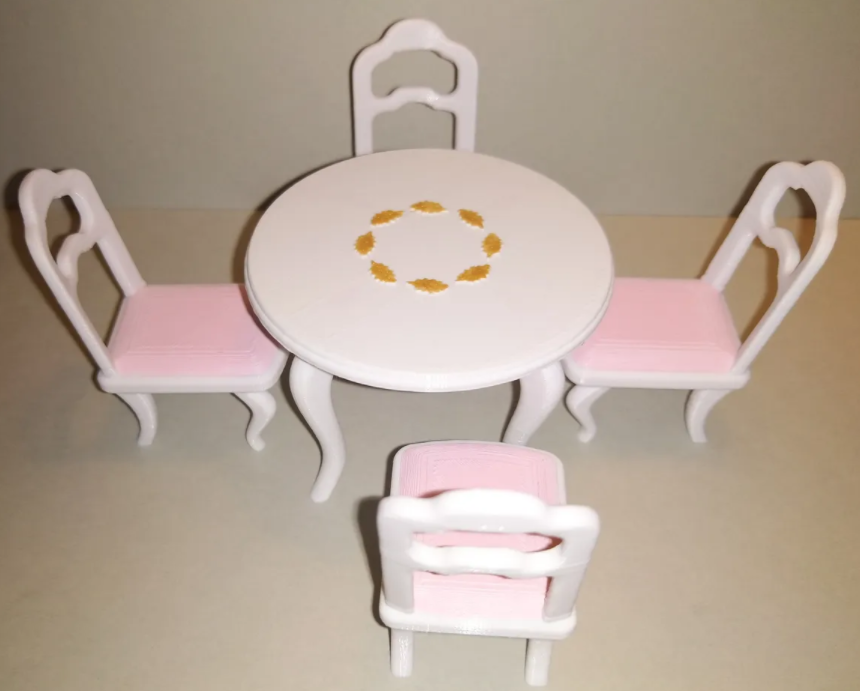
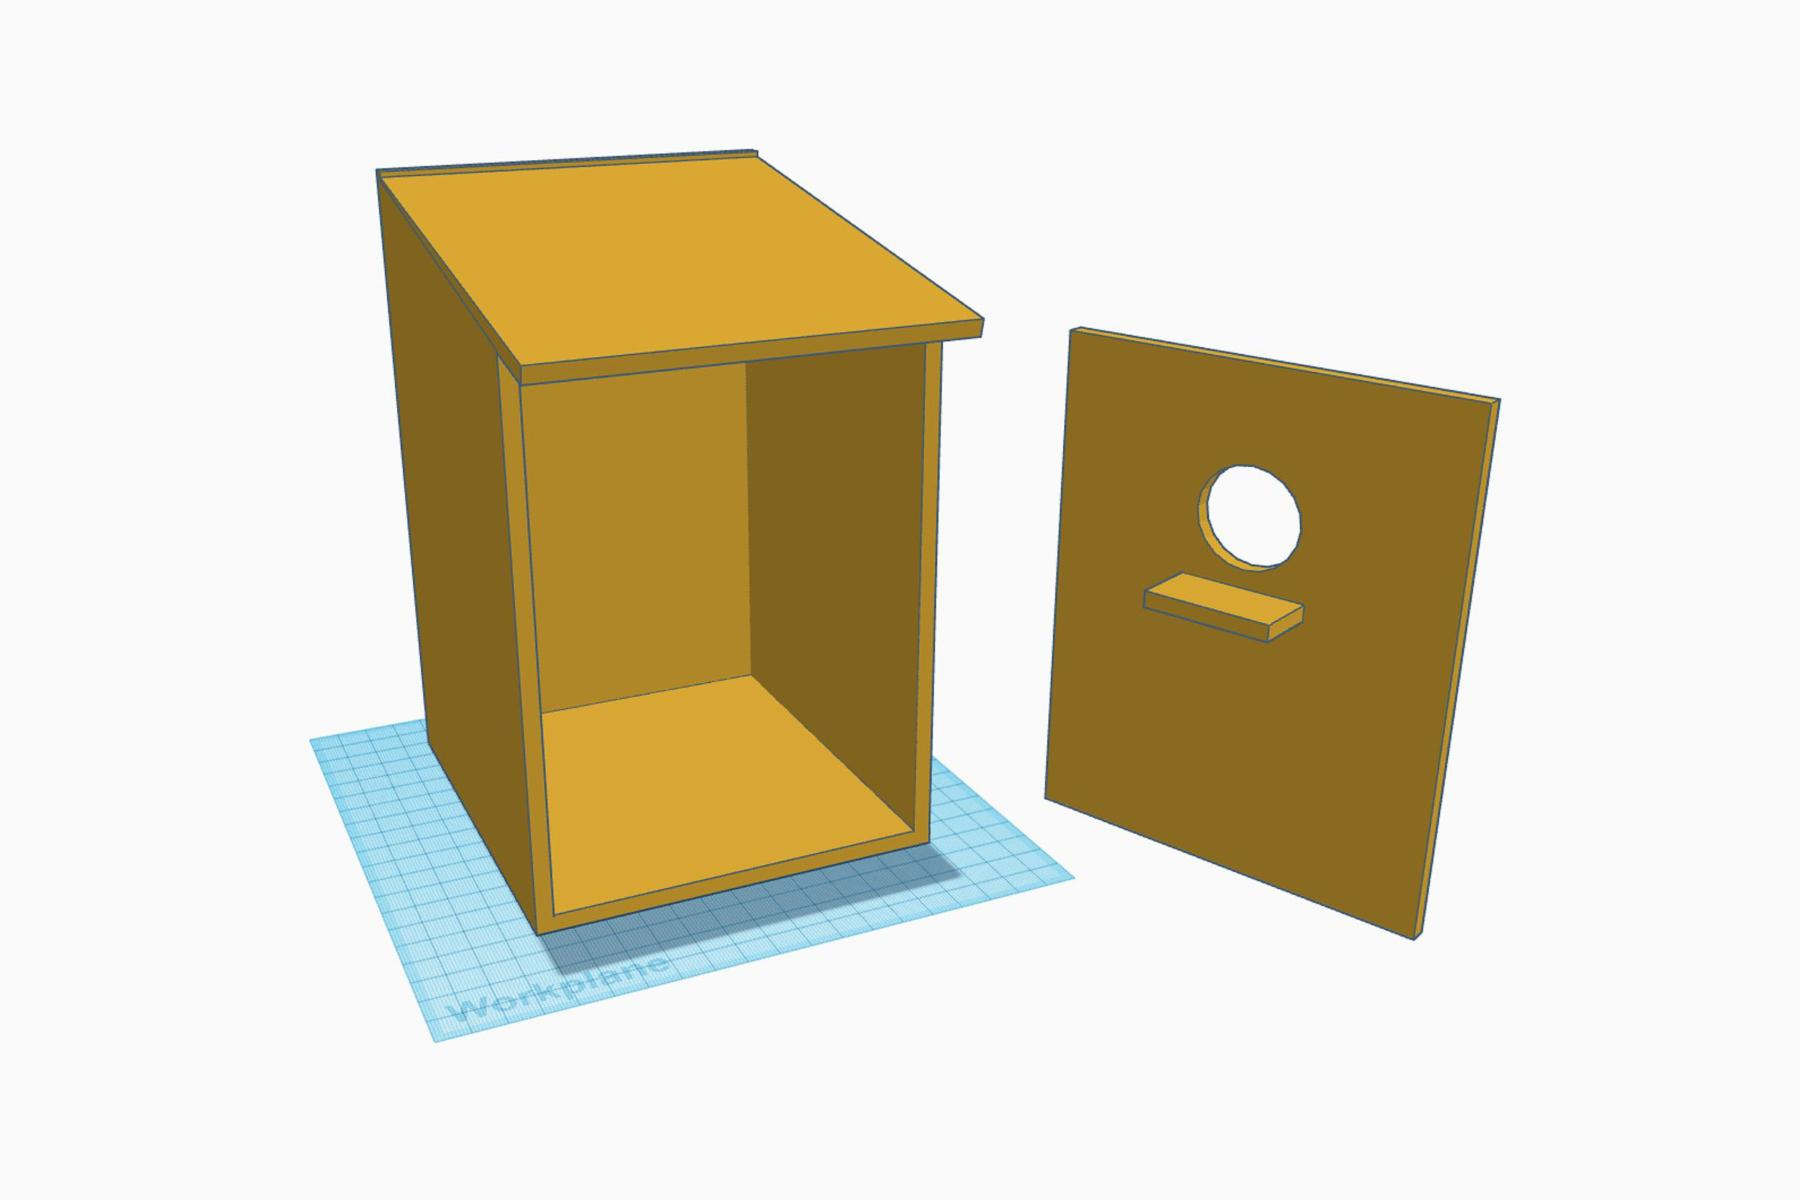
Modeler Enely has created a whole range of amazing doll models to build a complete house! All you need is a box and some paint and you’re ready to get started:
 |
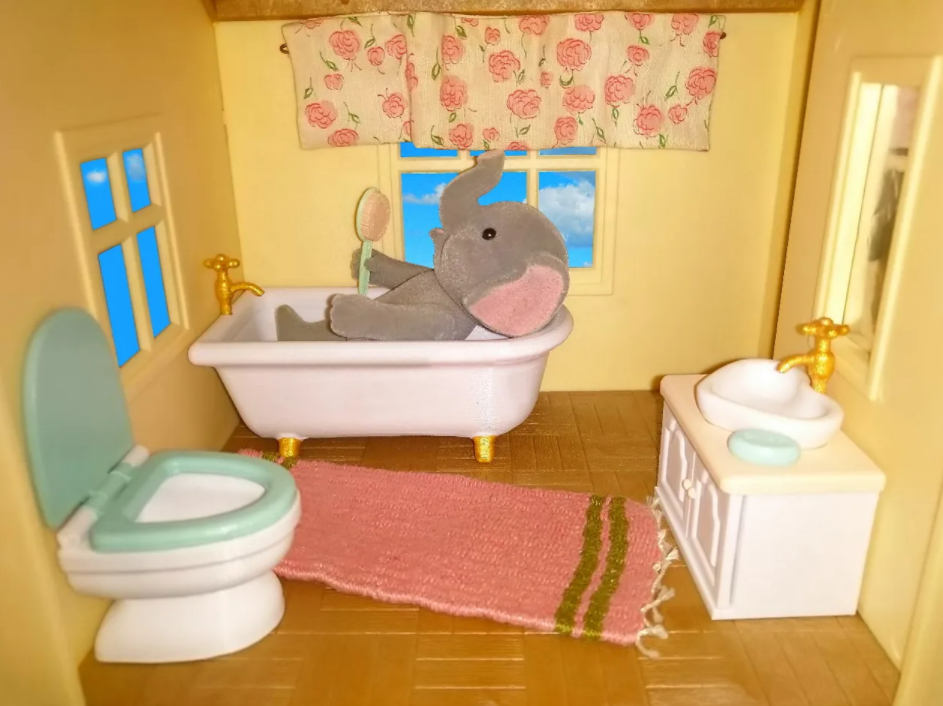 |
| Stylish dining room by Enely | Modern bathroom by Enely |
Join forces with your children and invent and furnish a palace for dolls or other toys. In PrusaSlicer, you can easily make individual models larger or smaller, so they match the size of the dolls perfectly – no one gets left behind!
You can, of course, combine 3D prints with other materials – like popsicle sticks. Then, apply some paint and you’ll have some great-looking furniture for your doll house’s patio or a large couch for watching TV.
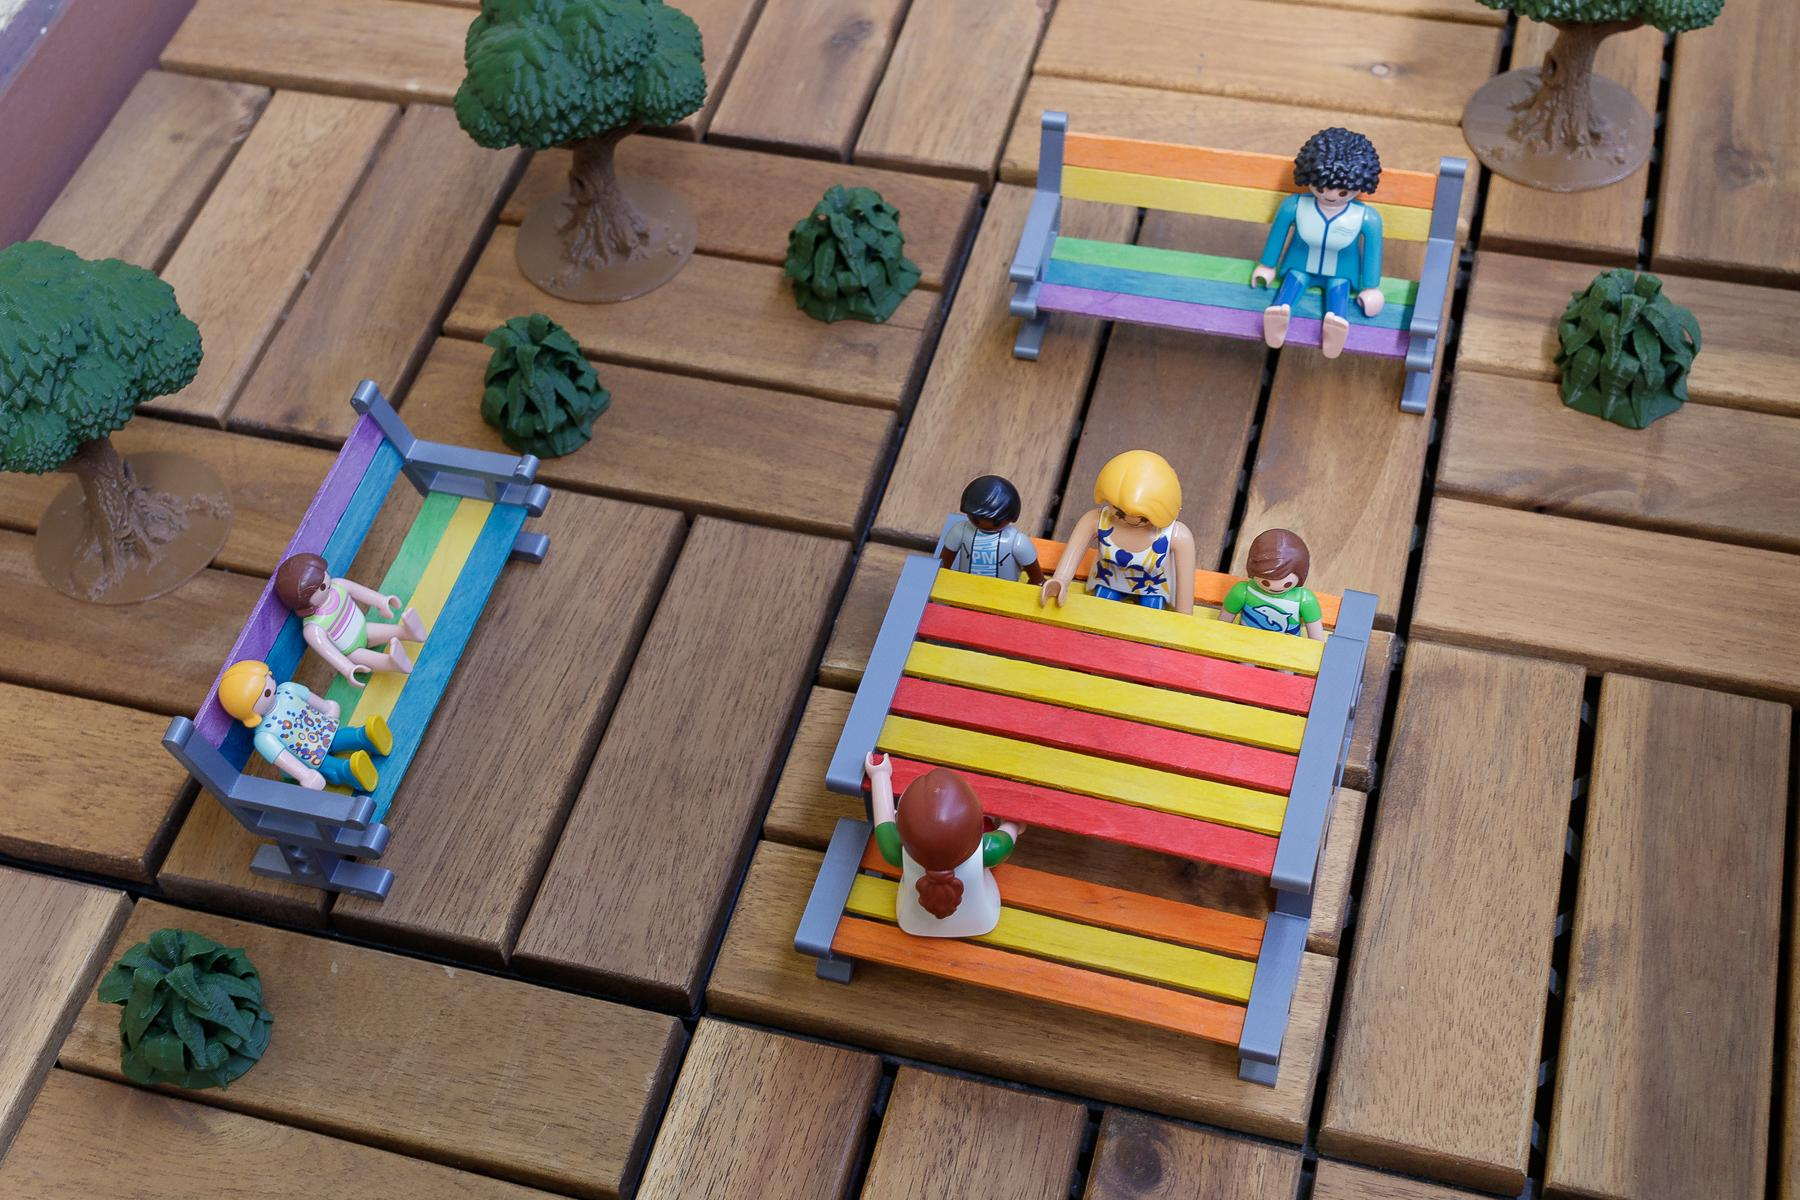
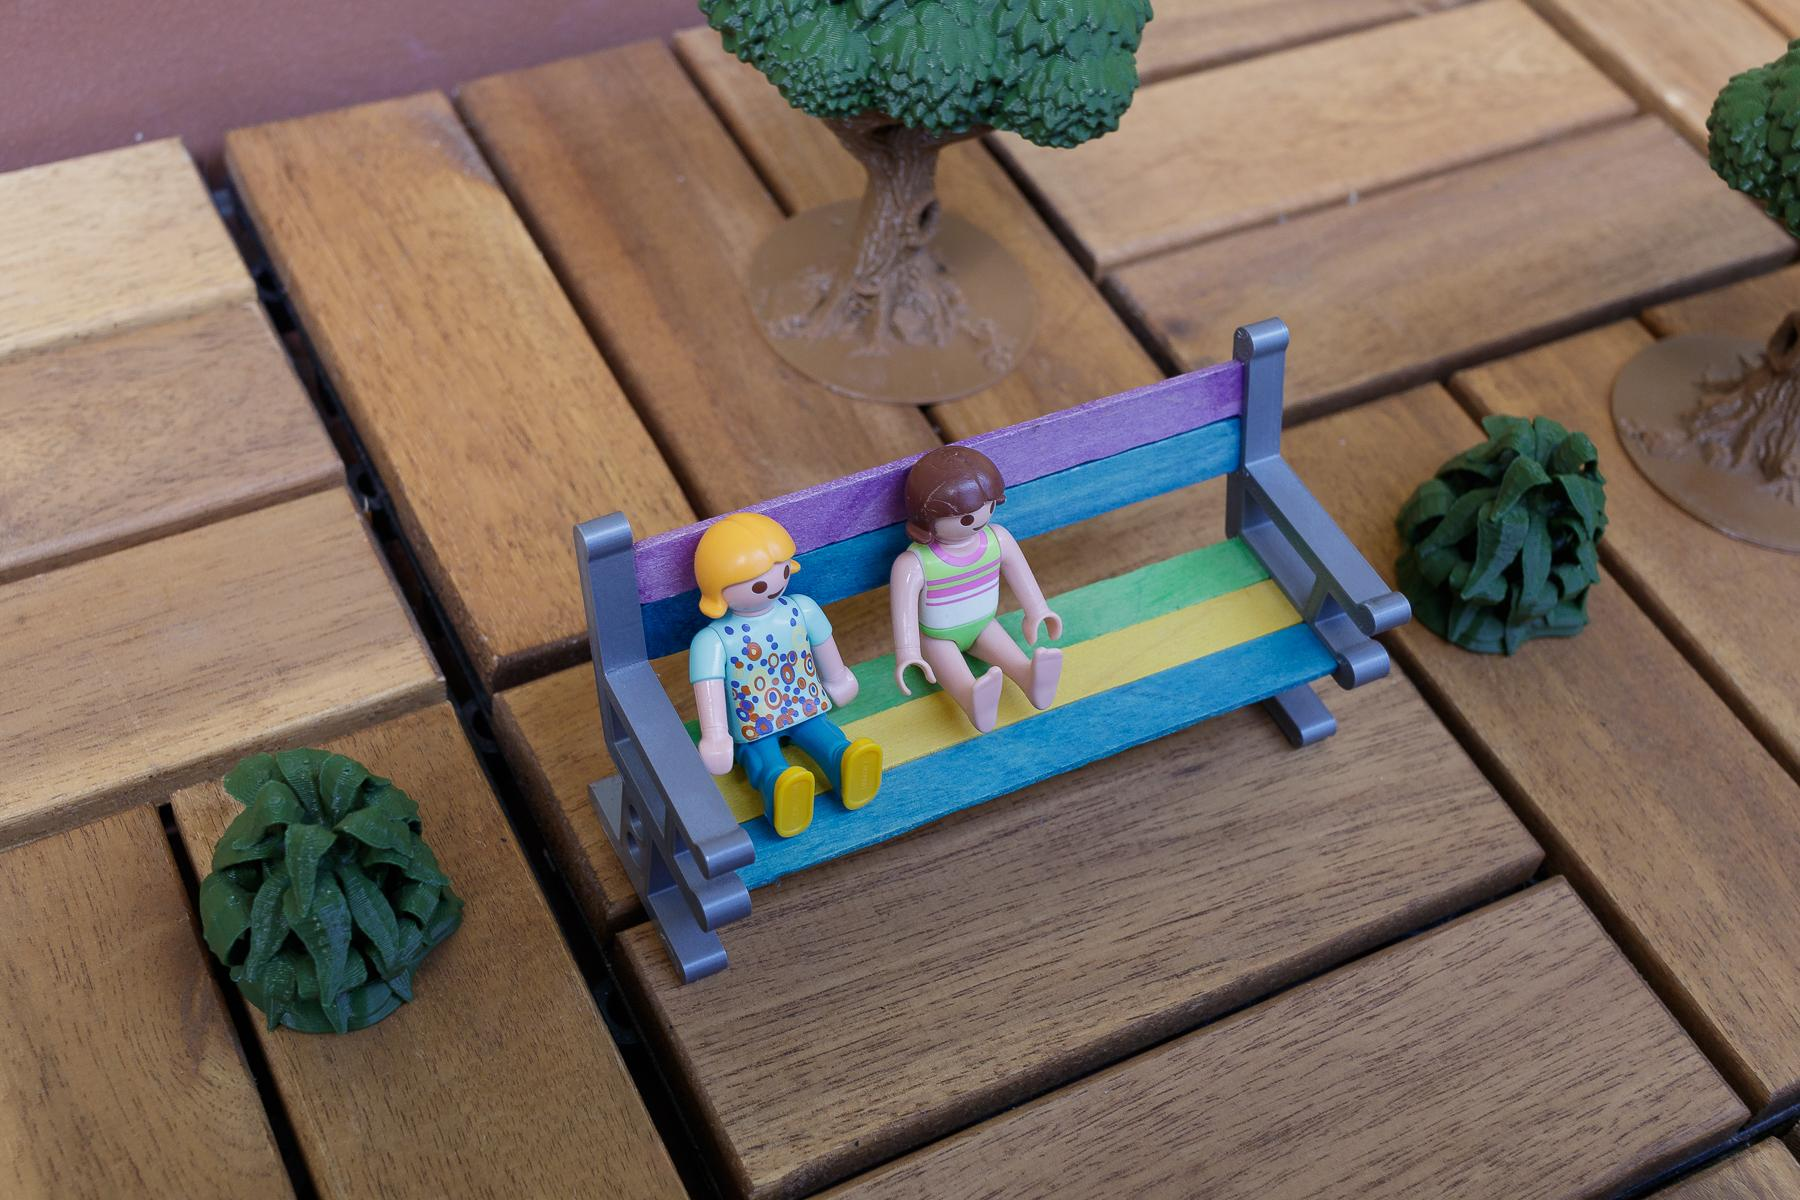
The results are awesome – and we’re pretty sure no kid would object to eating popsicles (for the sake of collecting the building material). We’ve heard about the possibility of buying the sticks alone, but those are probably just rumors… 😉
We Bought a Zoo
I’m sure you have various replicas of animals, dinosaurs, or other creatures at home. Kids just love them! But how about building them a home? With a 3D printer, you can make simple accessories that will help your kids create a real zoo or even an adventure safari!
You can pick from a wide range of fences, depending on what animal you’d like to keep:
 |
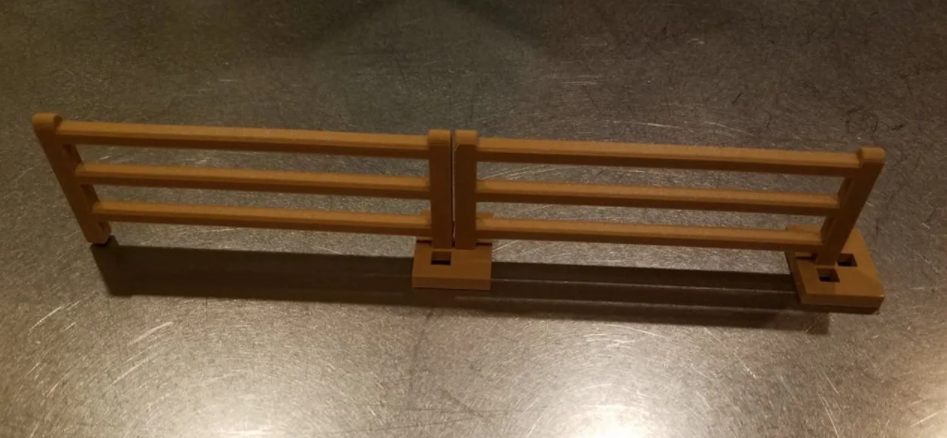 |
| Classic for horses | For calm animals |
 |
|
| For the dangerous ones (and the dinosaurs) |
Again, just like with the furniture, you can use popsicle sticks. You’ll need a lot of those to make enough material for animal enclosures. The entire family can help with that! 🙂
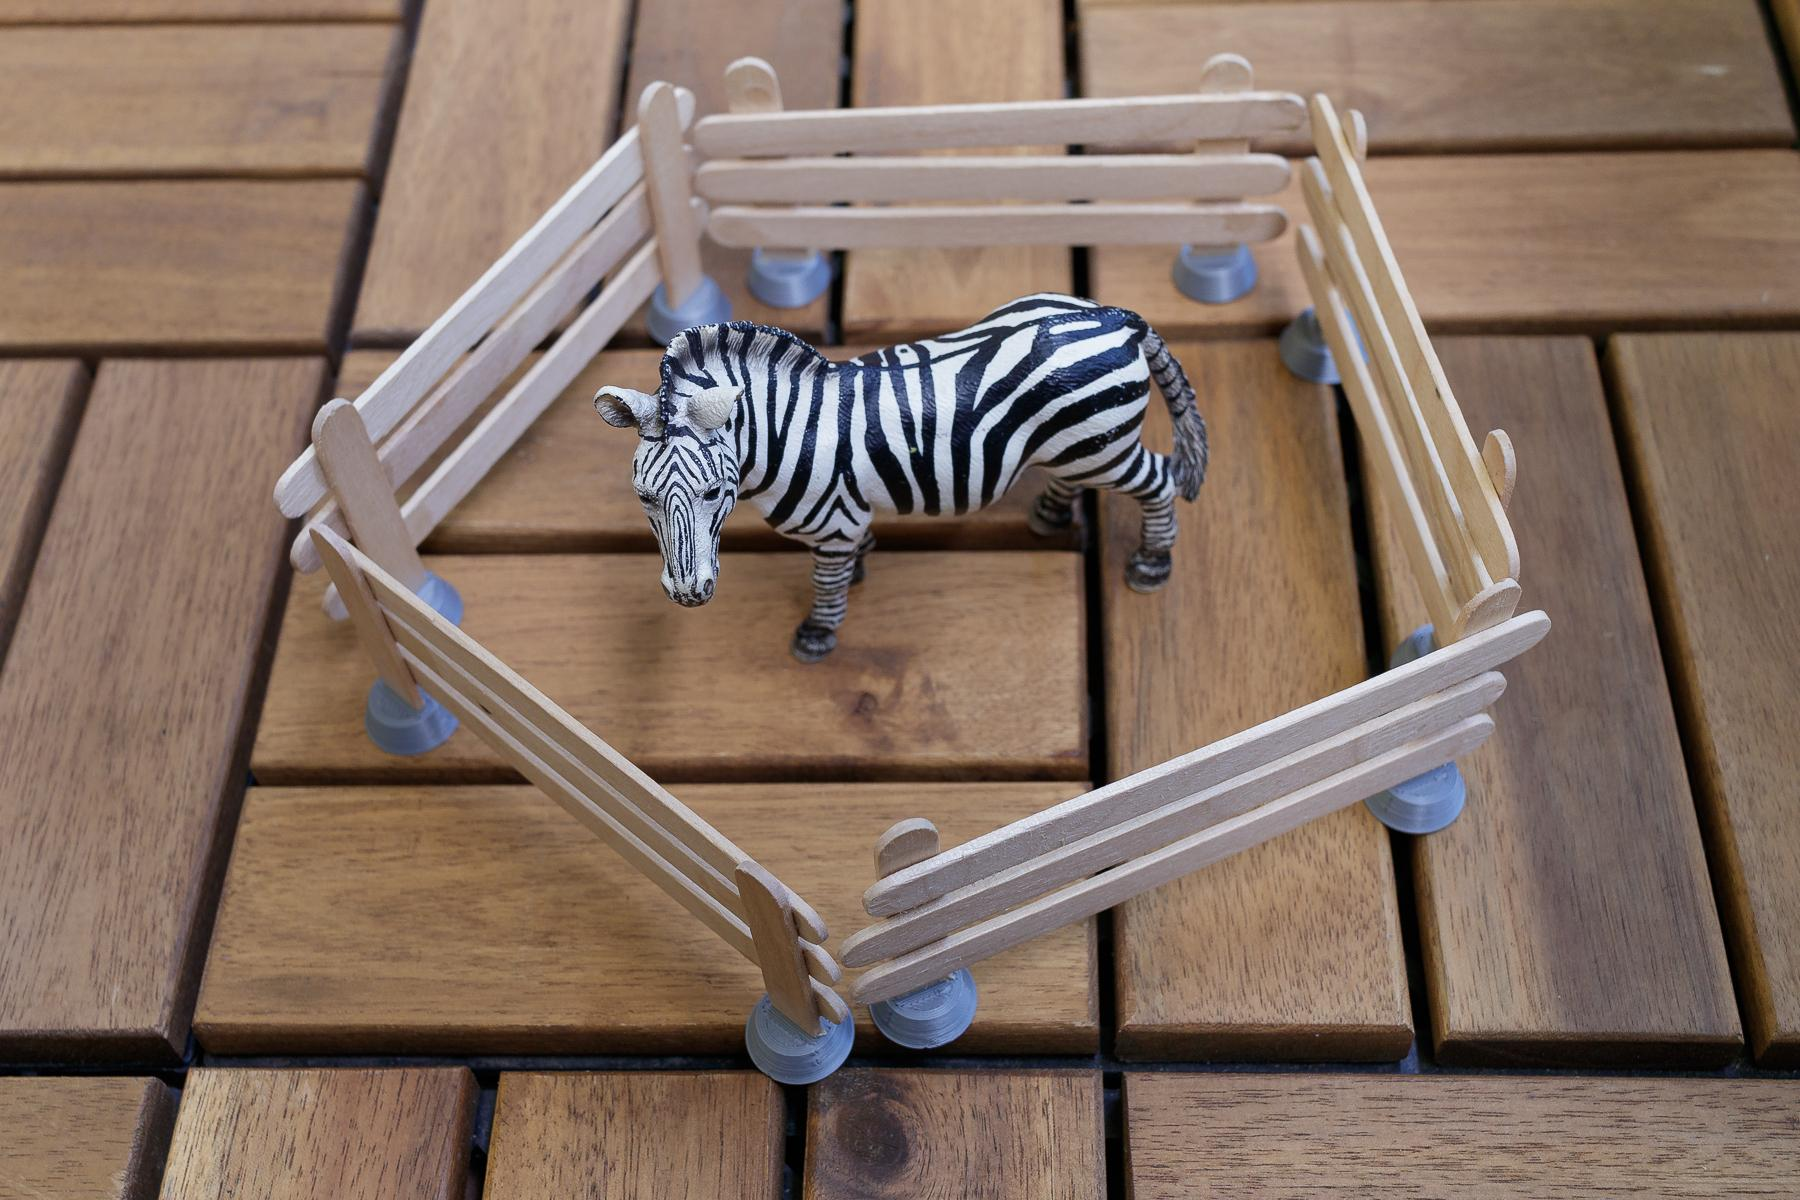
With a 3D printer, you can prepare large enclosures easily and quickly, and the child can then create a nice home for the animals. In addition, you can also create some beautiful scenery with accessories such as trees!

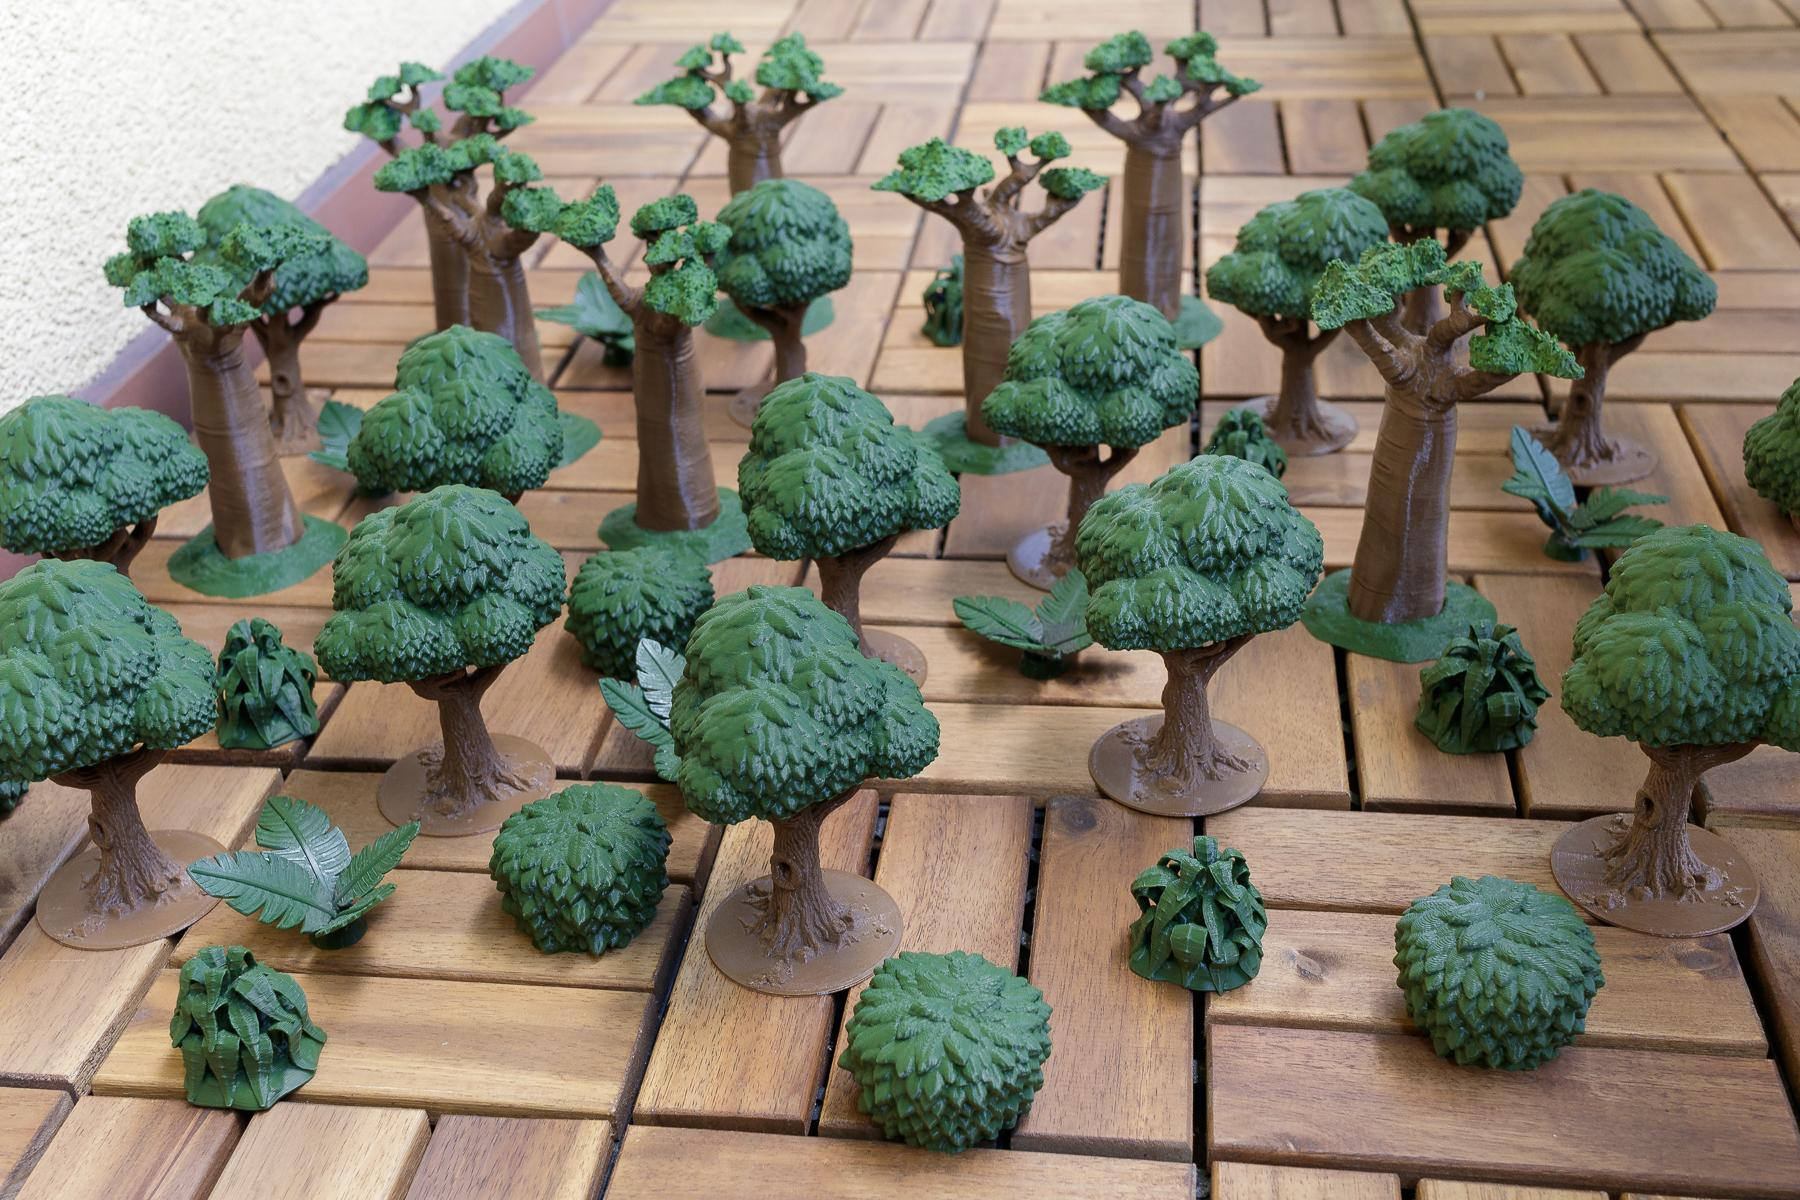
To make your enclosures or safaris truly pop, add some bushes and various plants – we recommend these.
It doesn’t take a lot of work to give your playground a more natural look! Ideally, each animal should have a tree from its natural environment – this way, you can explain to your child in a visual and fun way where different plants and trees grow and why. We are planning a significant expansion of the tree models on PrusaPrinters in the future. If you don’t feel like waiting, try modeling one and share it with other community members!
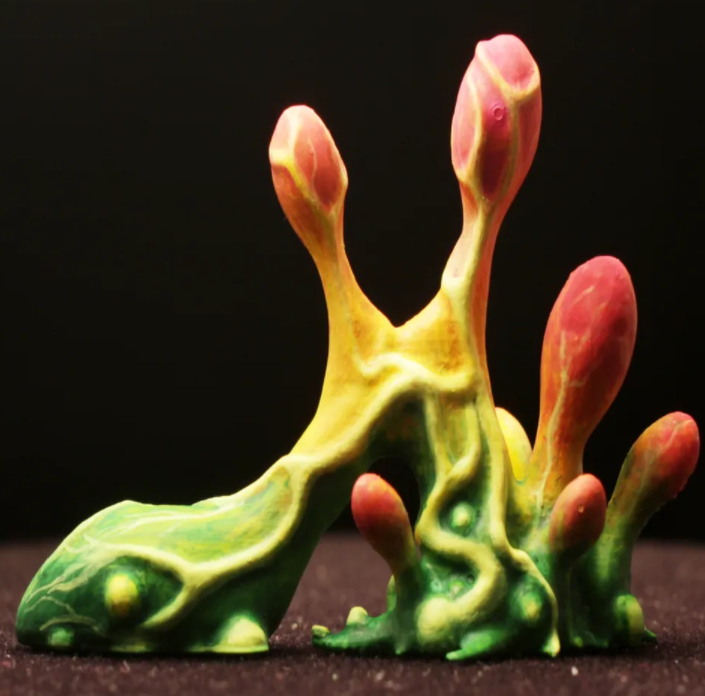
By the way, you don’t have to limit yourself to realistic scenery and worlds! In our database, you will also find a collection of fantasy and alternative animals and flora.
GrimGreeble has invented a huge collection of incredible plants and trees that will transform your playground from the terrestrial world into a spectacular space adventure.
If you’re short on animals, especially unusual ones, definitely check out the models by Saul Shaffer, who has modeled some really unique and fascinating new species. Our favorite is the llama crossed with the polar bear.
It’s getting on my nerfs!
Suppose you (or your child) are fascinated by Nerfs, which are toy blasters that shoot foam bullets. In that case, you’ll be pleased to know that if you type the word “nerf” into the search bar at PrusaPrinters, you’ll come up with a whole range of models and accessories that any “nerf-fanatic” will appreciate: stocks, magazines, barrels, or even tiny nerf guns for Lego characters.
Board games
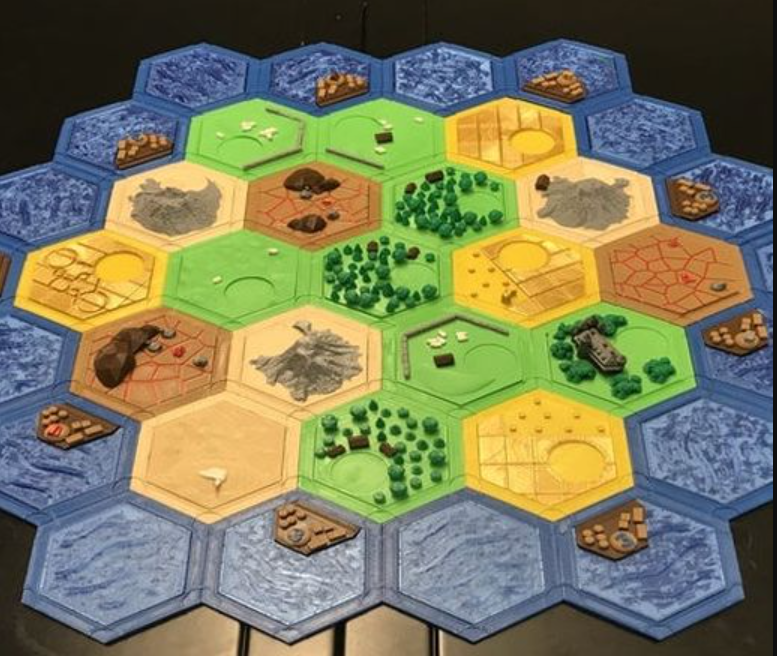
Improve your board games – or even print your own! This is also possible with a 3D printer. For example, you can print multi-colored parts for the popular game Catan. Then, together with your child, you can prepare a unique-looking playing surface.
Various organizers and figure boxes are also helpful – there are literally hundreds of designs online and most of them are super easy to print.
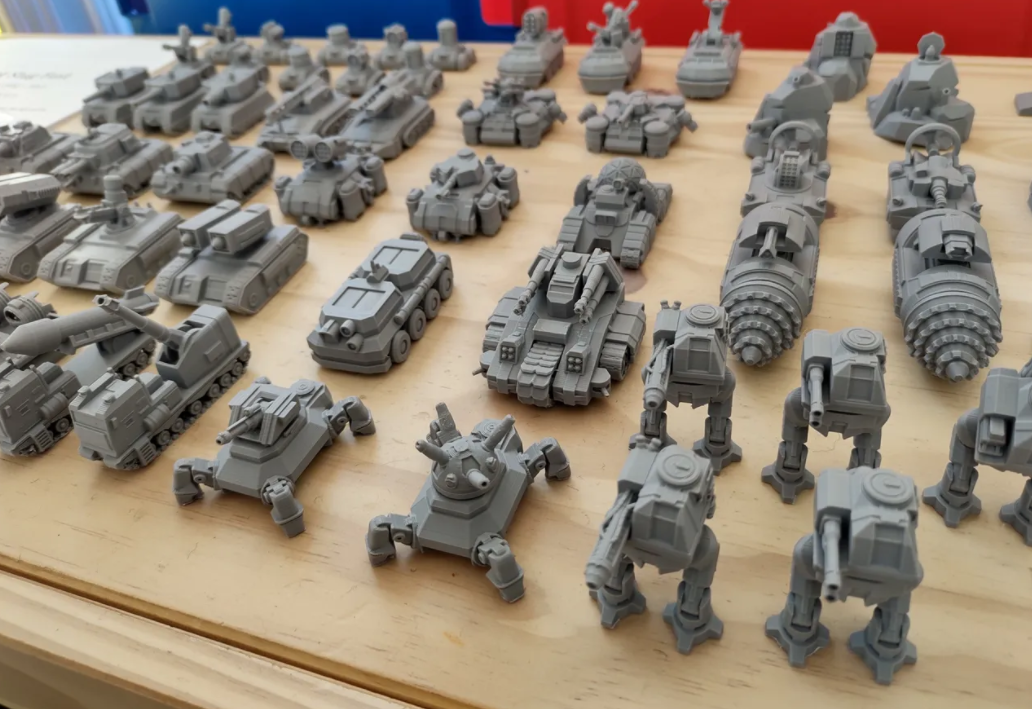
You can find a truly unique board game with its own rules and a huge pile of variously modifiable tank models at PrusaPrinters! If your child (or even you) has fallen for the World of Tanks phenomenon, then you have plenty to do for long evenings.
Just look at those tanks! Wanna play?
Modeling with older kids
The older your kids are, the broader are the opportunities to have fun with 3D printing. You can, of course, make interesting models for display, but the real fun comes from 3D models that require a bit of work to put together.
The Landy Mini is a classic that we like to recommend – print the parts and add nuts and bolts from your 3D printer spare parts package. The result is a beautiful and functional model that is second to none in commercial production. Ideal for your first time modeling together!
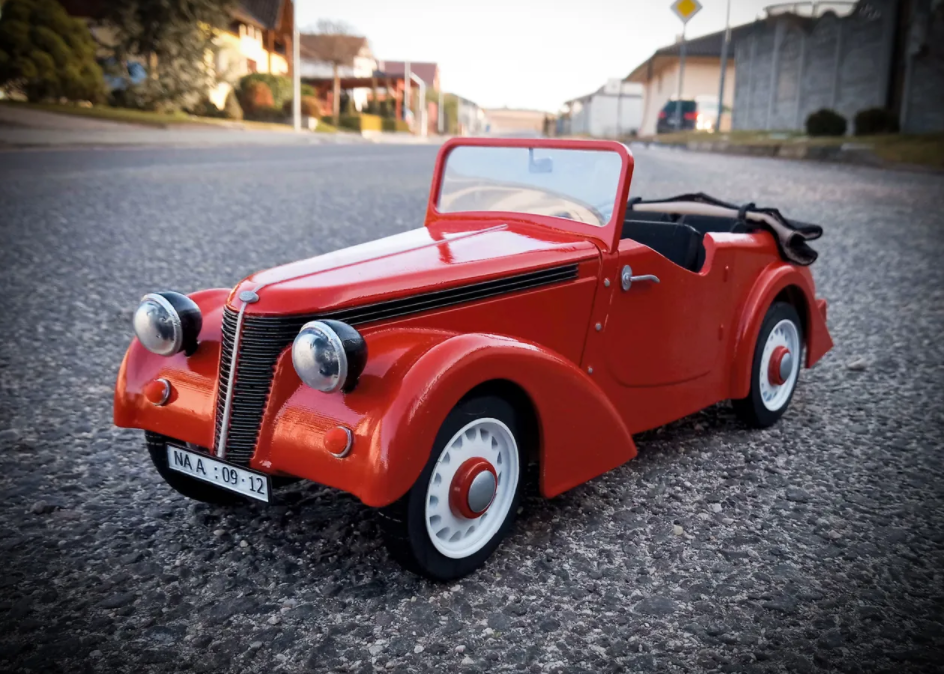
It’s not just vintage enthusiasts who will cheer when they see this stylish Jawa – it’s a much more challenging model to print and build, but not something anyone has. So when you’re feeling confident in your skills, join forces and give it a try.
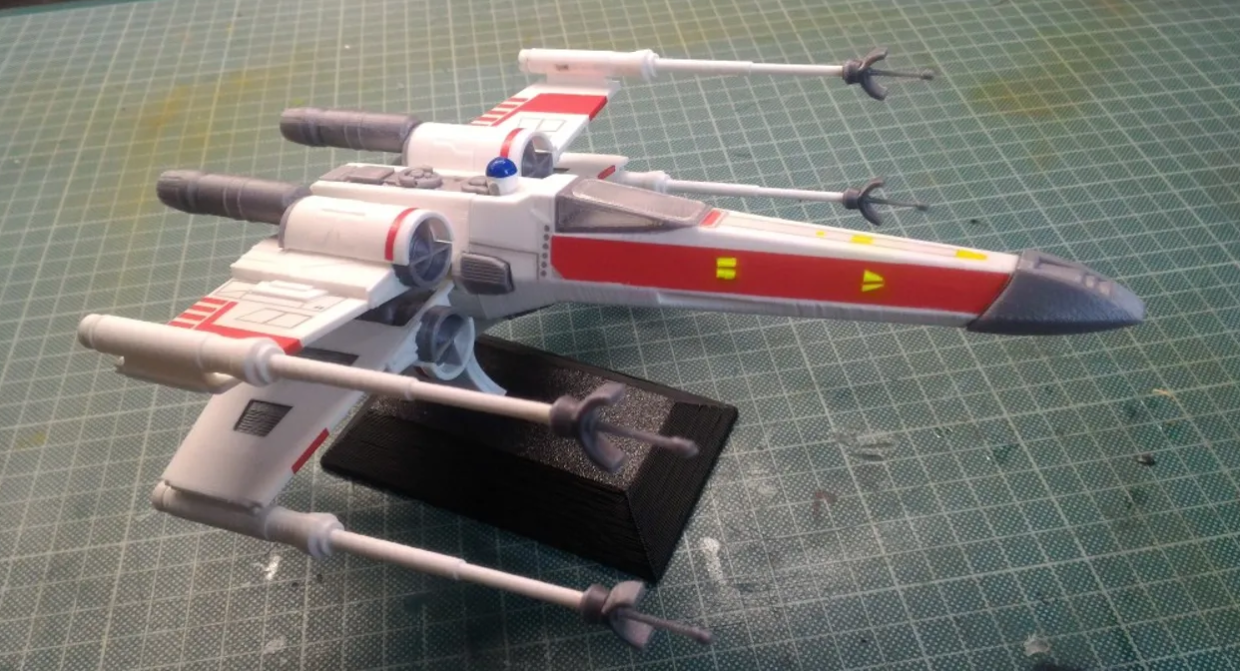
If you occasionally hum the iconic Star Wars theme song, then there’s an X-Wing model you just want to put on your shelf. Or somewhere where it’ll get the attention it deserves. Daniel’s model is rather easy to print and we can’t recommend it enough.
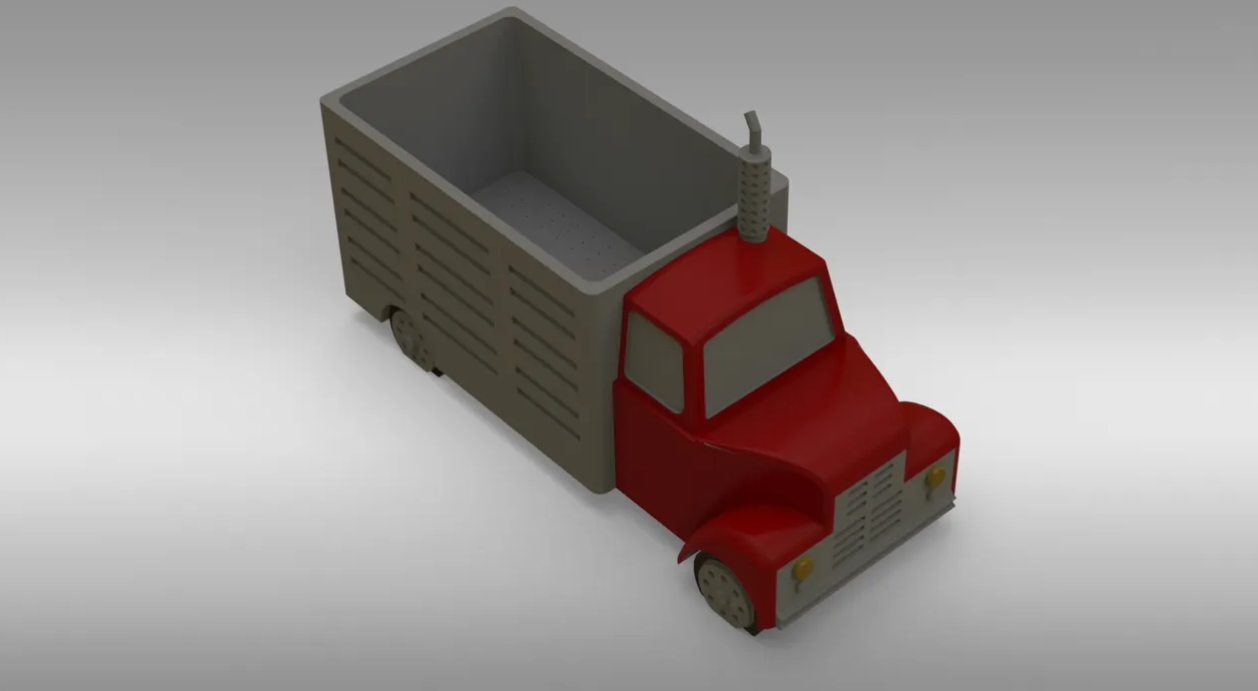
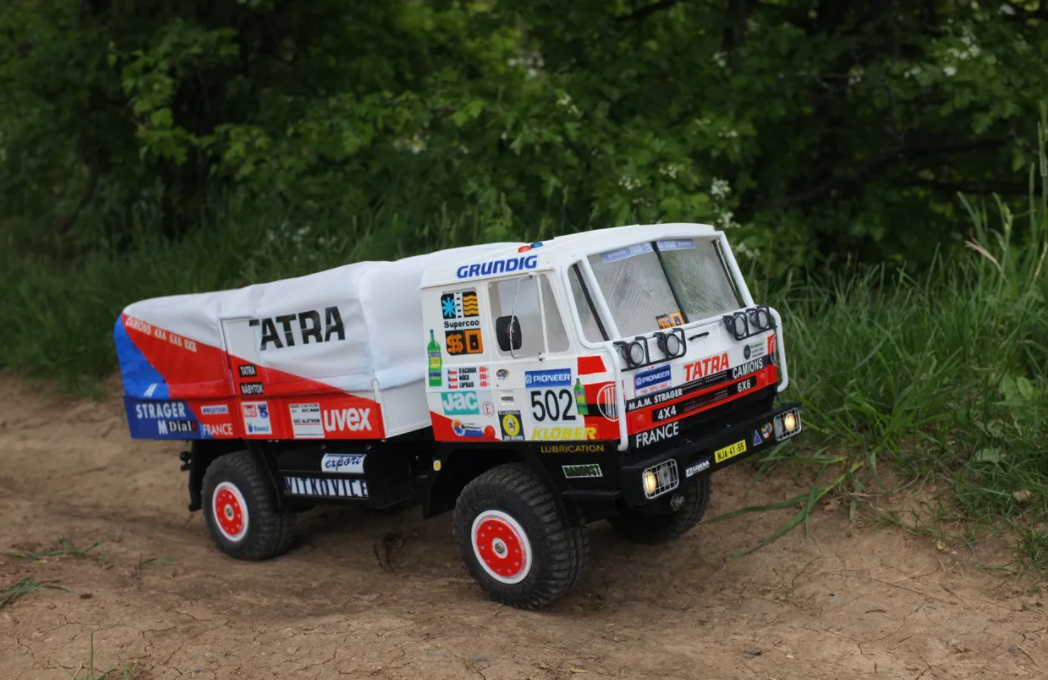
Realistic-looking cars and trucks have always been popular. When we were little, one of the most desired articles used to be a Tatra toy truck. And the one we now have at PrusaPrinters is absolutely luxurious! Not sure about you, but when we see the pictures, we want to build the model immediately! Just look at all those details, the tiny little stickers and everything! However, making it needs a lot of time and space in your workshop. Plus, you are required to source several parts on your own. Despite these challenges (or maybe because of them), we are simply in love with this model!
What’s next?
Do you print and assemble models together with your children? Do you enjoy it? Great! The next possible step might consist of teaching your child to model something on their own. Maybe it’ll catch on and truly unlock their hidden talents. You can start by introducing them to some basic tools and techniques. It’s not as difficult as it may sound! There are applications that are barely more complicated than building LEGO. Start with Tinkercad and basic models to learn how to enlarge, shrink and place them in space.
Some tips for working with Tinkercad:
- Always inspect your model from various points of view, as perspective could be very misleading! Even in the heat of the work, take your time to set up a good, unobscured view. Use the right mouse button to rotate, hold the wheel for panning and scroll it for zooming in and out.
- Save your time and skip centering and aligning by hand. Instead, there is an Align function.
- Keep the minimum detail size in mind – minimum width equals the nozzle diameter (0.4 mm), minimum height equals the print layer setting (most often 0.10 – 0.20 mm). Even details little above these thresholds are still likely to be too fragile or hardly visible anyway. Try focusing on stylized models, don’t aim for a realistic style. A model does not have to be complicated to be pretty.
- Watch out for little horizontal gaps, so your model (or some of its parts) won’t float in the air. As we suggested in the first place: always observe your model from multiple viewpoints.
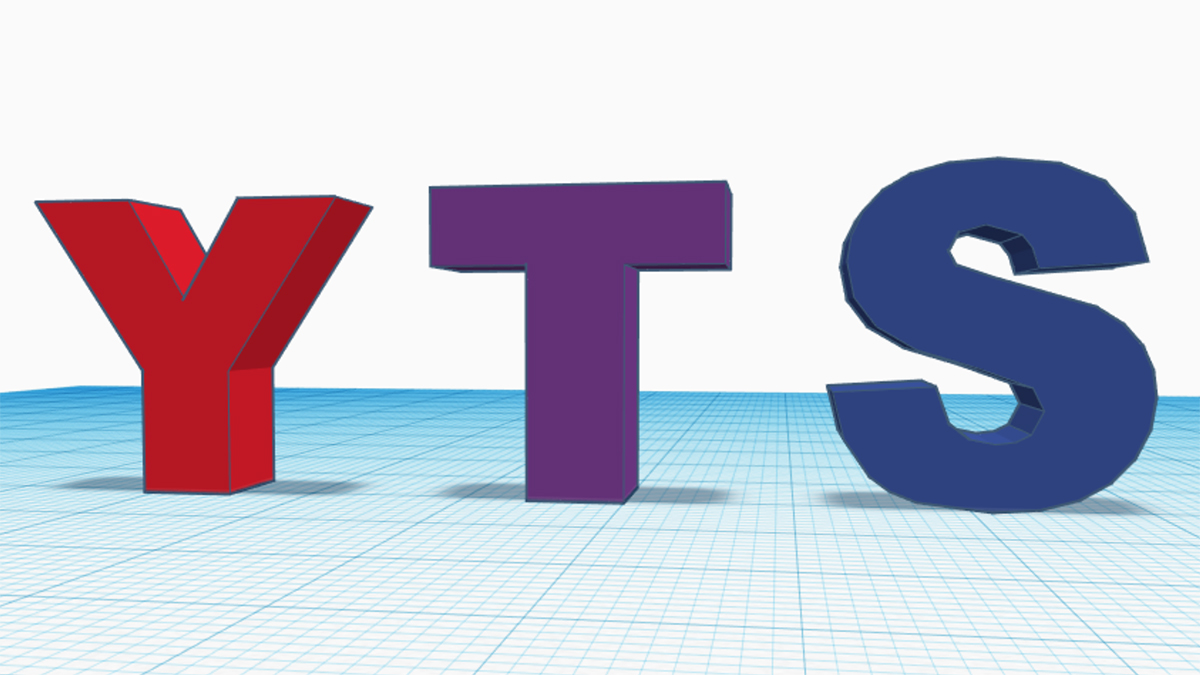
- Don’t forget the rules about overhangs, i.e., try to avoid horizontal parts which protrude to the sides. Simply said, if something resembles the letter Y, it’s simple to print. However, a T-shaped object would be difficult to print. The “S” is outright impossible to print without supports, as its upper end begins entirely in the air. Not even the “bridging” function would help in such a case.
- There are Copy, Paste, Duplicate, and Mirror functions. Use them to save a lot of time when creating more components.
- Use the Group function to “glue” newly created components to the main body. This helps to avoid moving or deforming them by mistake. You can split them later using Ungroup or simply by double-clicking them.
- If things really fall apart – you accidentally scale, move or deform something beyond recognition, it’s much easier to use the Undo function than trying to fix it.
And then just observe, advise, experiment, and give praise. 🙂 And above all, have fun with your 3D printer at home! Even six-year-olds can model beautiful things:
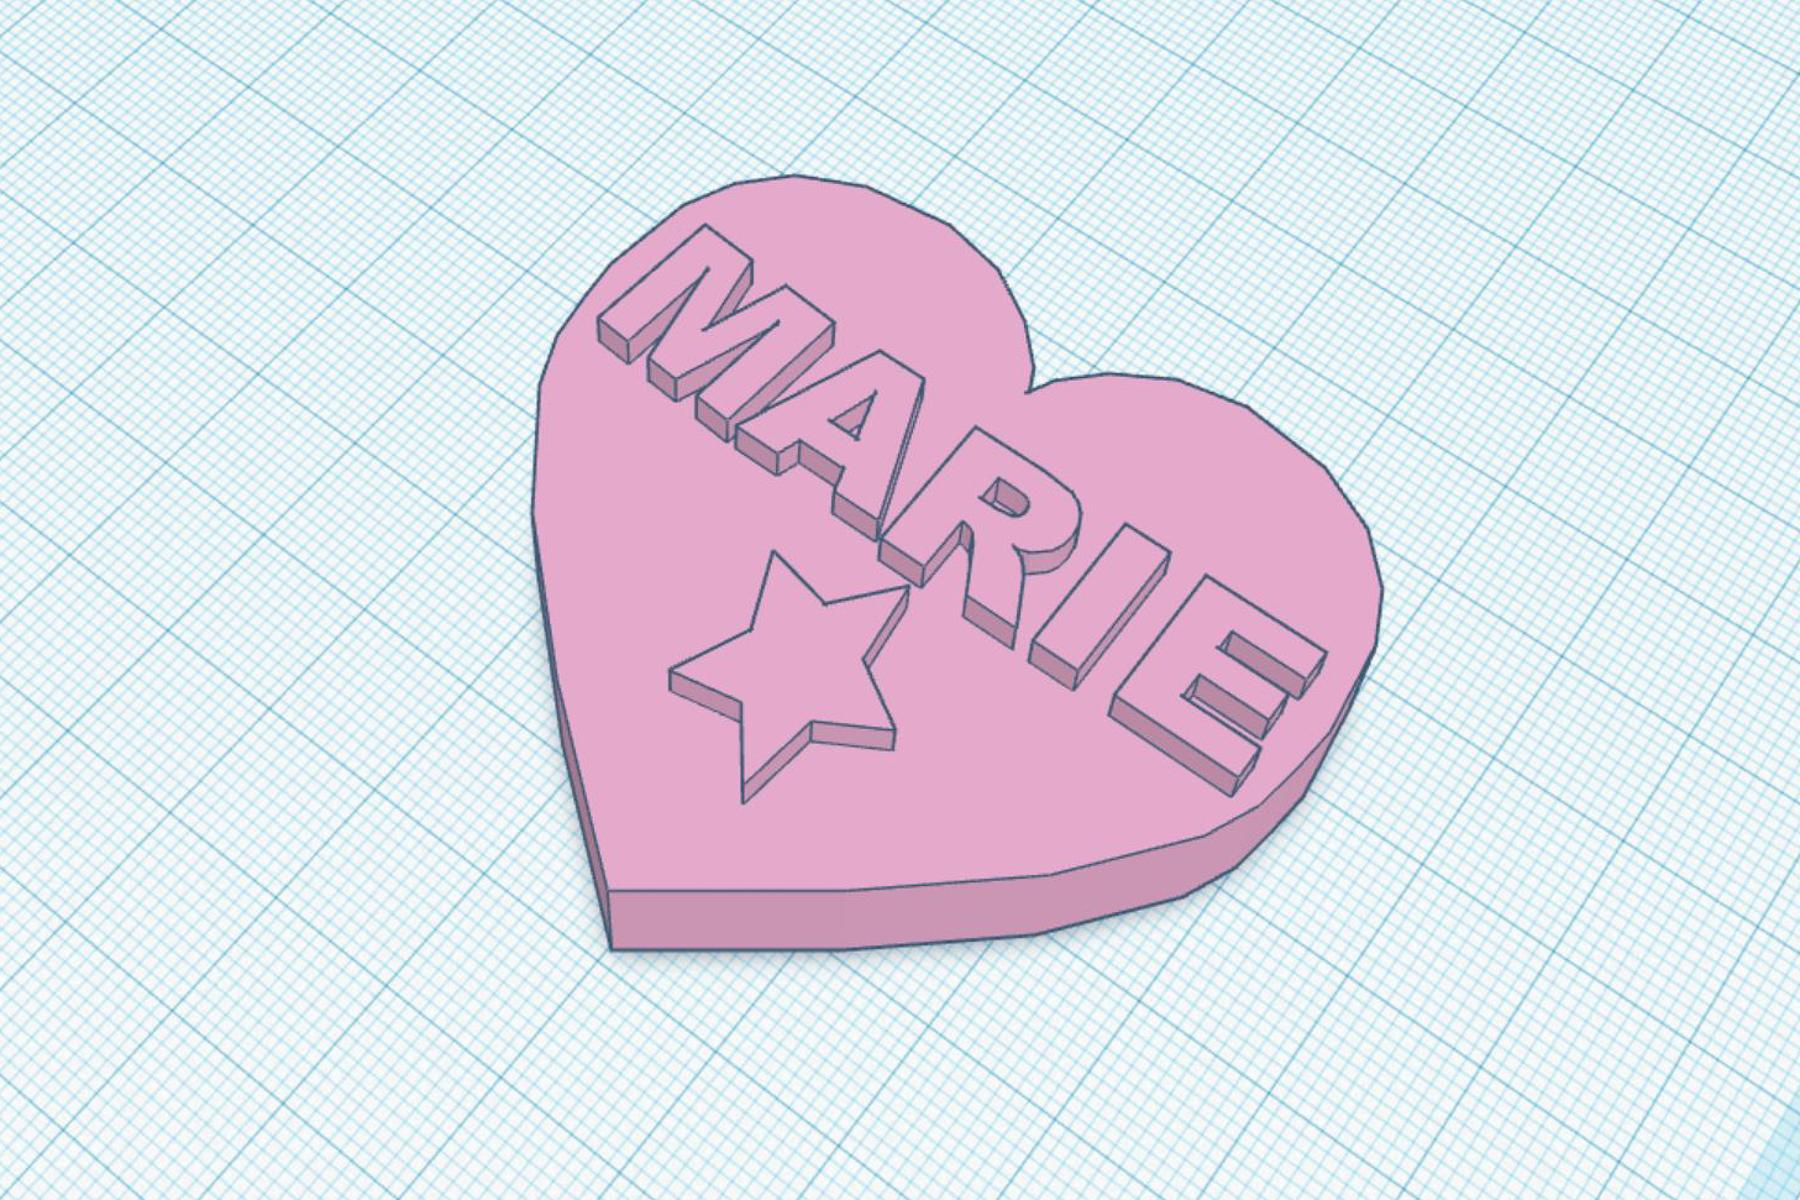
Happy printing together!
click
Do you have a link to the STLs for the Popsicle stick bench?
https://www.prusaprinters.org/prints/71815-popsicle-stick-fence-bench-and-picnic-table
I appreciate your idea. very beautiful and unique, the kids love this idea.
flip coin