
Ten years ago, when you wanted to print anything on a RepRap 3D printer, you had pretty much only one option: ABS. It wasn’t exactly easy to get everything right. Printing ABS without a heated bed introduced a number of issues. Soon, new materials started to appear, however, ABS remained among some of the most frequently purchased materials along with PLA and PET. We’re pretty sure that many of you built a 3D printer enclosure just because you needed to print with ABS.
When we started internal talks about a new Prusament type we could add to the current lineup of PLA and PET filaments, we wanted to have something close to ABS, but with fewer cons. Please welcome our new ASA Prusament!
As always, we spent a lot of time with research, development and testing. We went through eight different types of nurdles (the source material for producing filaments). What sets various types of nurdles apart are three of their main monomers. However, choosing the best source material was only the beginning. Another important part are the pigments – additives, which affect more than just the color of the filament. Some of the testing samples we produced worked well with our printers and were easy to print with. On the other hand, they were extremely difficult to produce. Other samples were the exact opposite. Eventually, we found the ideal combination. Of course, you can inspect every purchased spool through our online tool and see all the manufacturing parameters. You can find a detailed technical data sheet here.
ASA can be considered a true successor to ABS. Compared to ABS, it’s UV stable, it doesn’t suffer from shrinking so badly and the fumes produced are much less noticeable. ASA 3D prints are durable, tough and suitable for a wide range of applications. The glass transition temperature is also higher compared to PLA and PETG, which gives objects printed from ASA an excellent temperature resistance – there are no signs of deformation up to temperatures near 93 °C. Thanks to all these properties, ASA is especially suitable to print objects meant for long-time outside use.
However, you can still encounter some issues related to shrinking (warping) of the material – especially when printing larger models. Even with the heatbed set to 110°C, the prints can shrink and warp, causing them to detach from the print bed. However, the effects are much less severe compared to ABS. This issue can be eliminated by printing inside an enclosure or by adding a tall skirt around the object. More about this later.
Pros and cons of ASA
| Pros | Cons | ||
|---|---|---|---|
| Great for outside use – UV stable | Large models have a tendency to warp | ||
| High temperature resistance | Produces odors during printing (less than ABS) | ||
| Detailed prints without a stringing effect | Contains styrene | ||
| Can be smoothed with acetone vapors | Hygroscopic | ||
| Can be easily sanded / post-processed | |||
| Great layer adhesion | |||
| Soluble in acetone – can be used for gluing | |||
| High impact and wear resistance | |||
| Tough | |||
| Recyclable | |||
Best applications for ASA
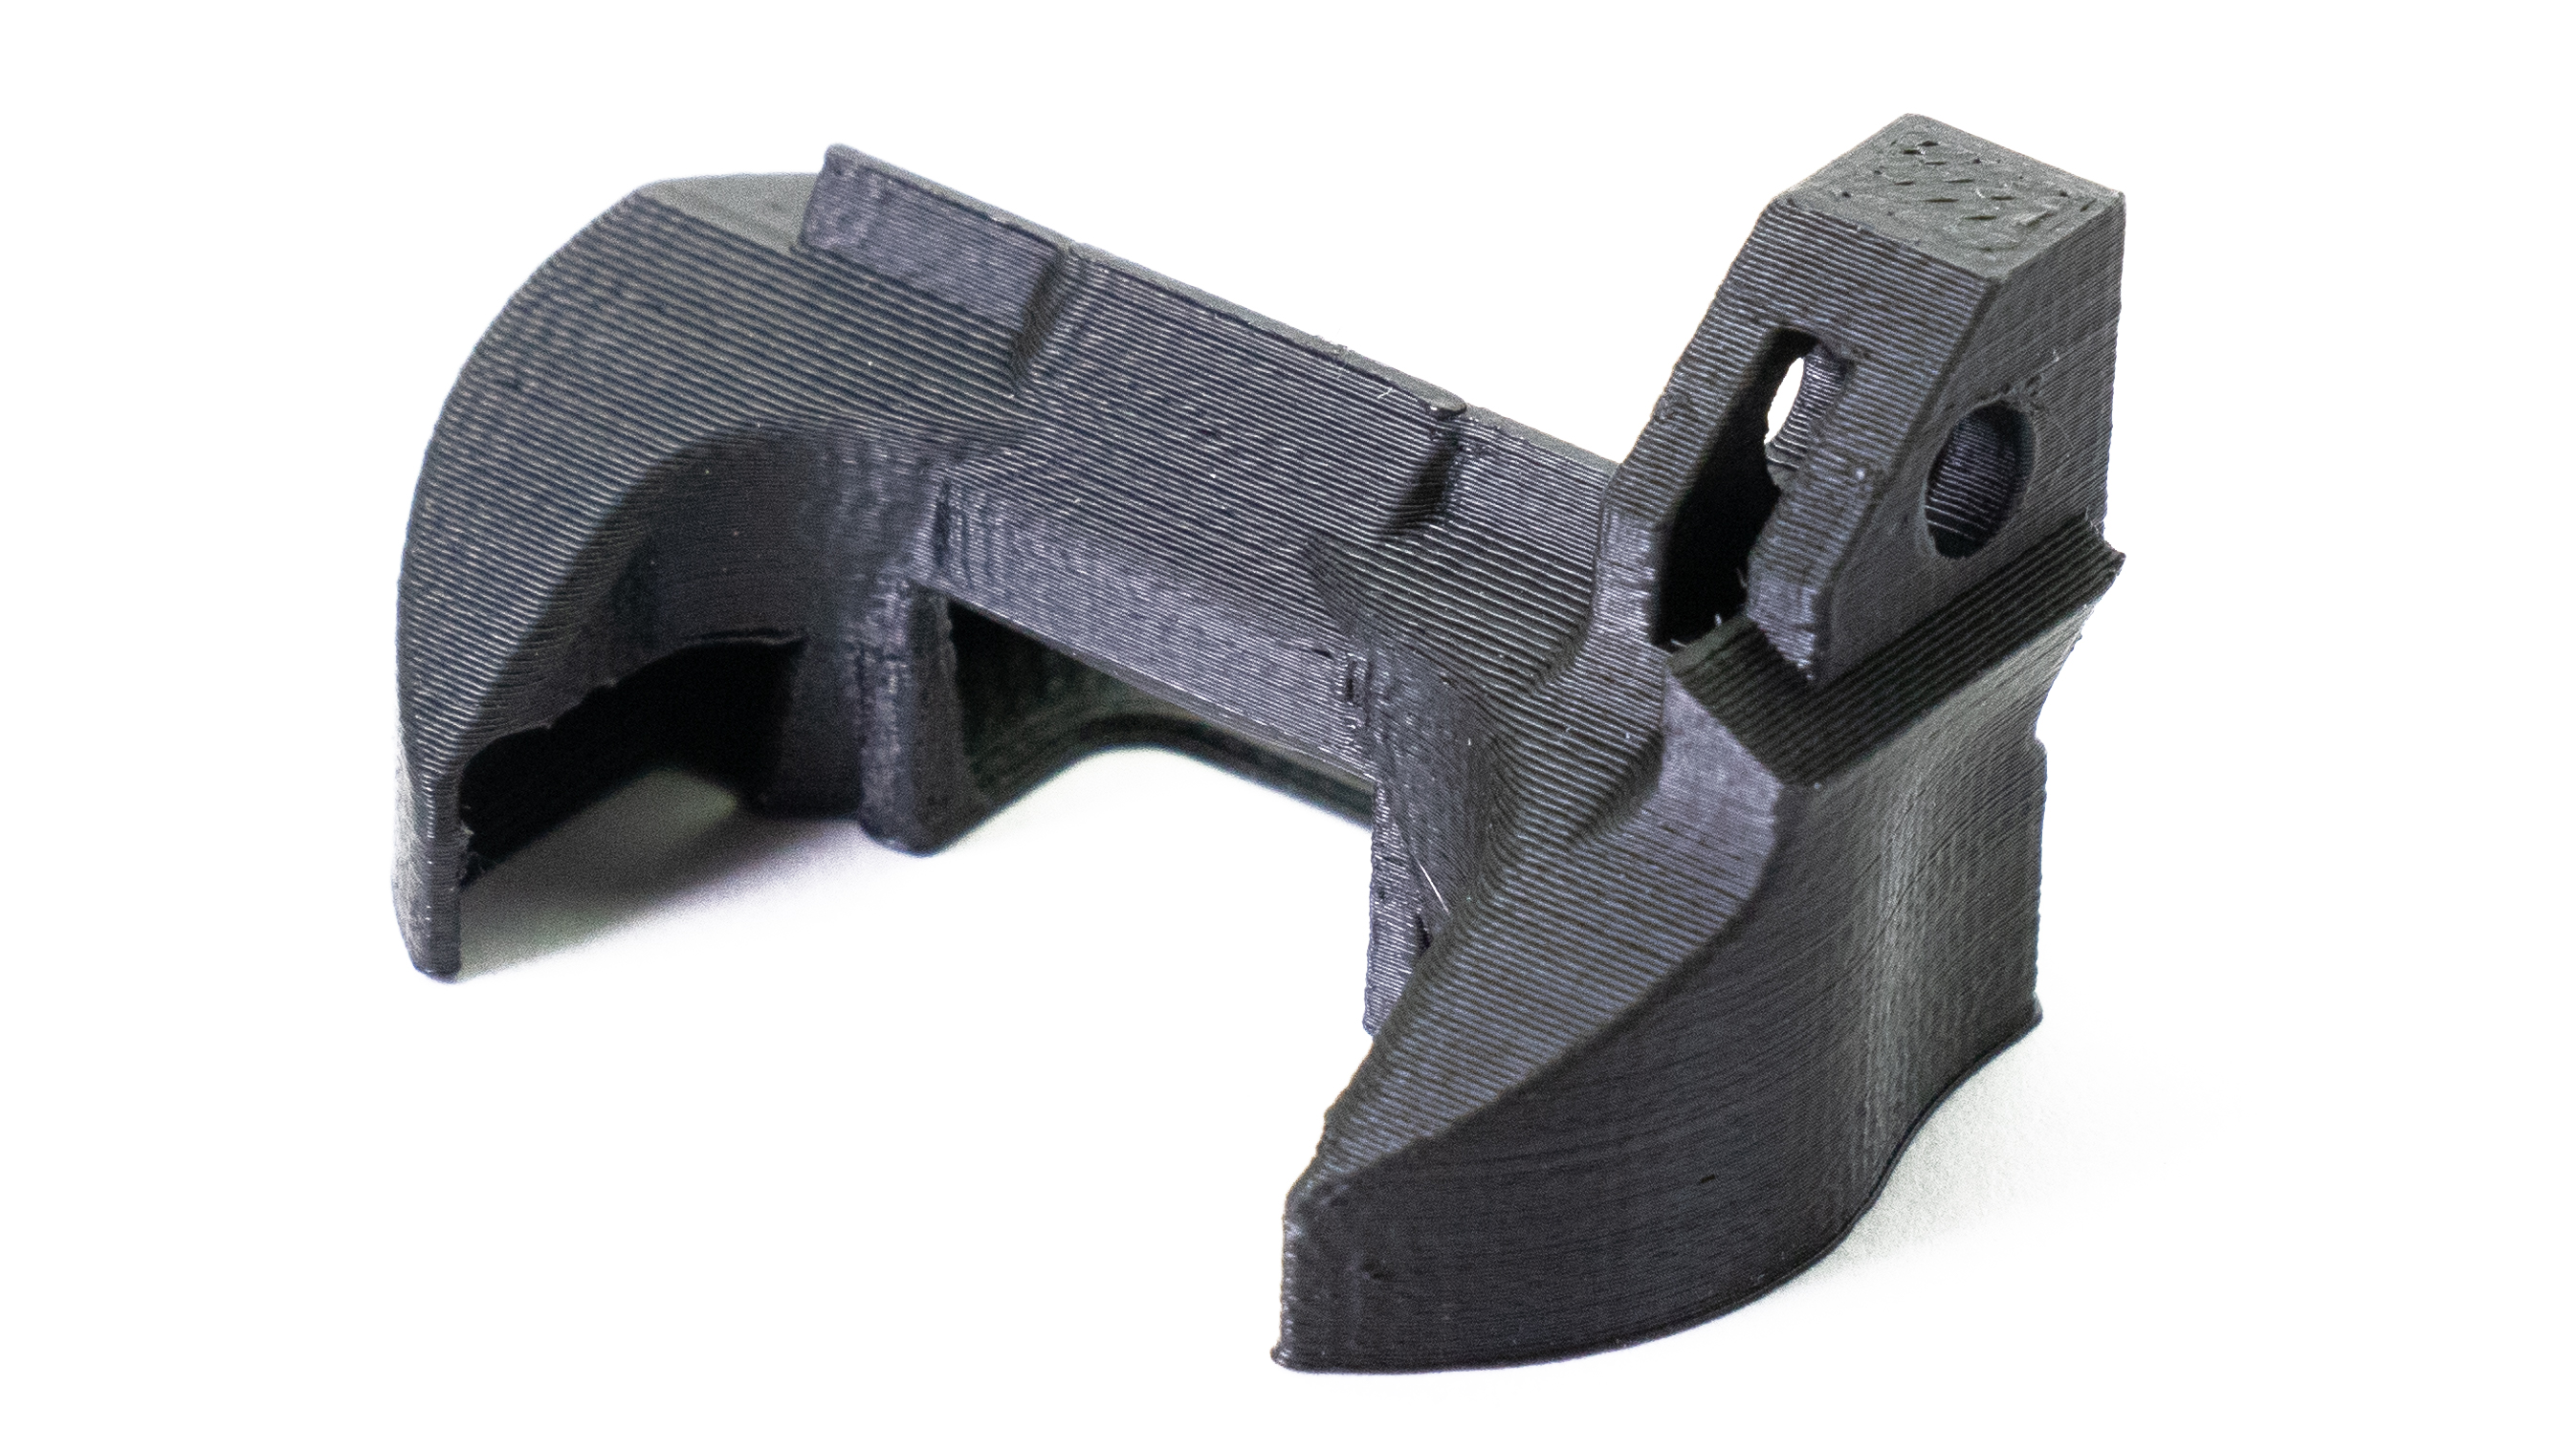
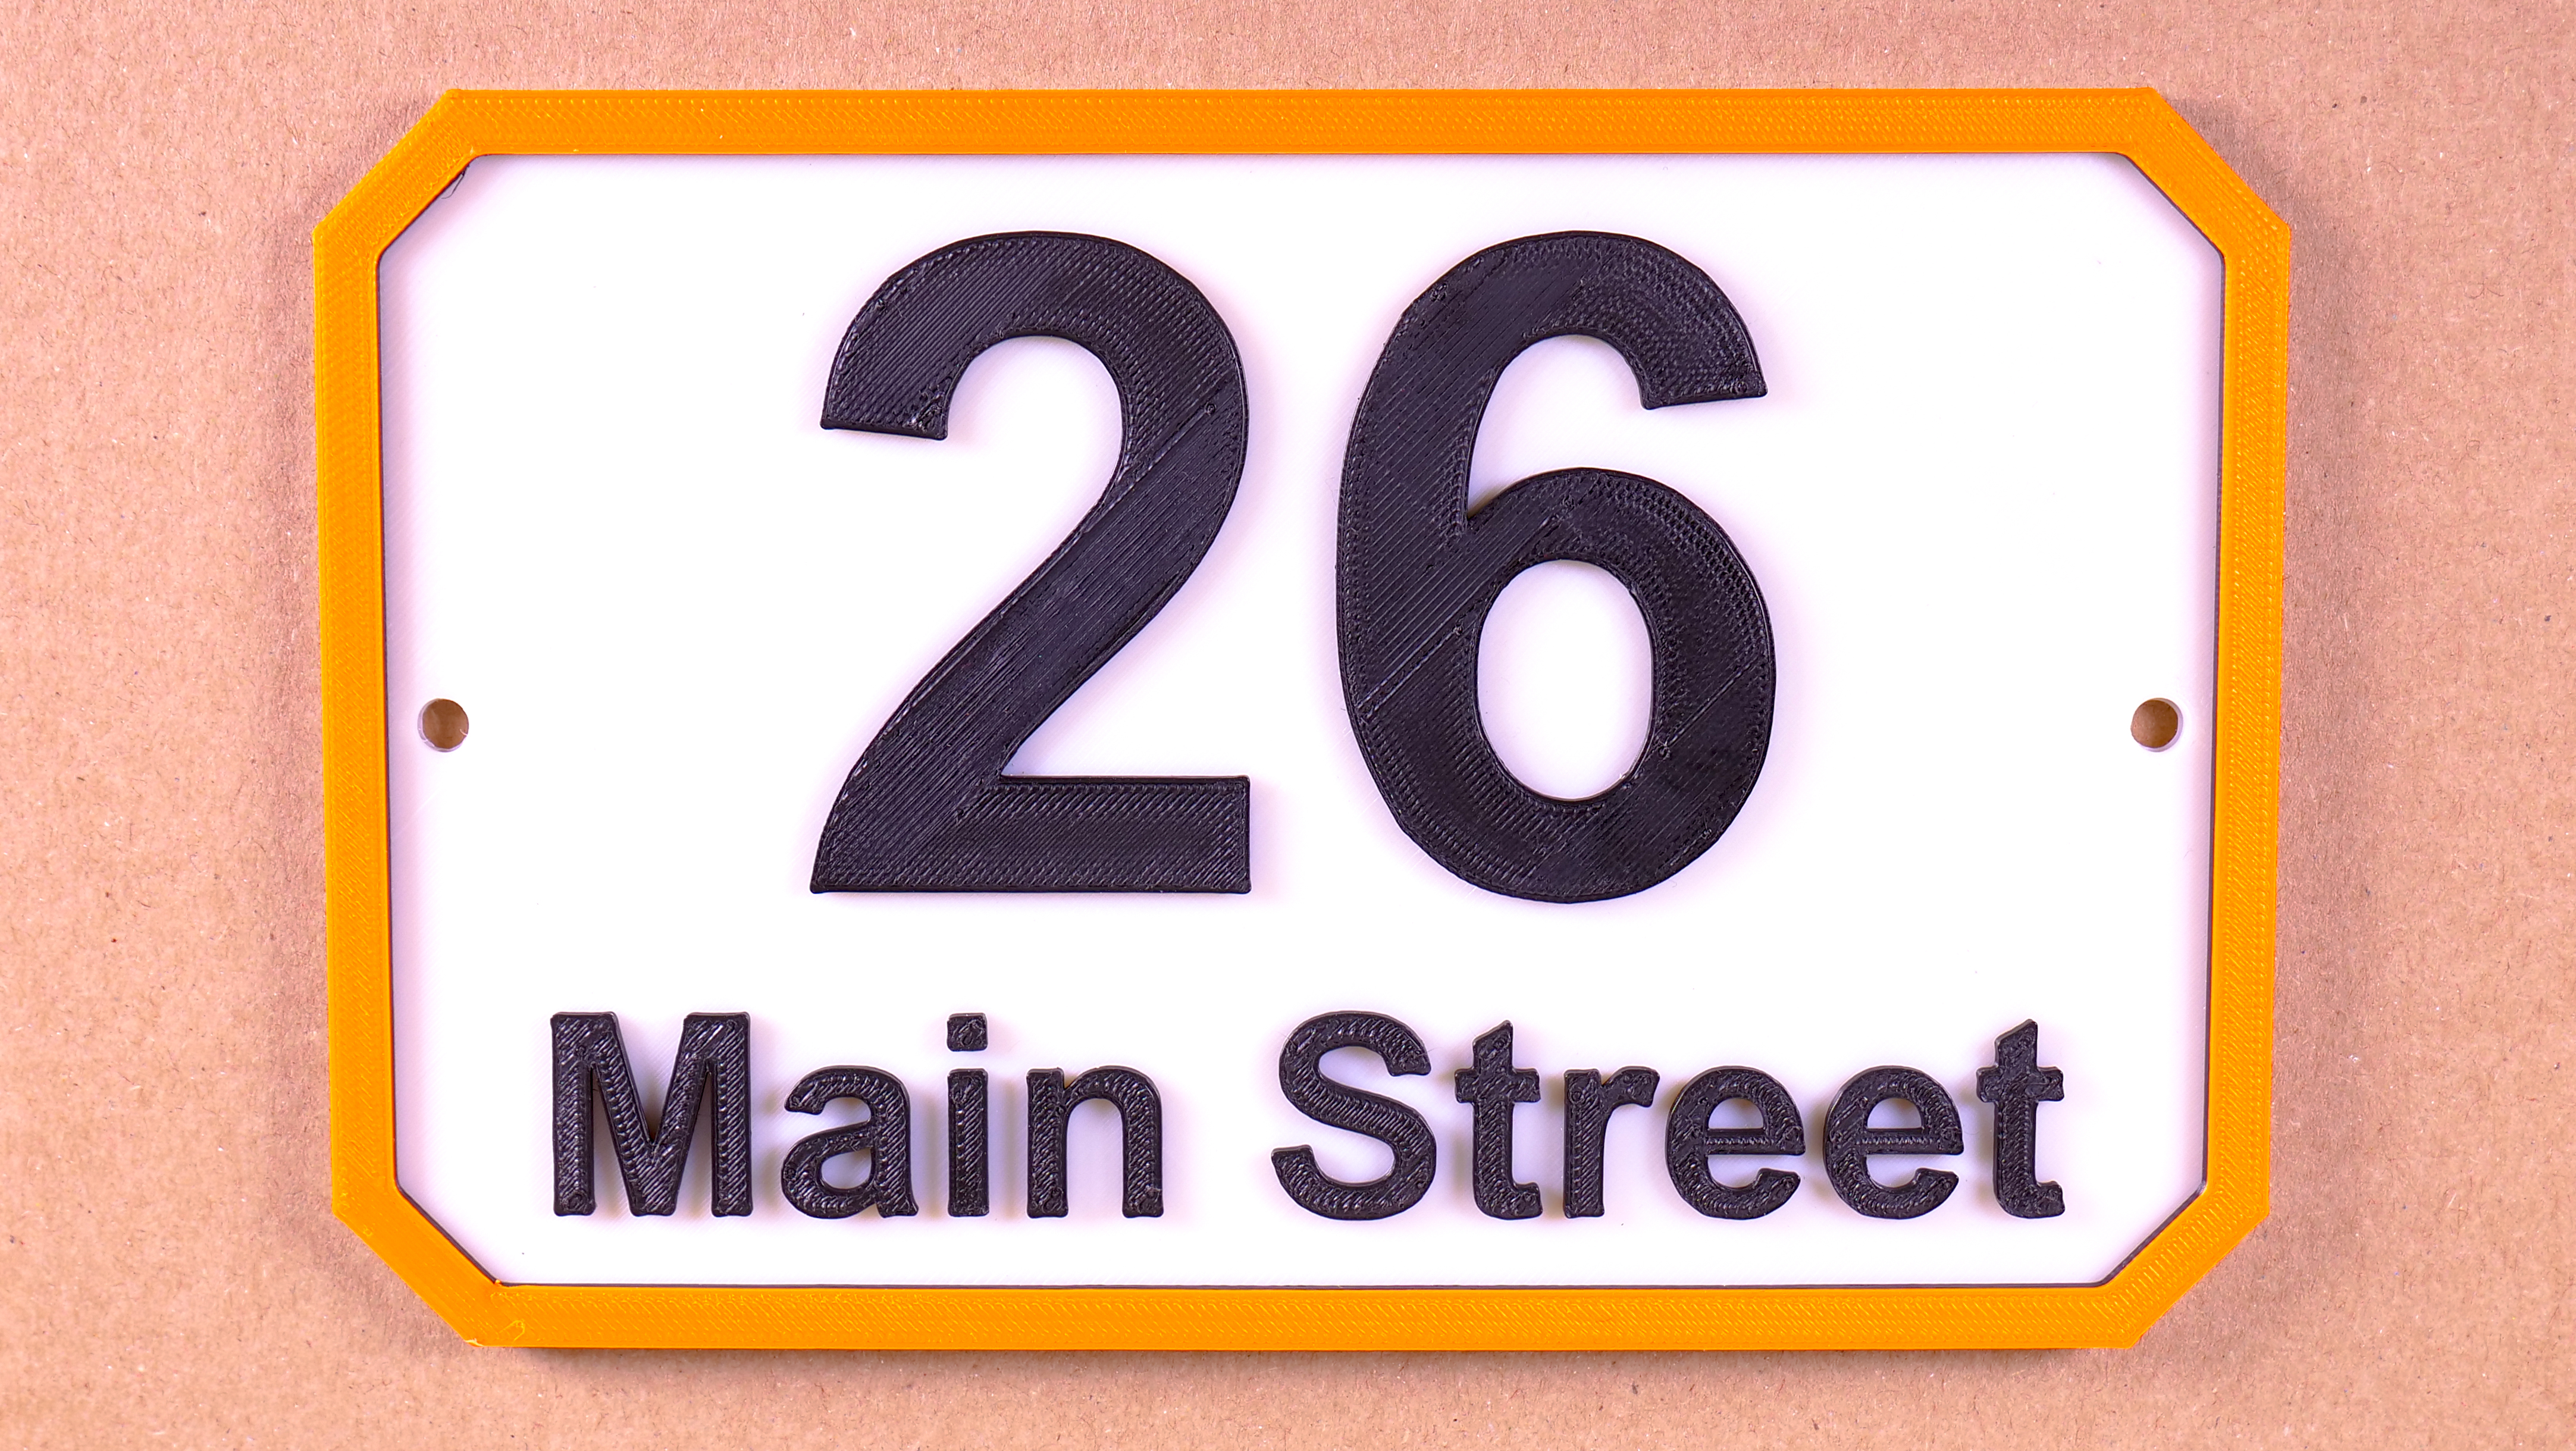
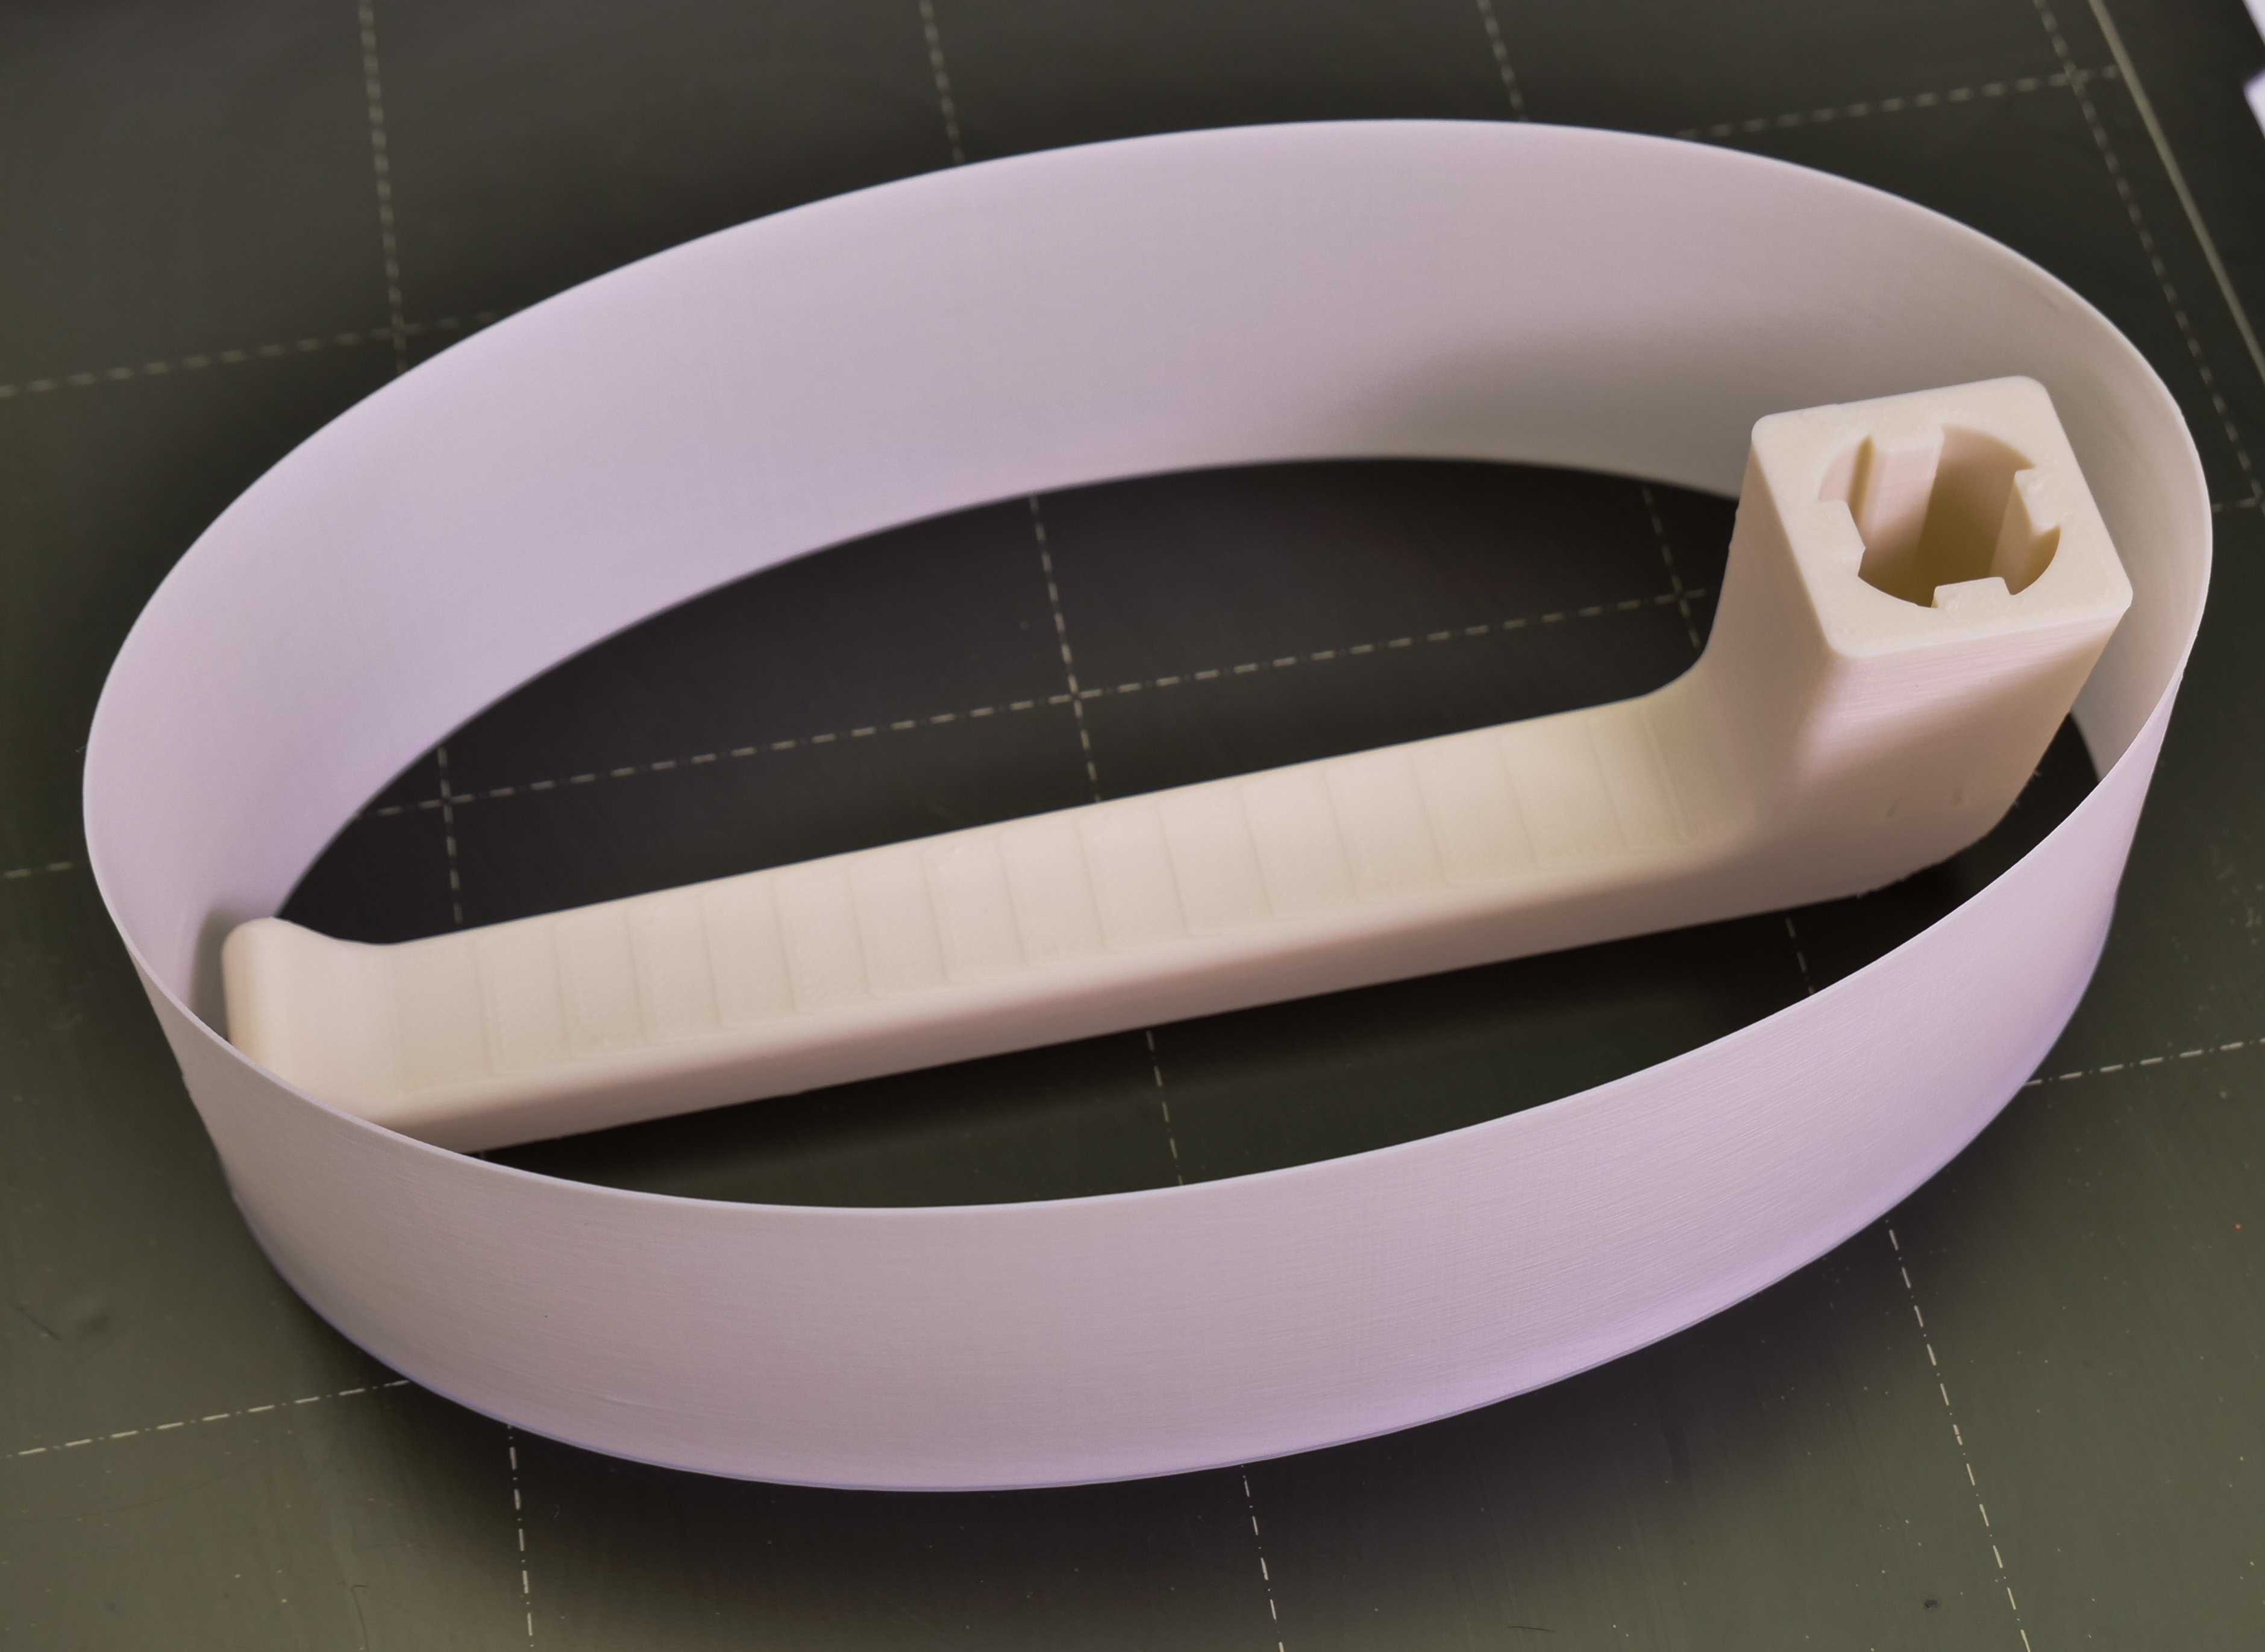
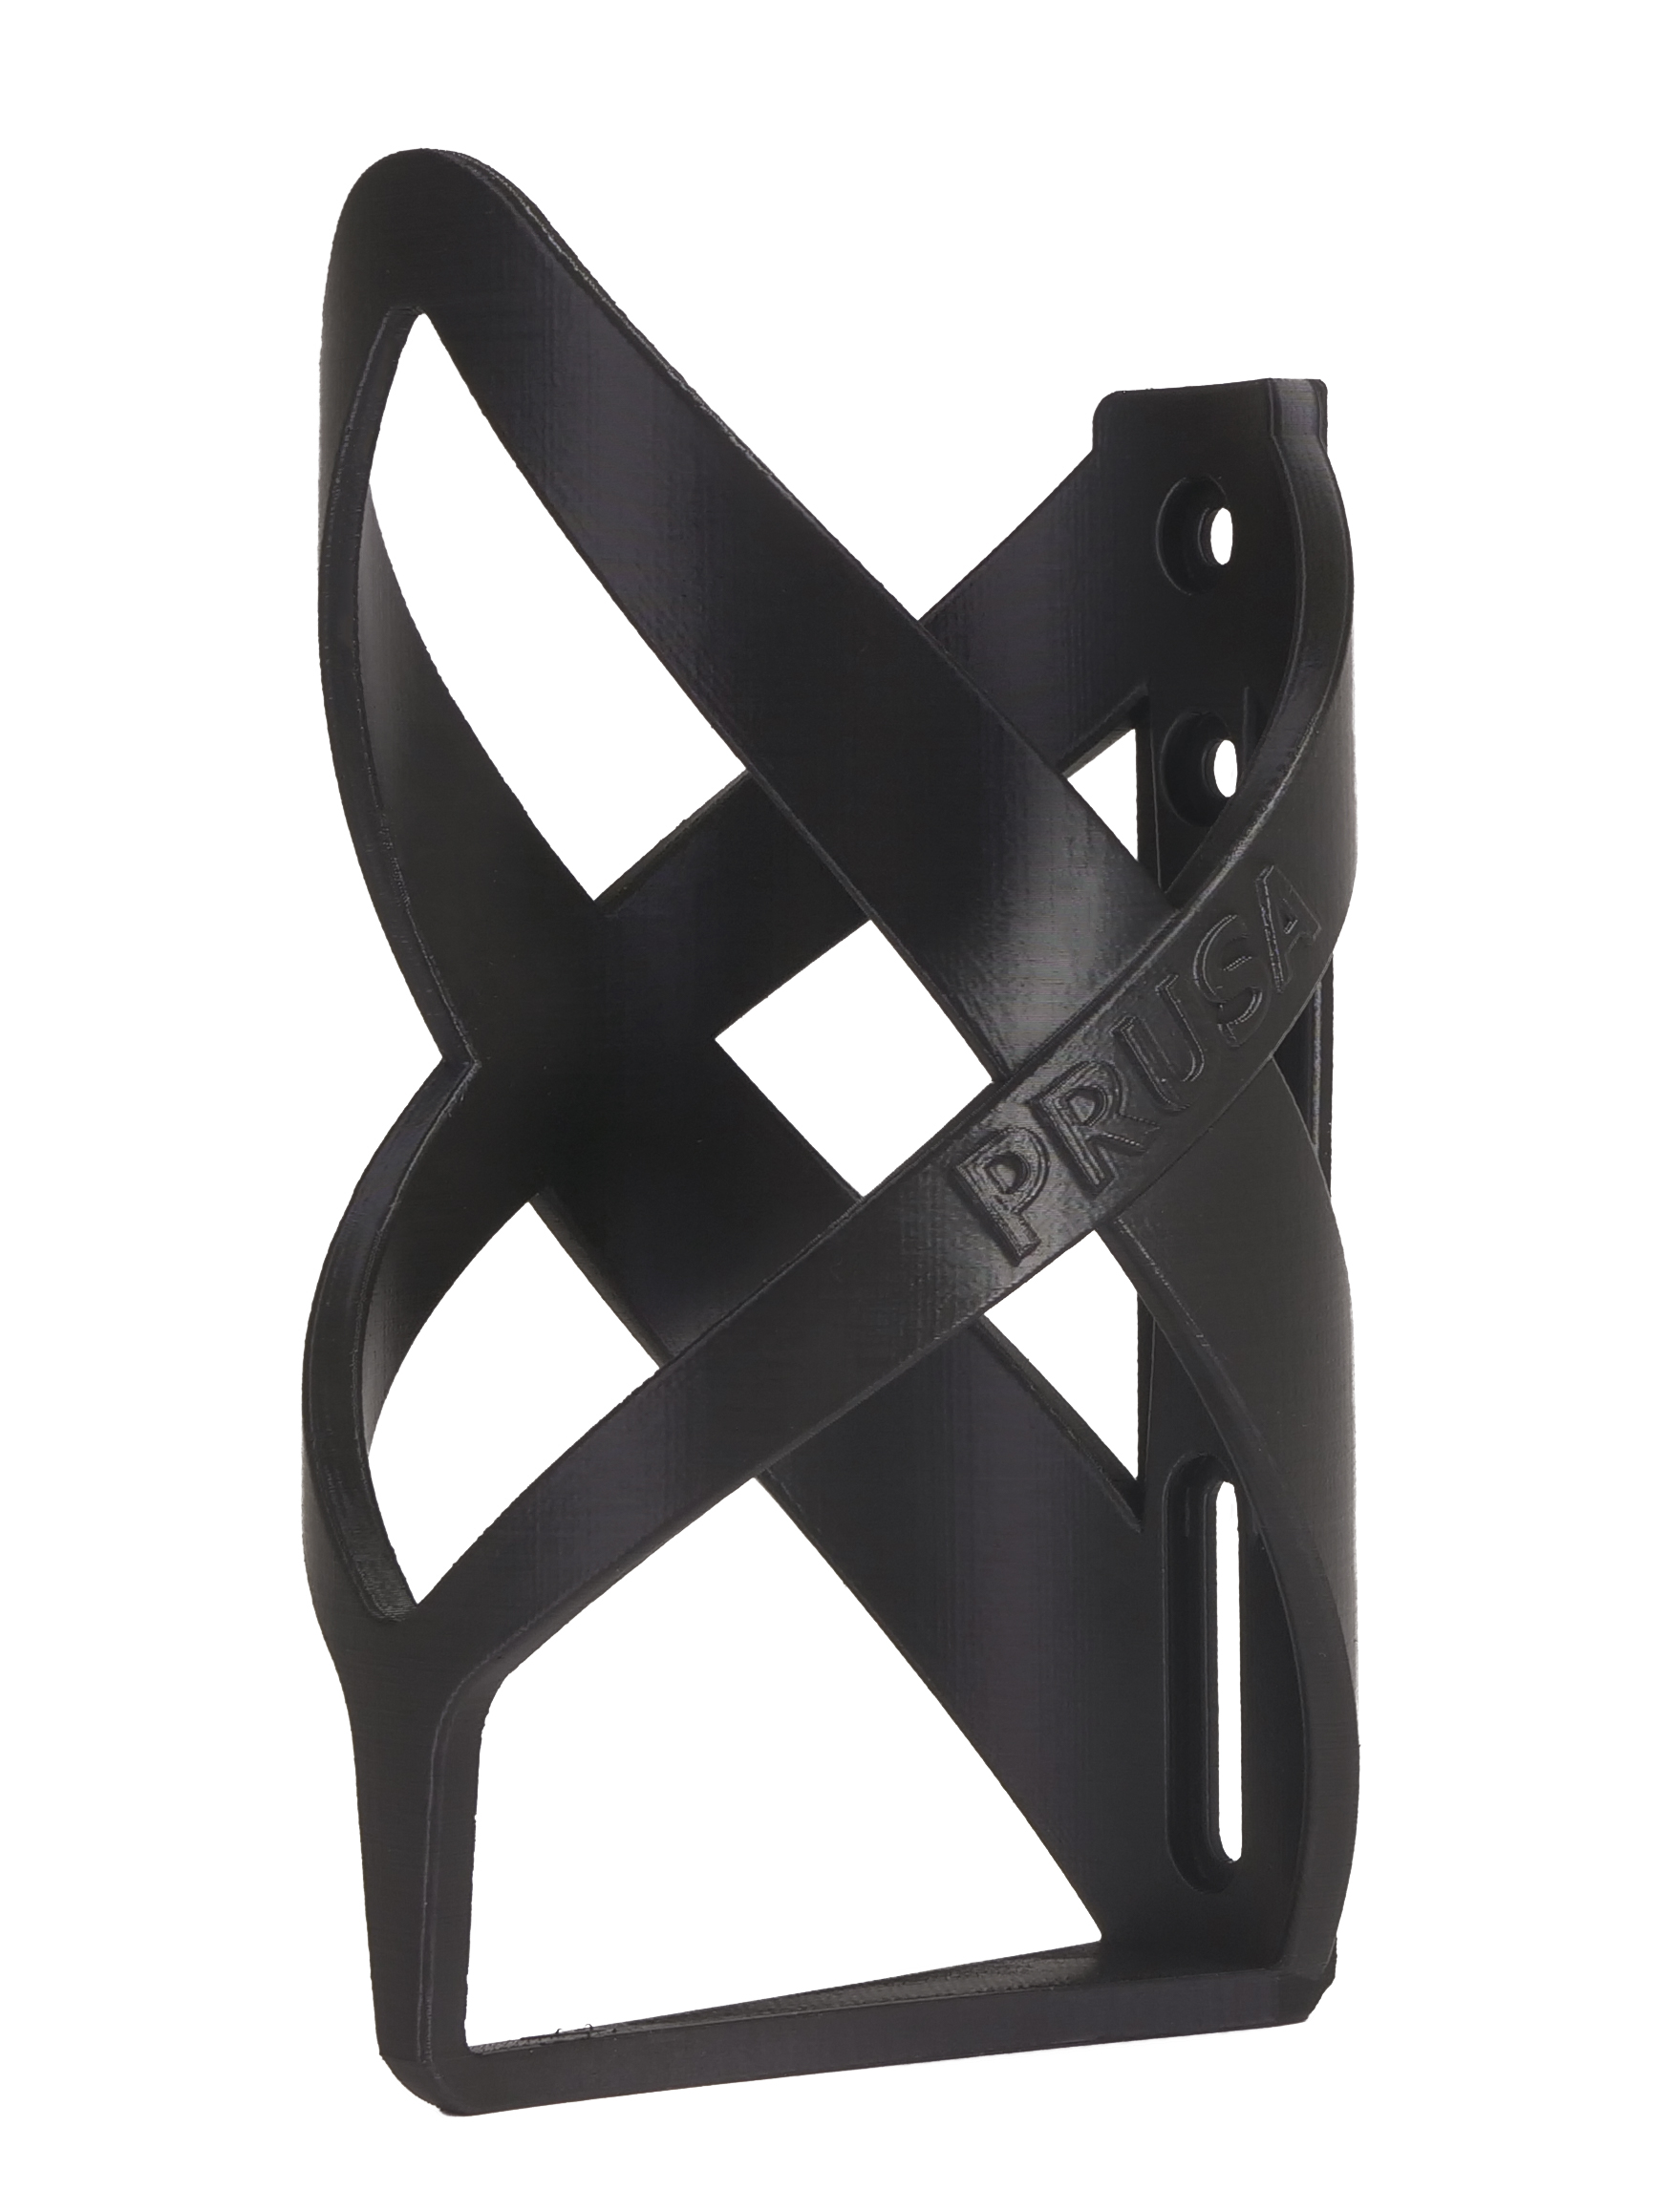
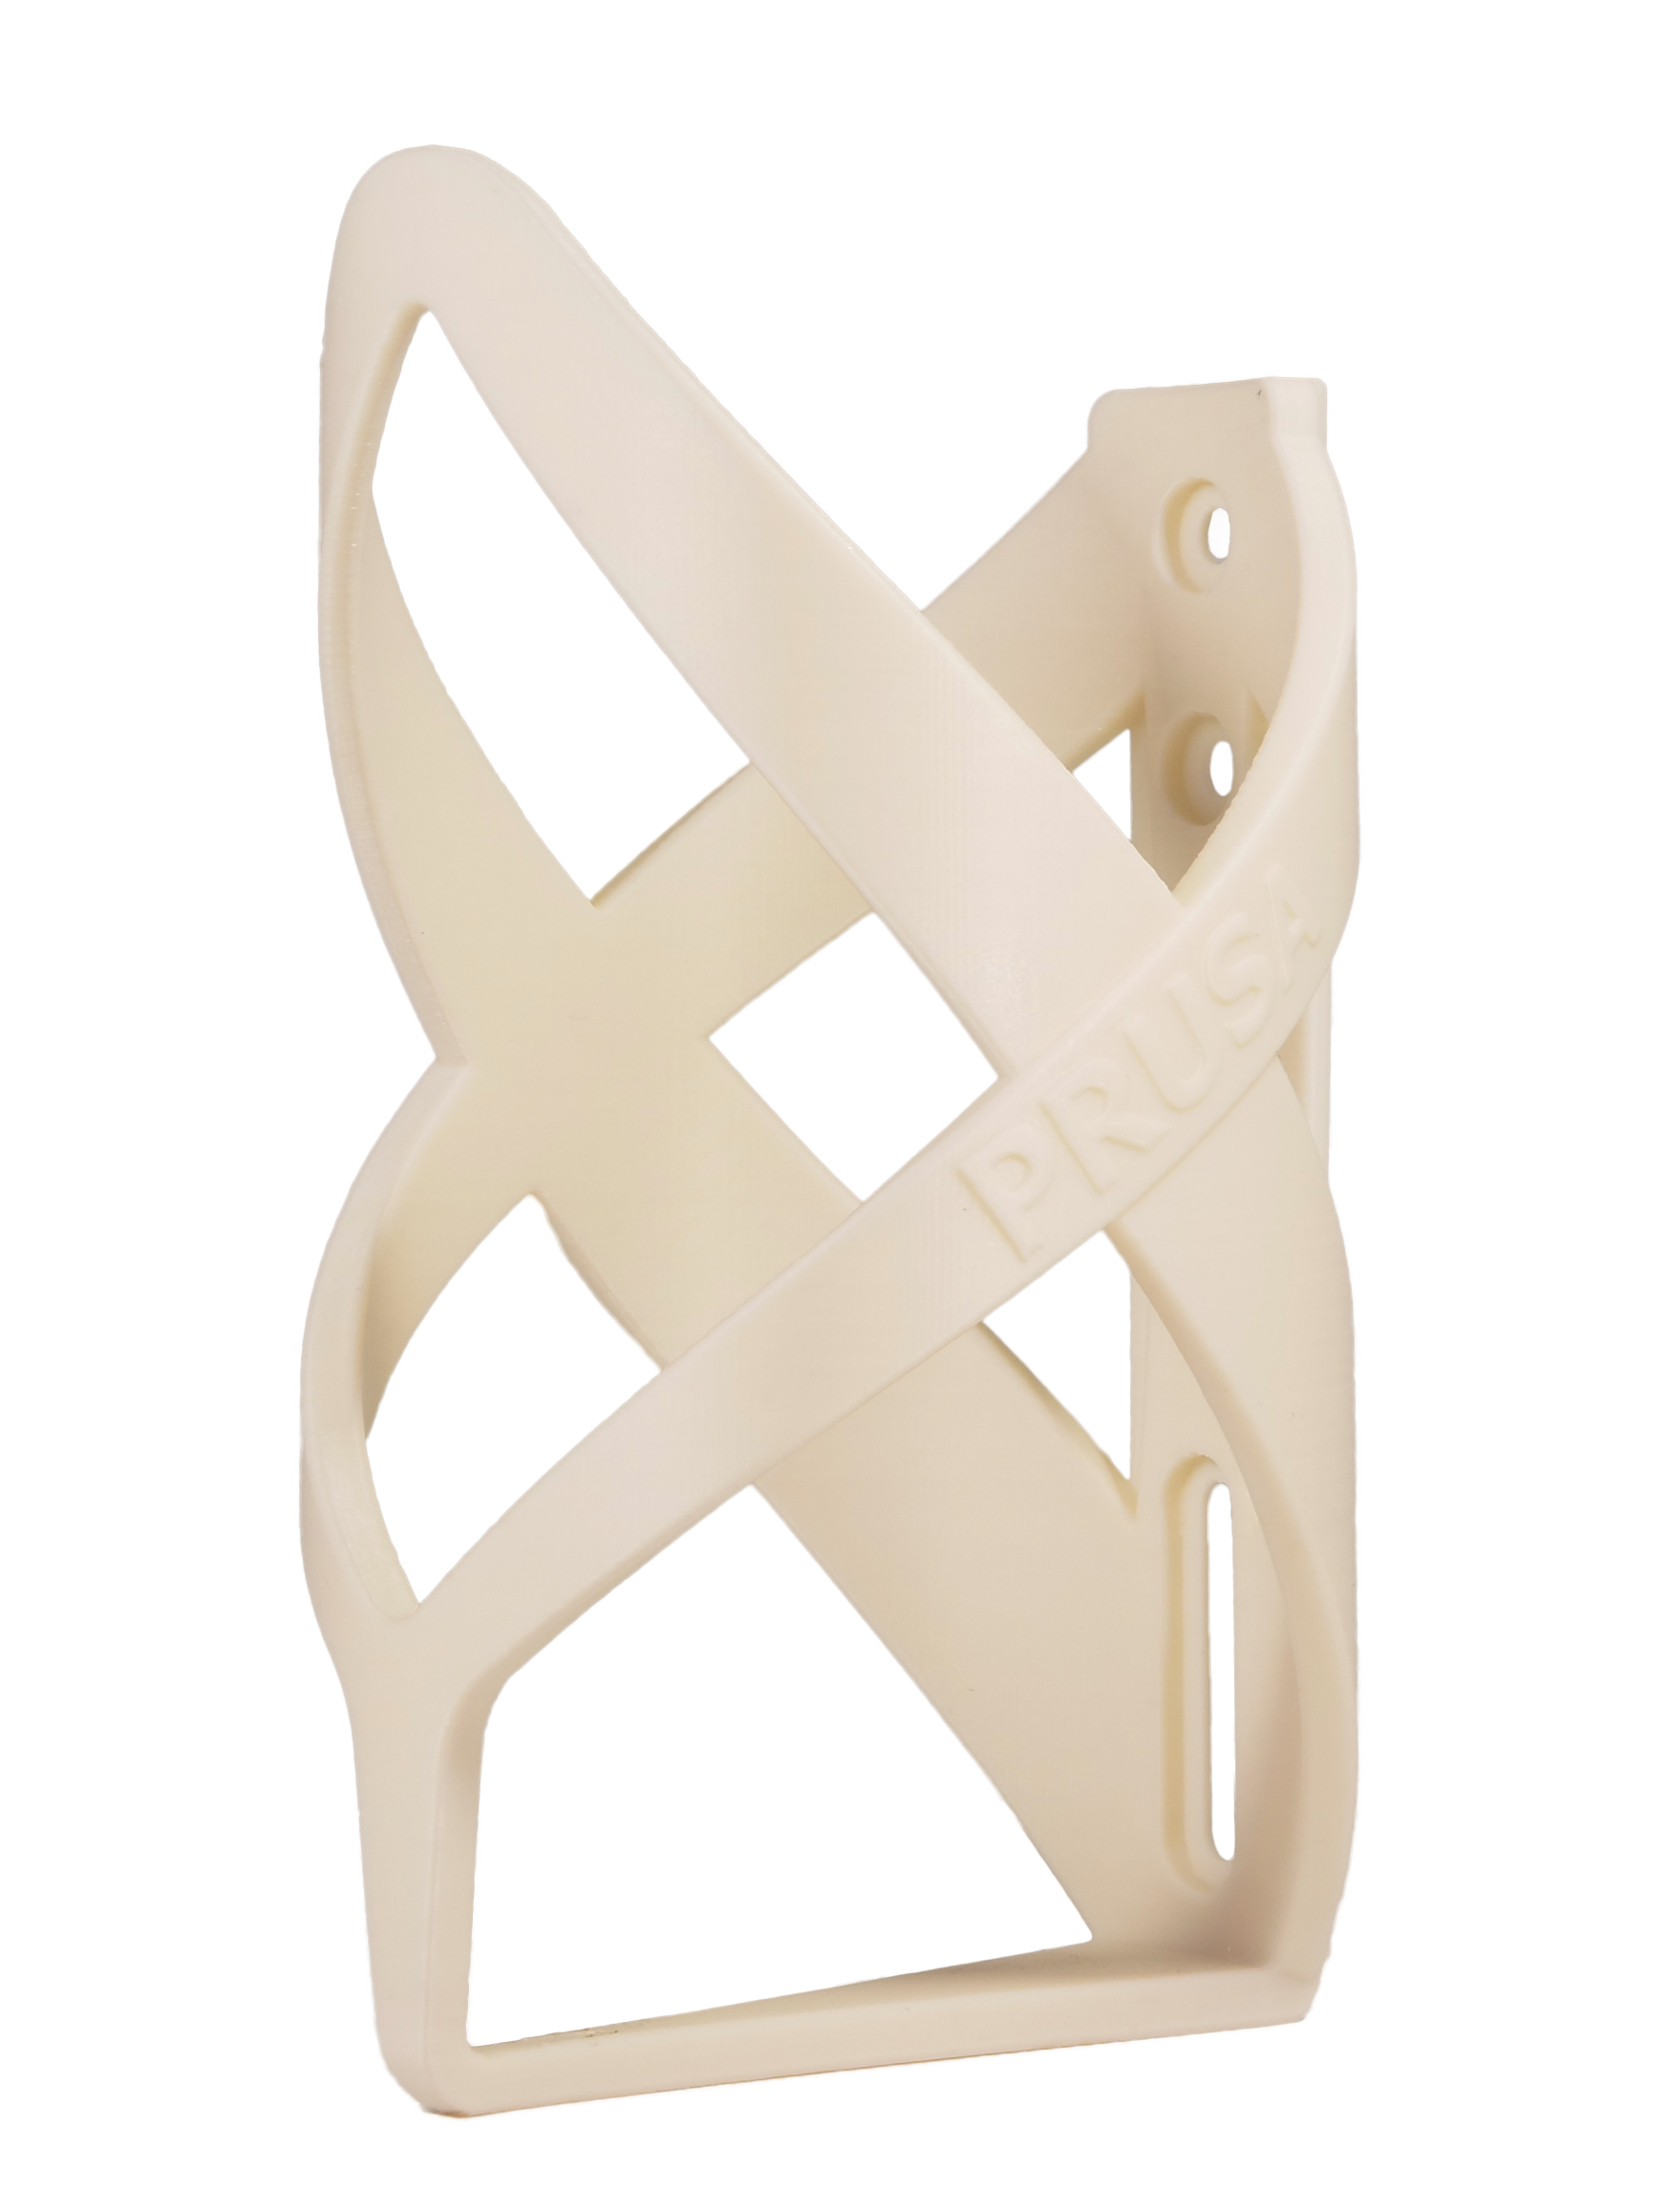
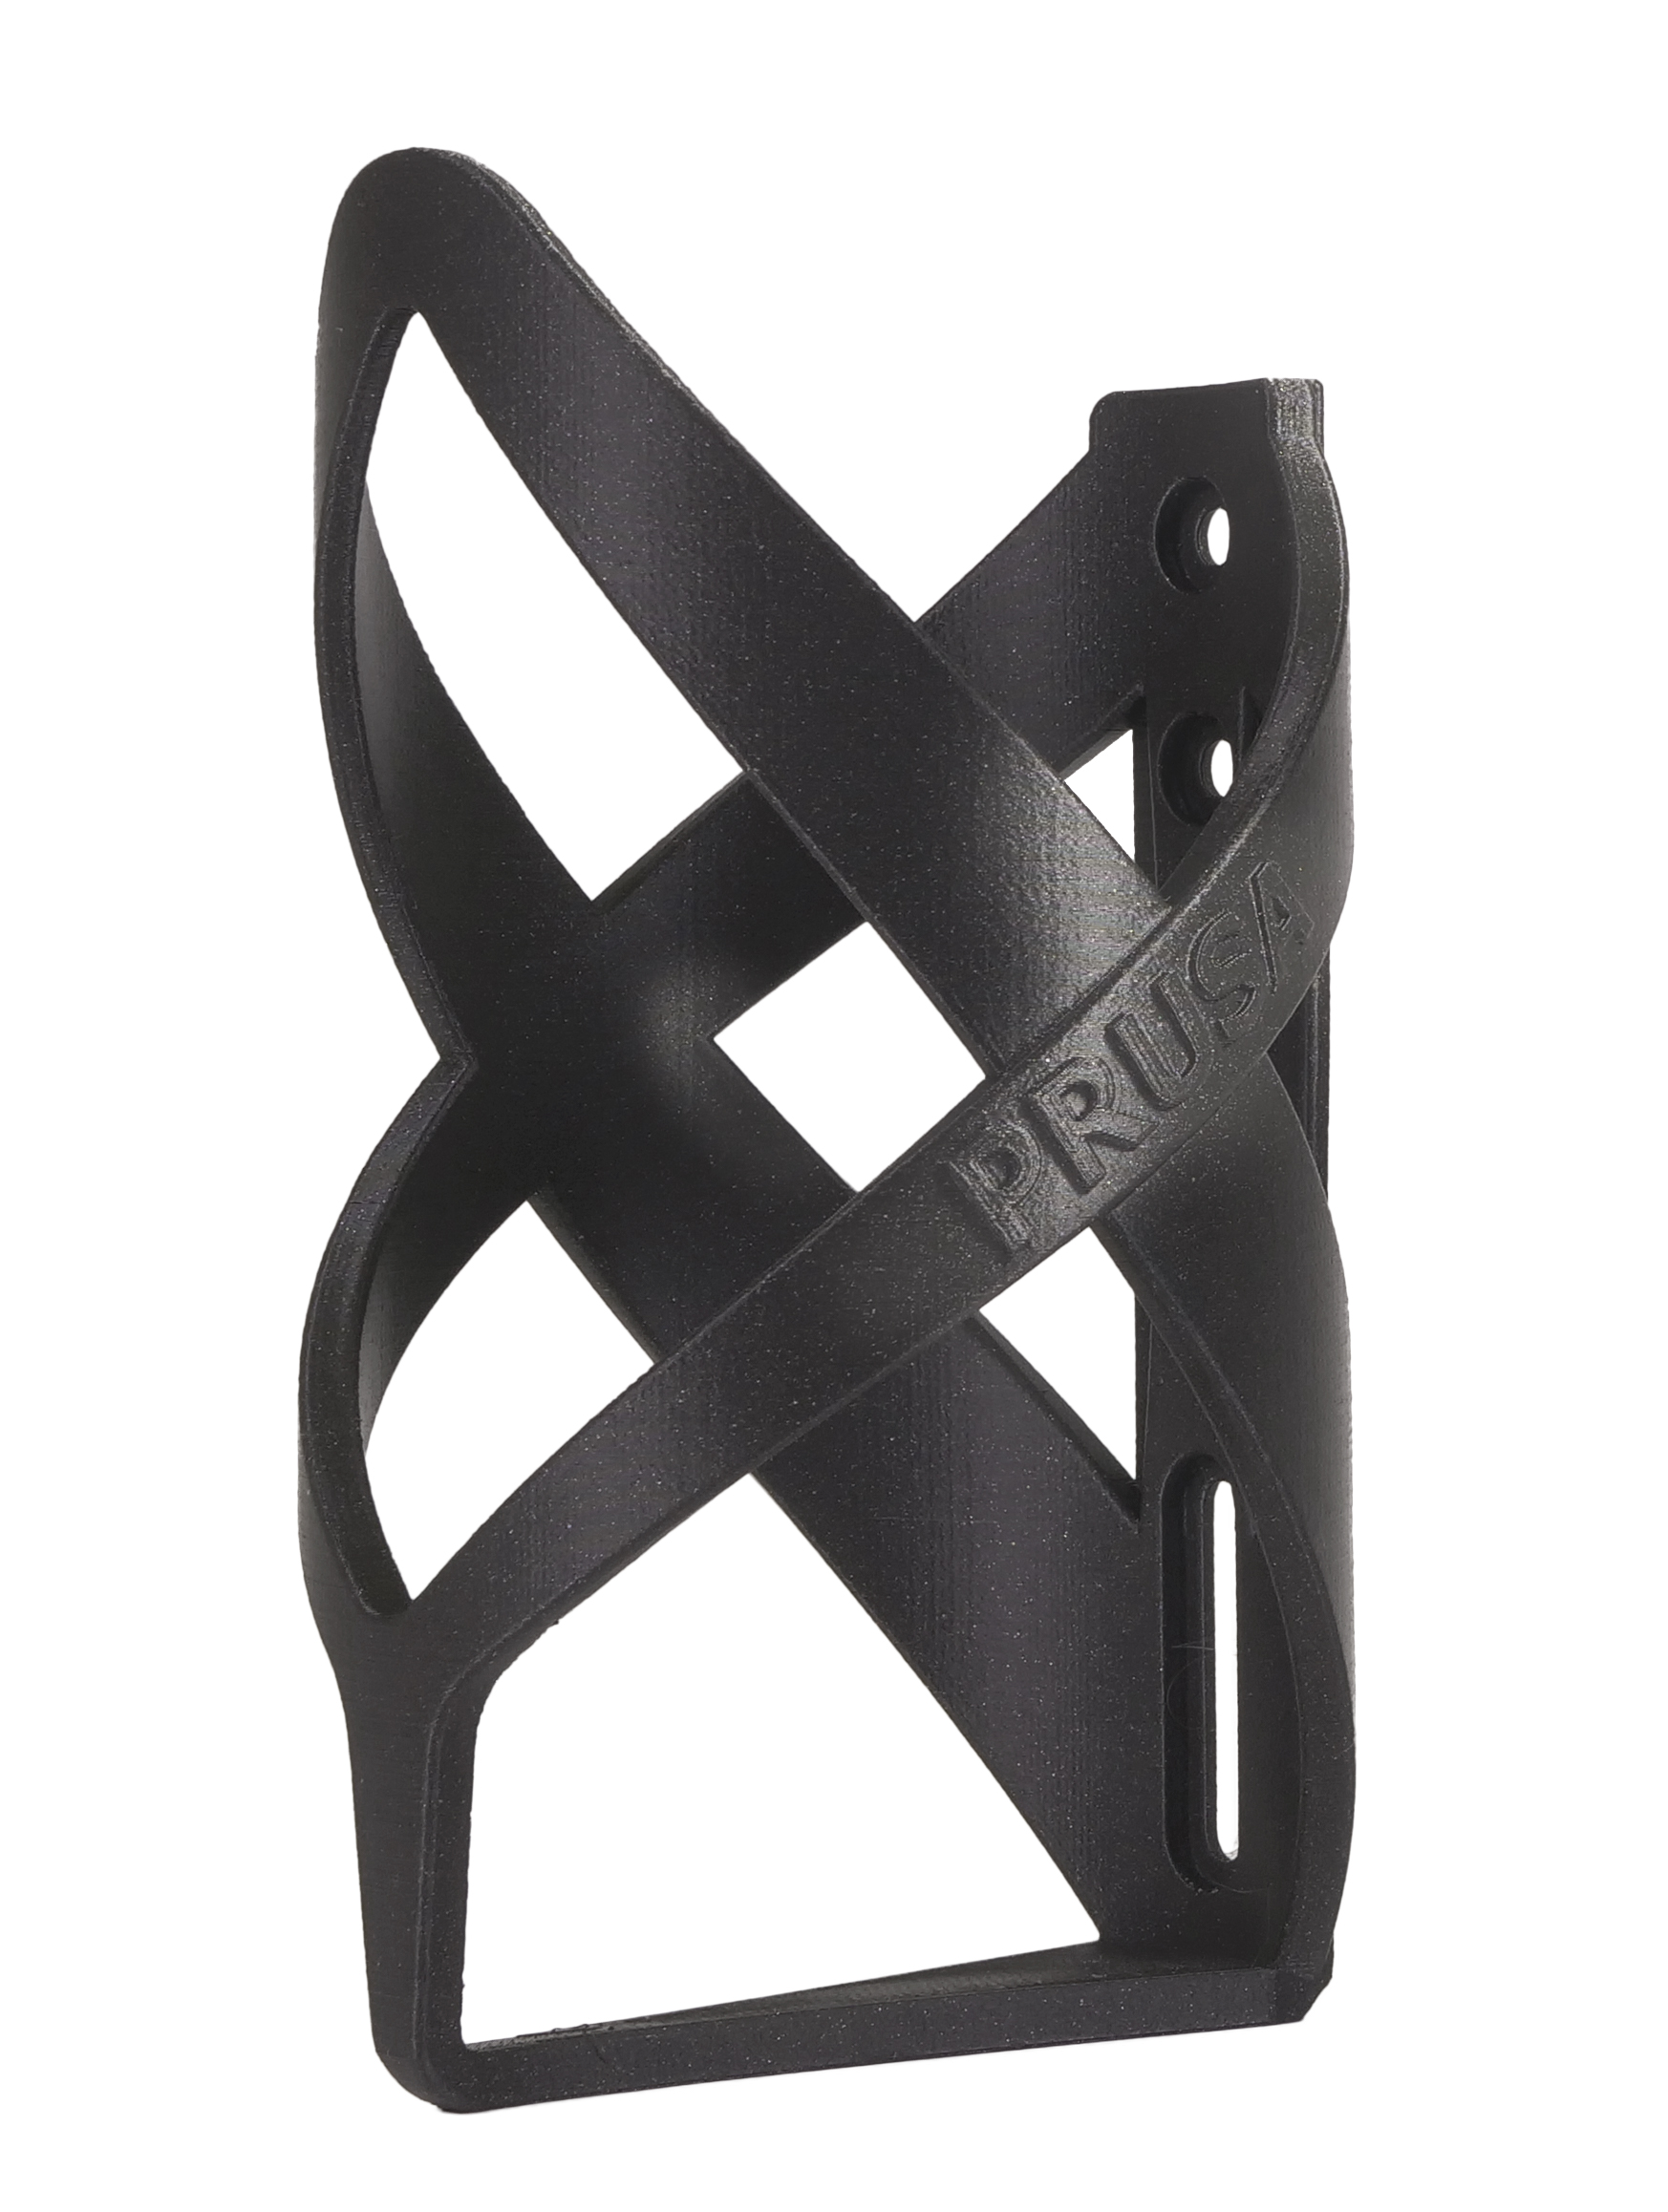
One of the biggest pros of ASA is its UV stability and the possibility to use acetone for processing – namely for smoothing out the surface or for gluing multiple ASA parts together. High temperature resistance is also a plus. For example, we use ASA to print the fan-shroud part for our 3D printers – this part creates an optimal airflow for cooling down the printed object.
 |
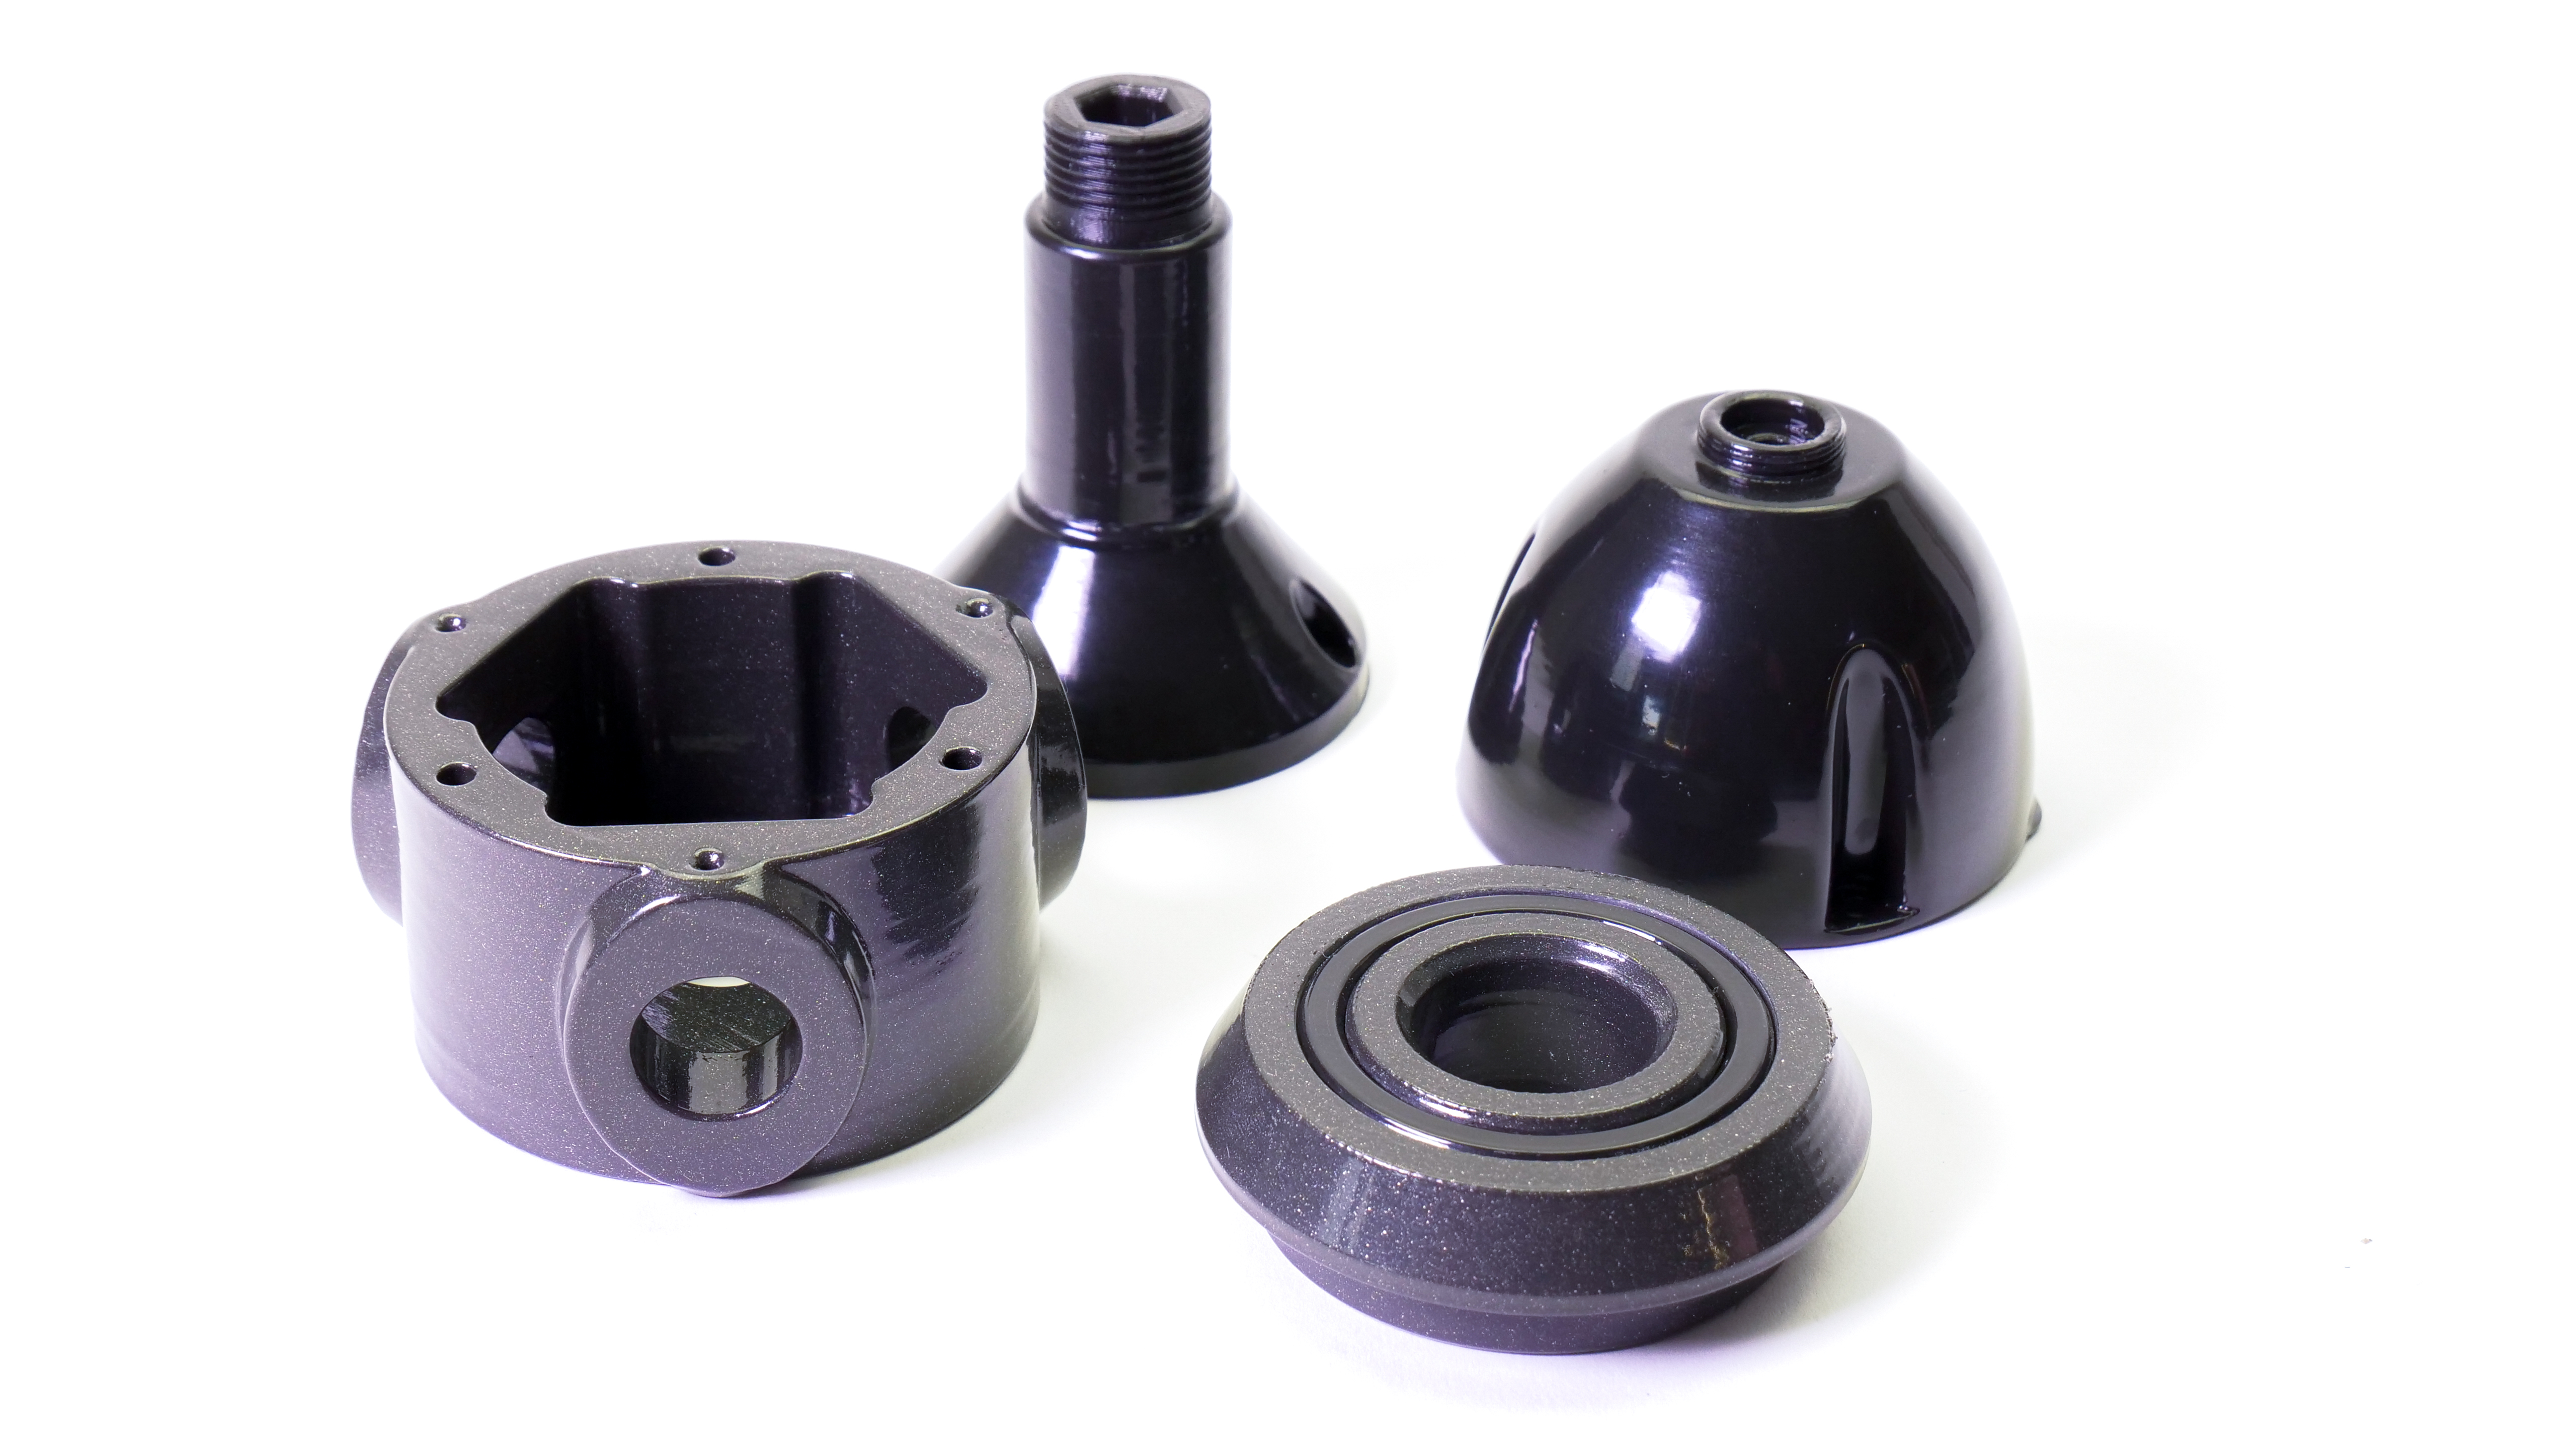 |
| Fan shroud (High temperature resistance) | Wind power plant parts (surface smoothed with acetone vapors, mechanical resistance) |
 |
 |
| House number (UV-stable, the white background won’t turn yellow) | Bottle holder (toughness, durability) |
As for the print quality, it is fully comparable to PLA. ASA 3D prints are very detailed, without stringing, there are no issues with bridging or overhangs. You can see the overhang tests in the photo below (from left: 45°, 30°, 20° and 10° angles).
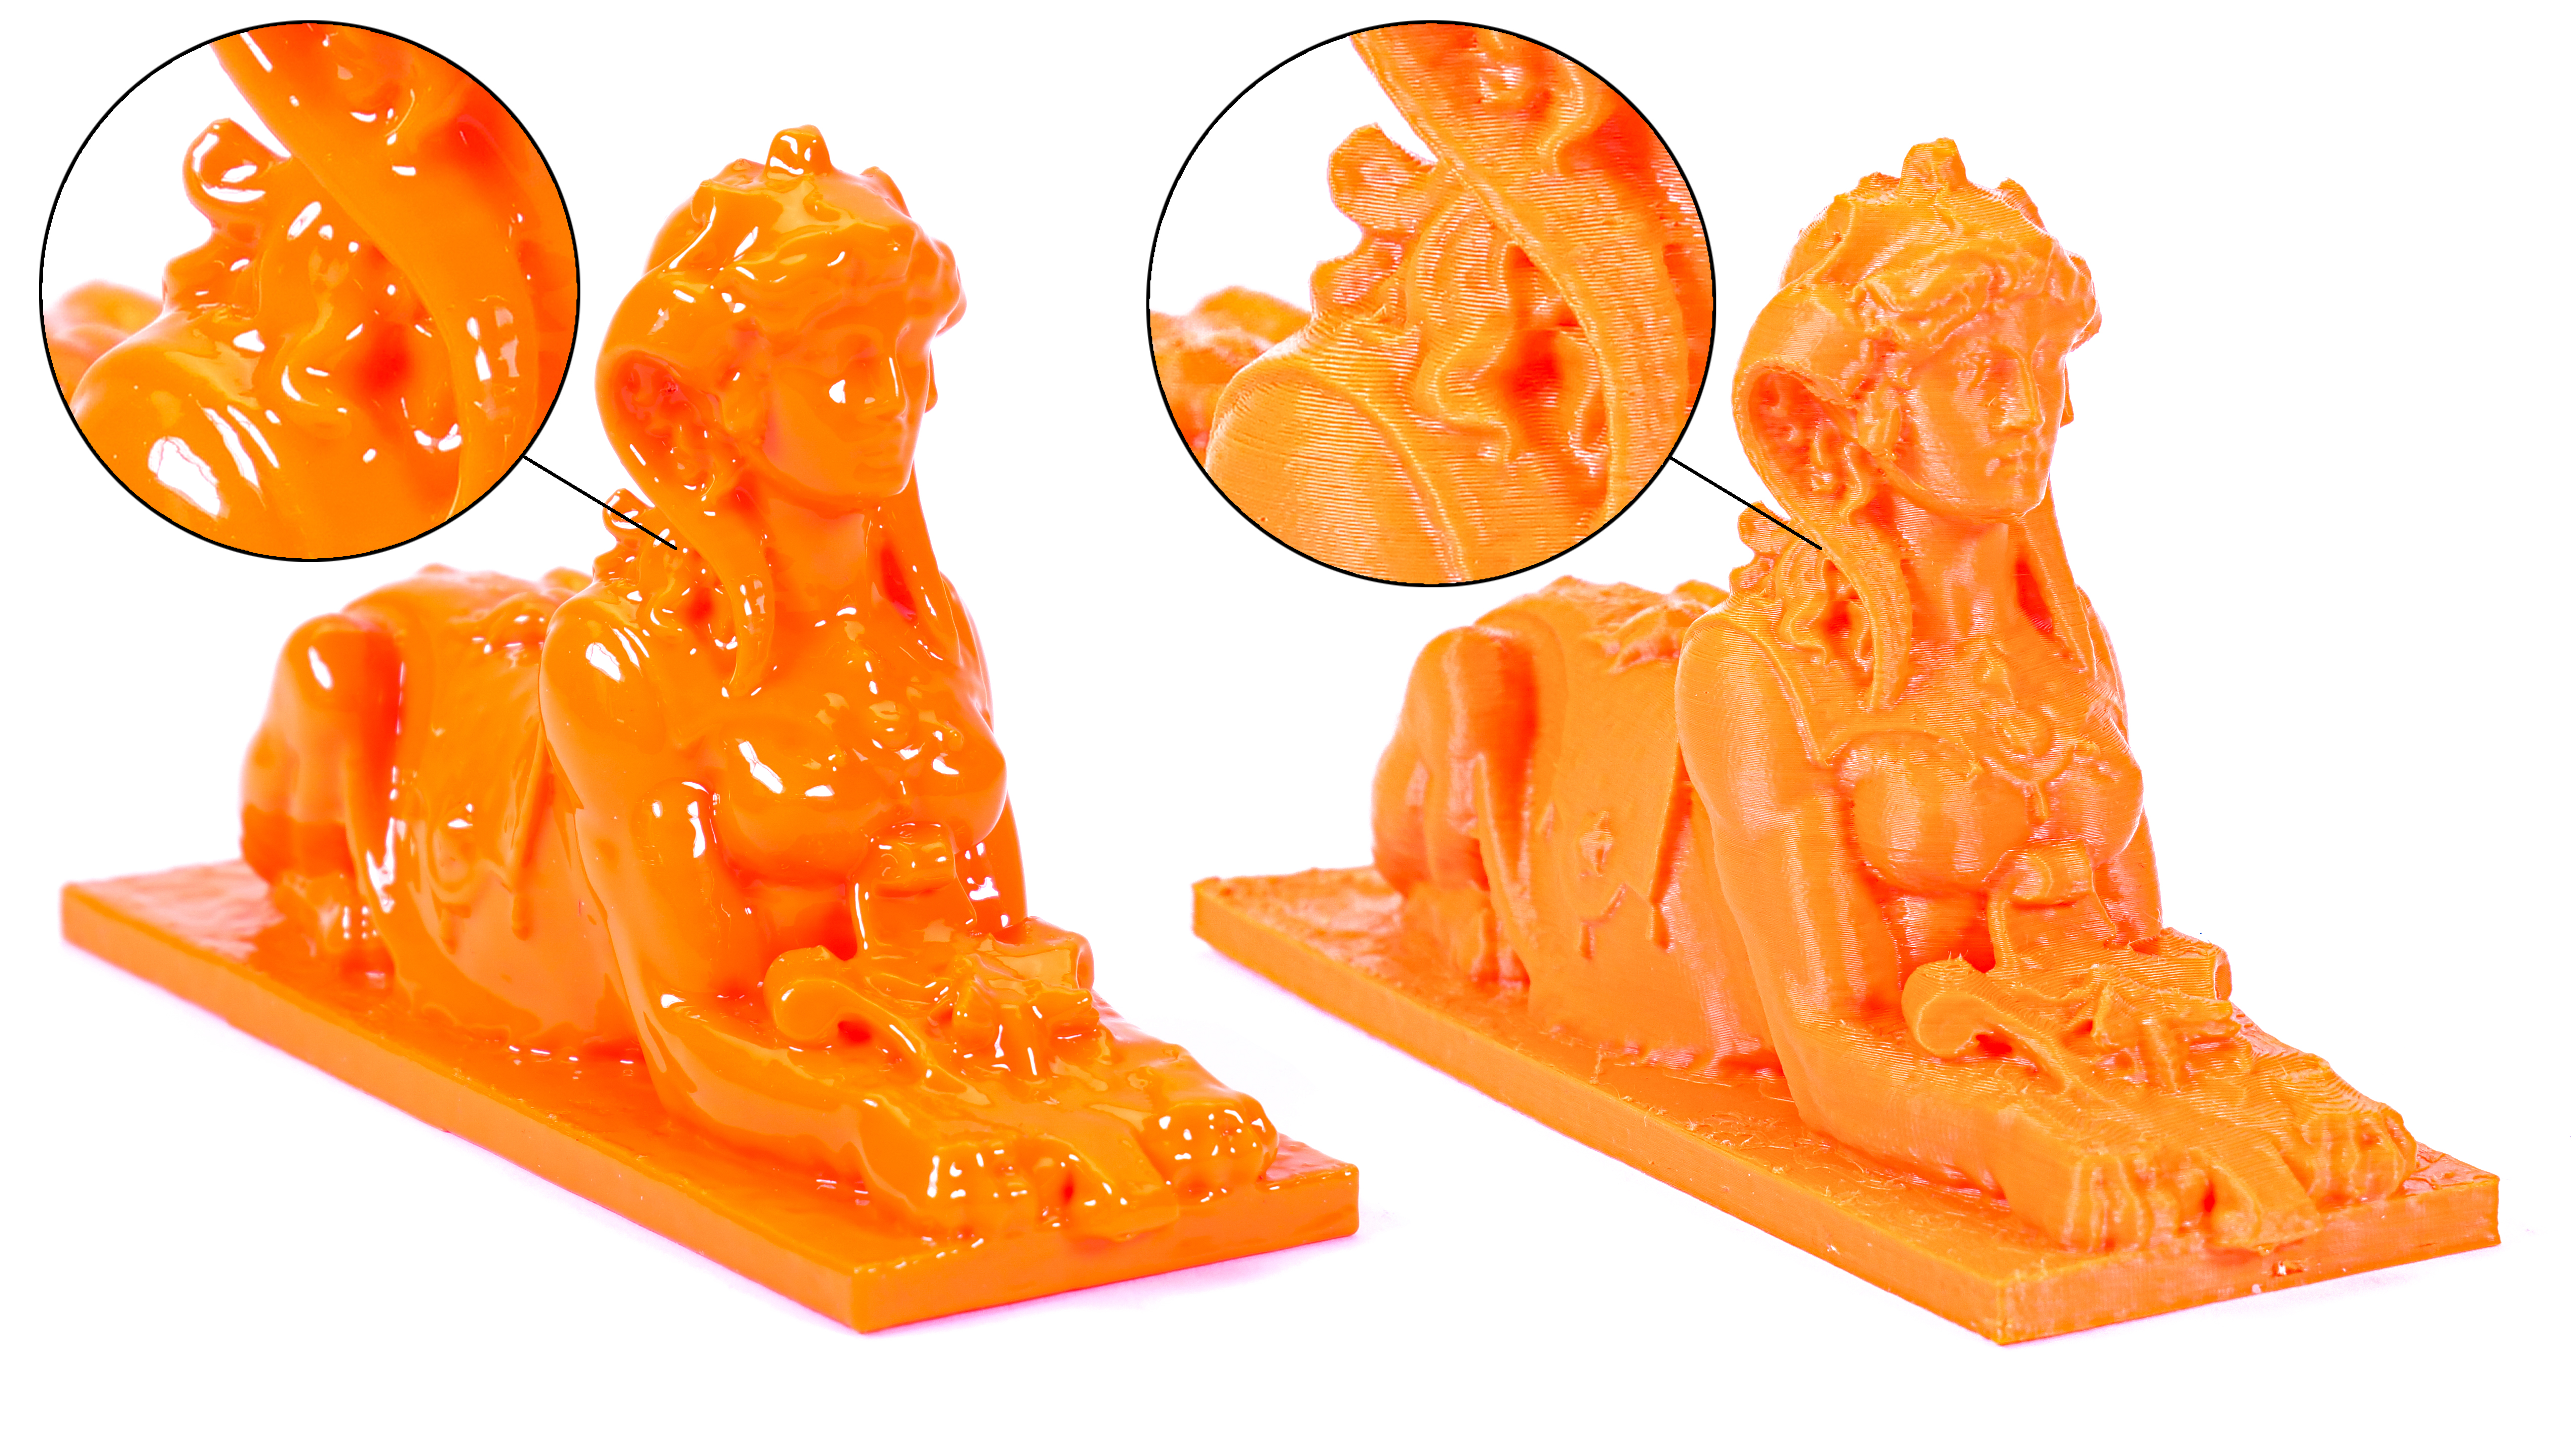
First object is printed from Prusament PLA Lipstick Red, Prusament ASA Jet Black is in the middle, the last object on the right is printed from Prusament ASA Jet Black and post-processed (smoothed) using acetone vapors.
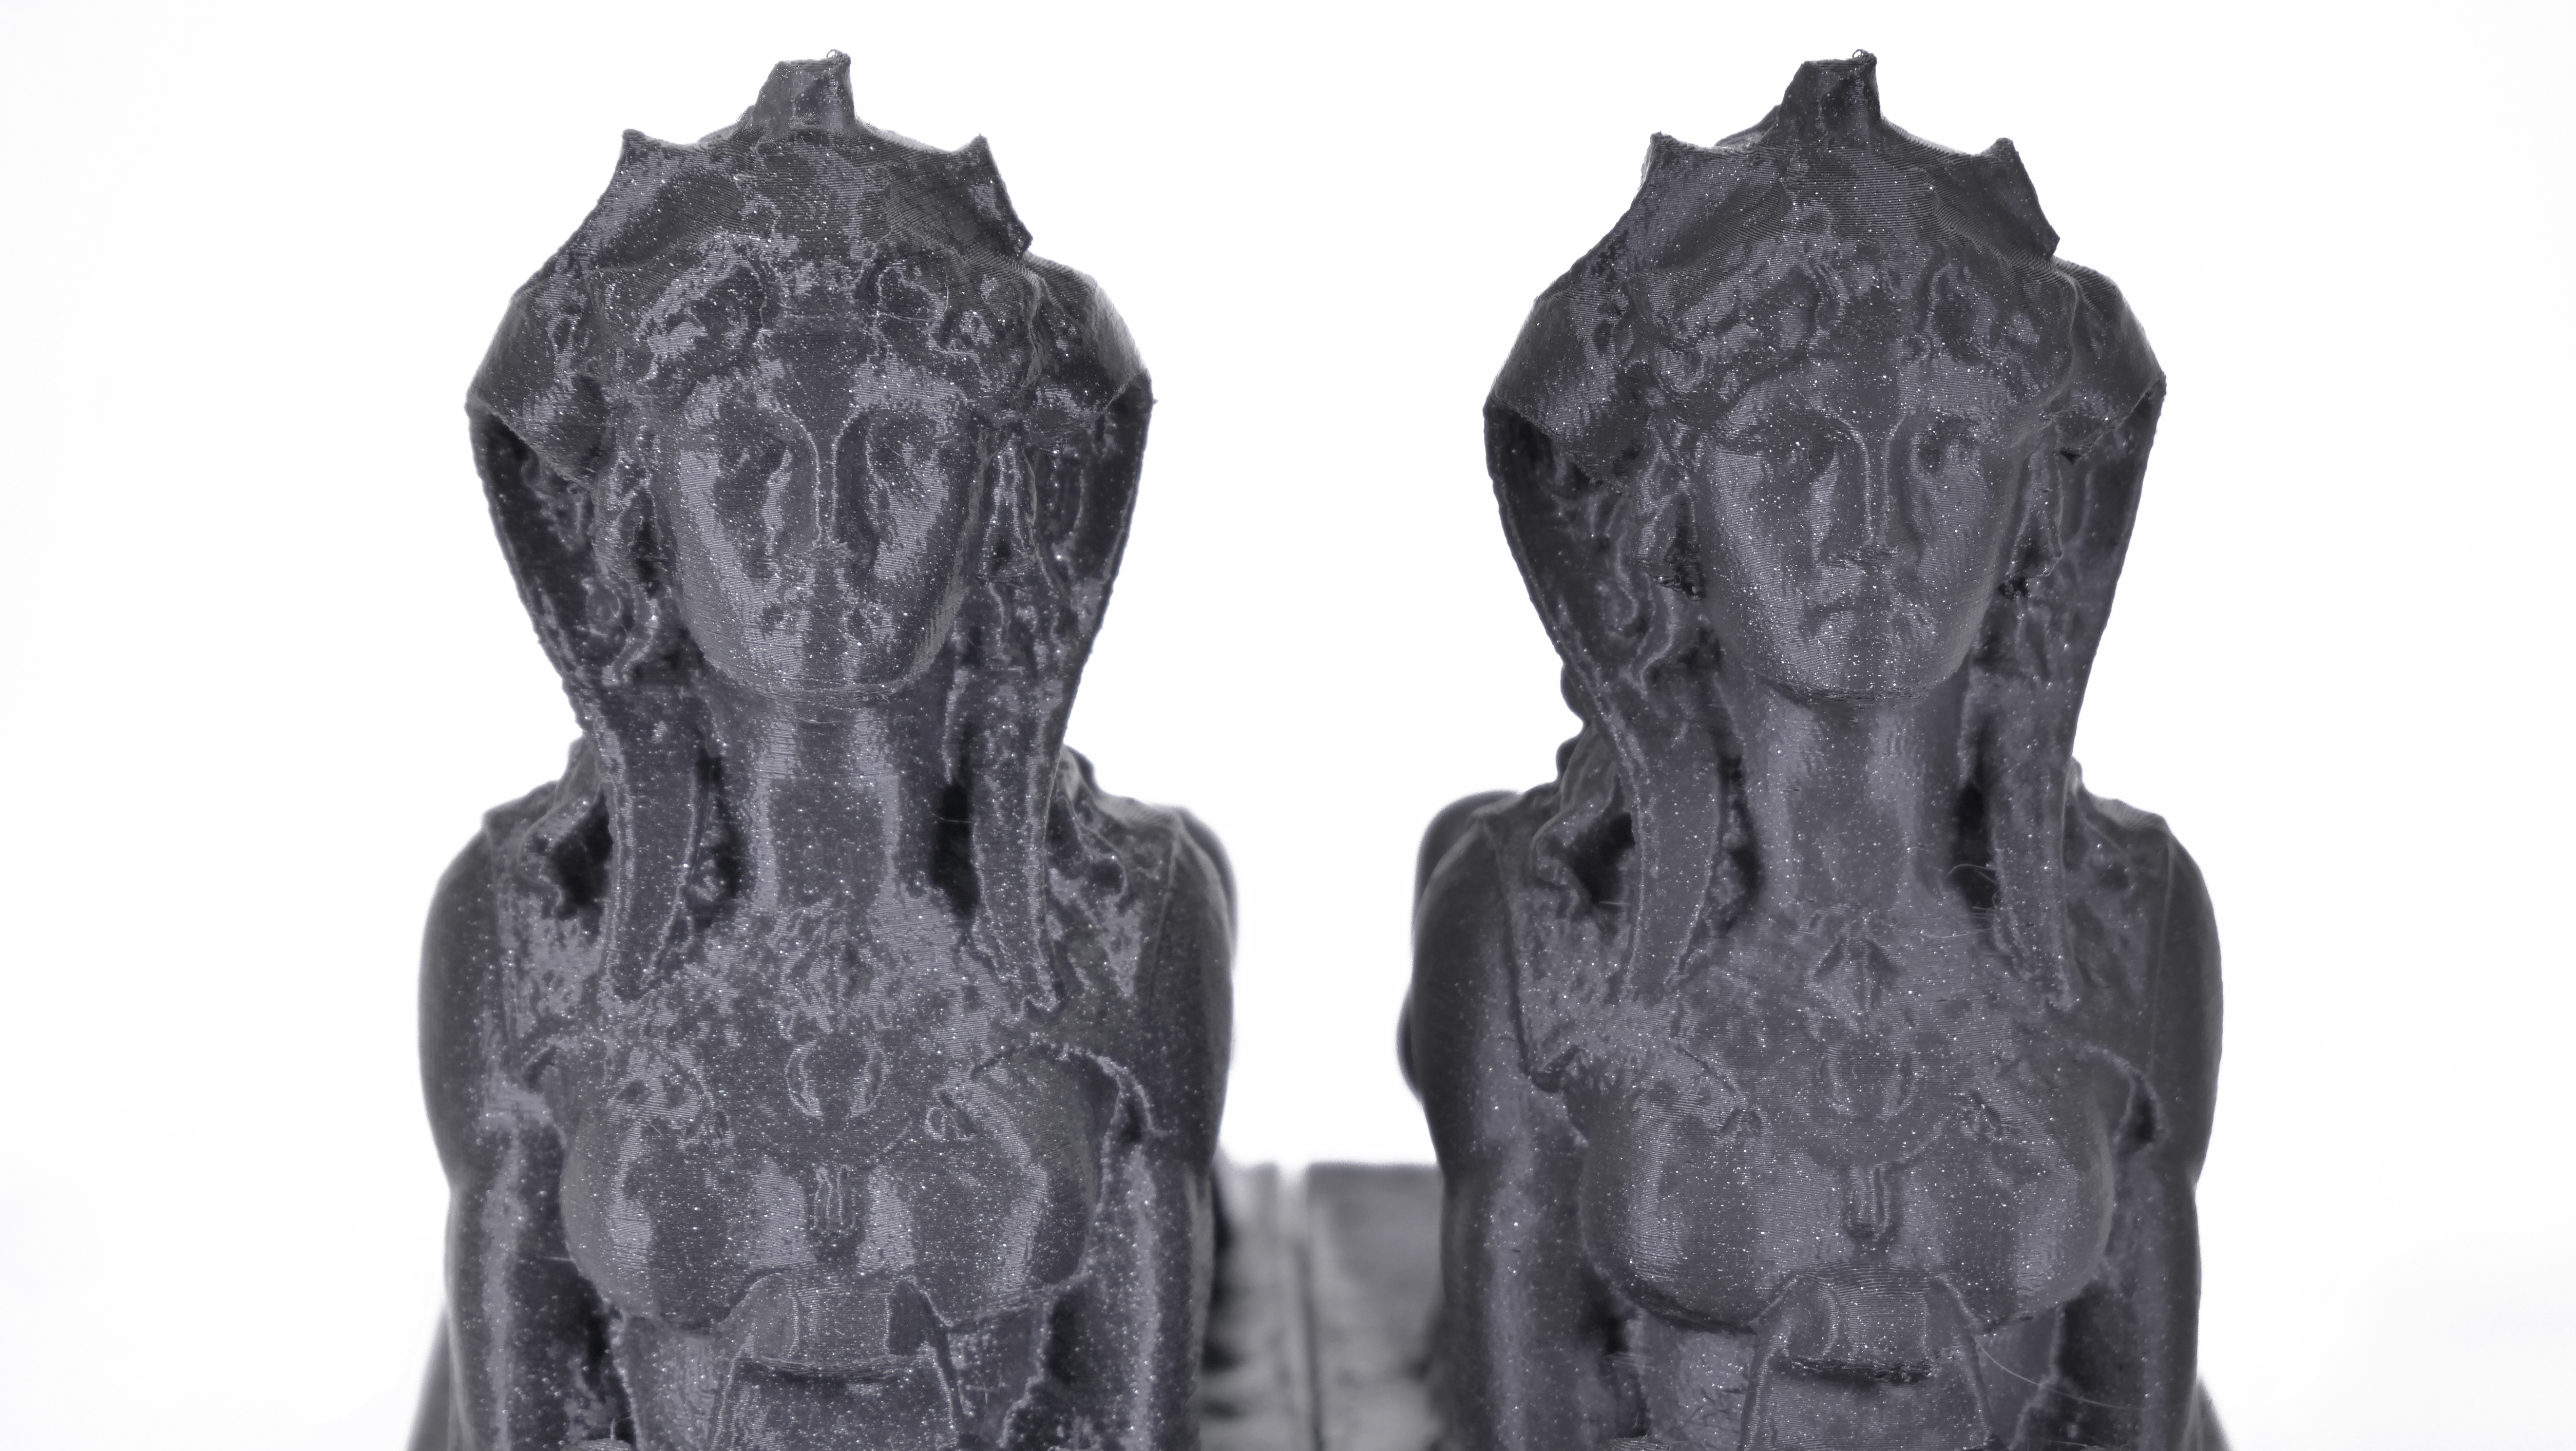
Left: Prusament PLA Galaxy Black, Right, Prusament ASA Galaxy Black
Chemical composition difference between ASA and ABS
ASA thermopolymers were developed with the aim to produce tough plastics with ABS-level properties, but with an added weather resistance. ABS is tough thanks to the rubber polybutadiene-based component. However, it also causes an increased sensitivity to UV light because of double bonds introduced through styrene co-polymers. However, if the butadiene rubber is replaced with acrylate rubber, the result will be ASA – a tough and weather-resistant material. In layman’s terms: Objects printed from ABS will lose their toughness and durability, plus they will also turn yellow during prolonged exposure to UV light. Objects printed from ASA can withstand these conditions for a much longer time.
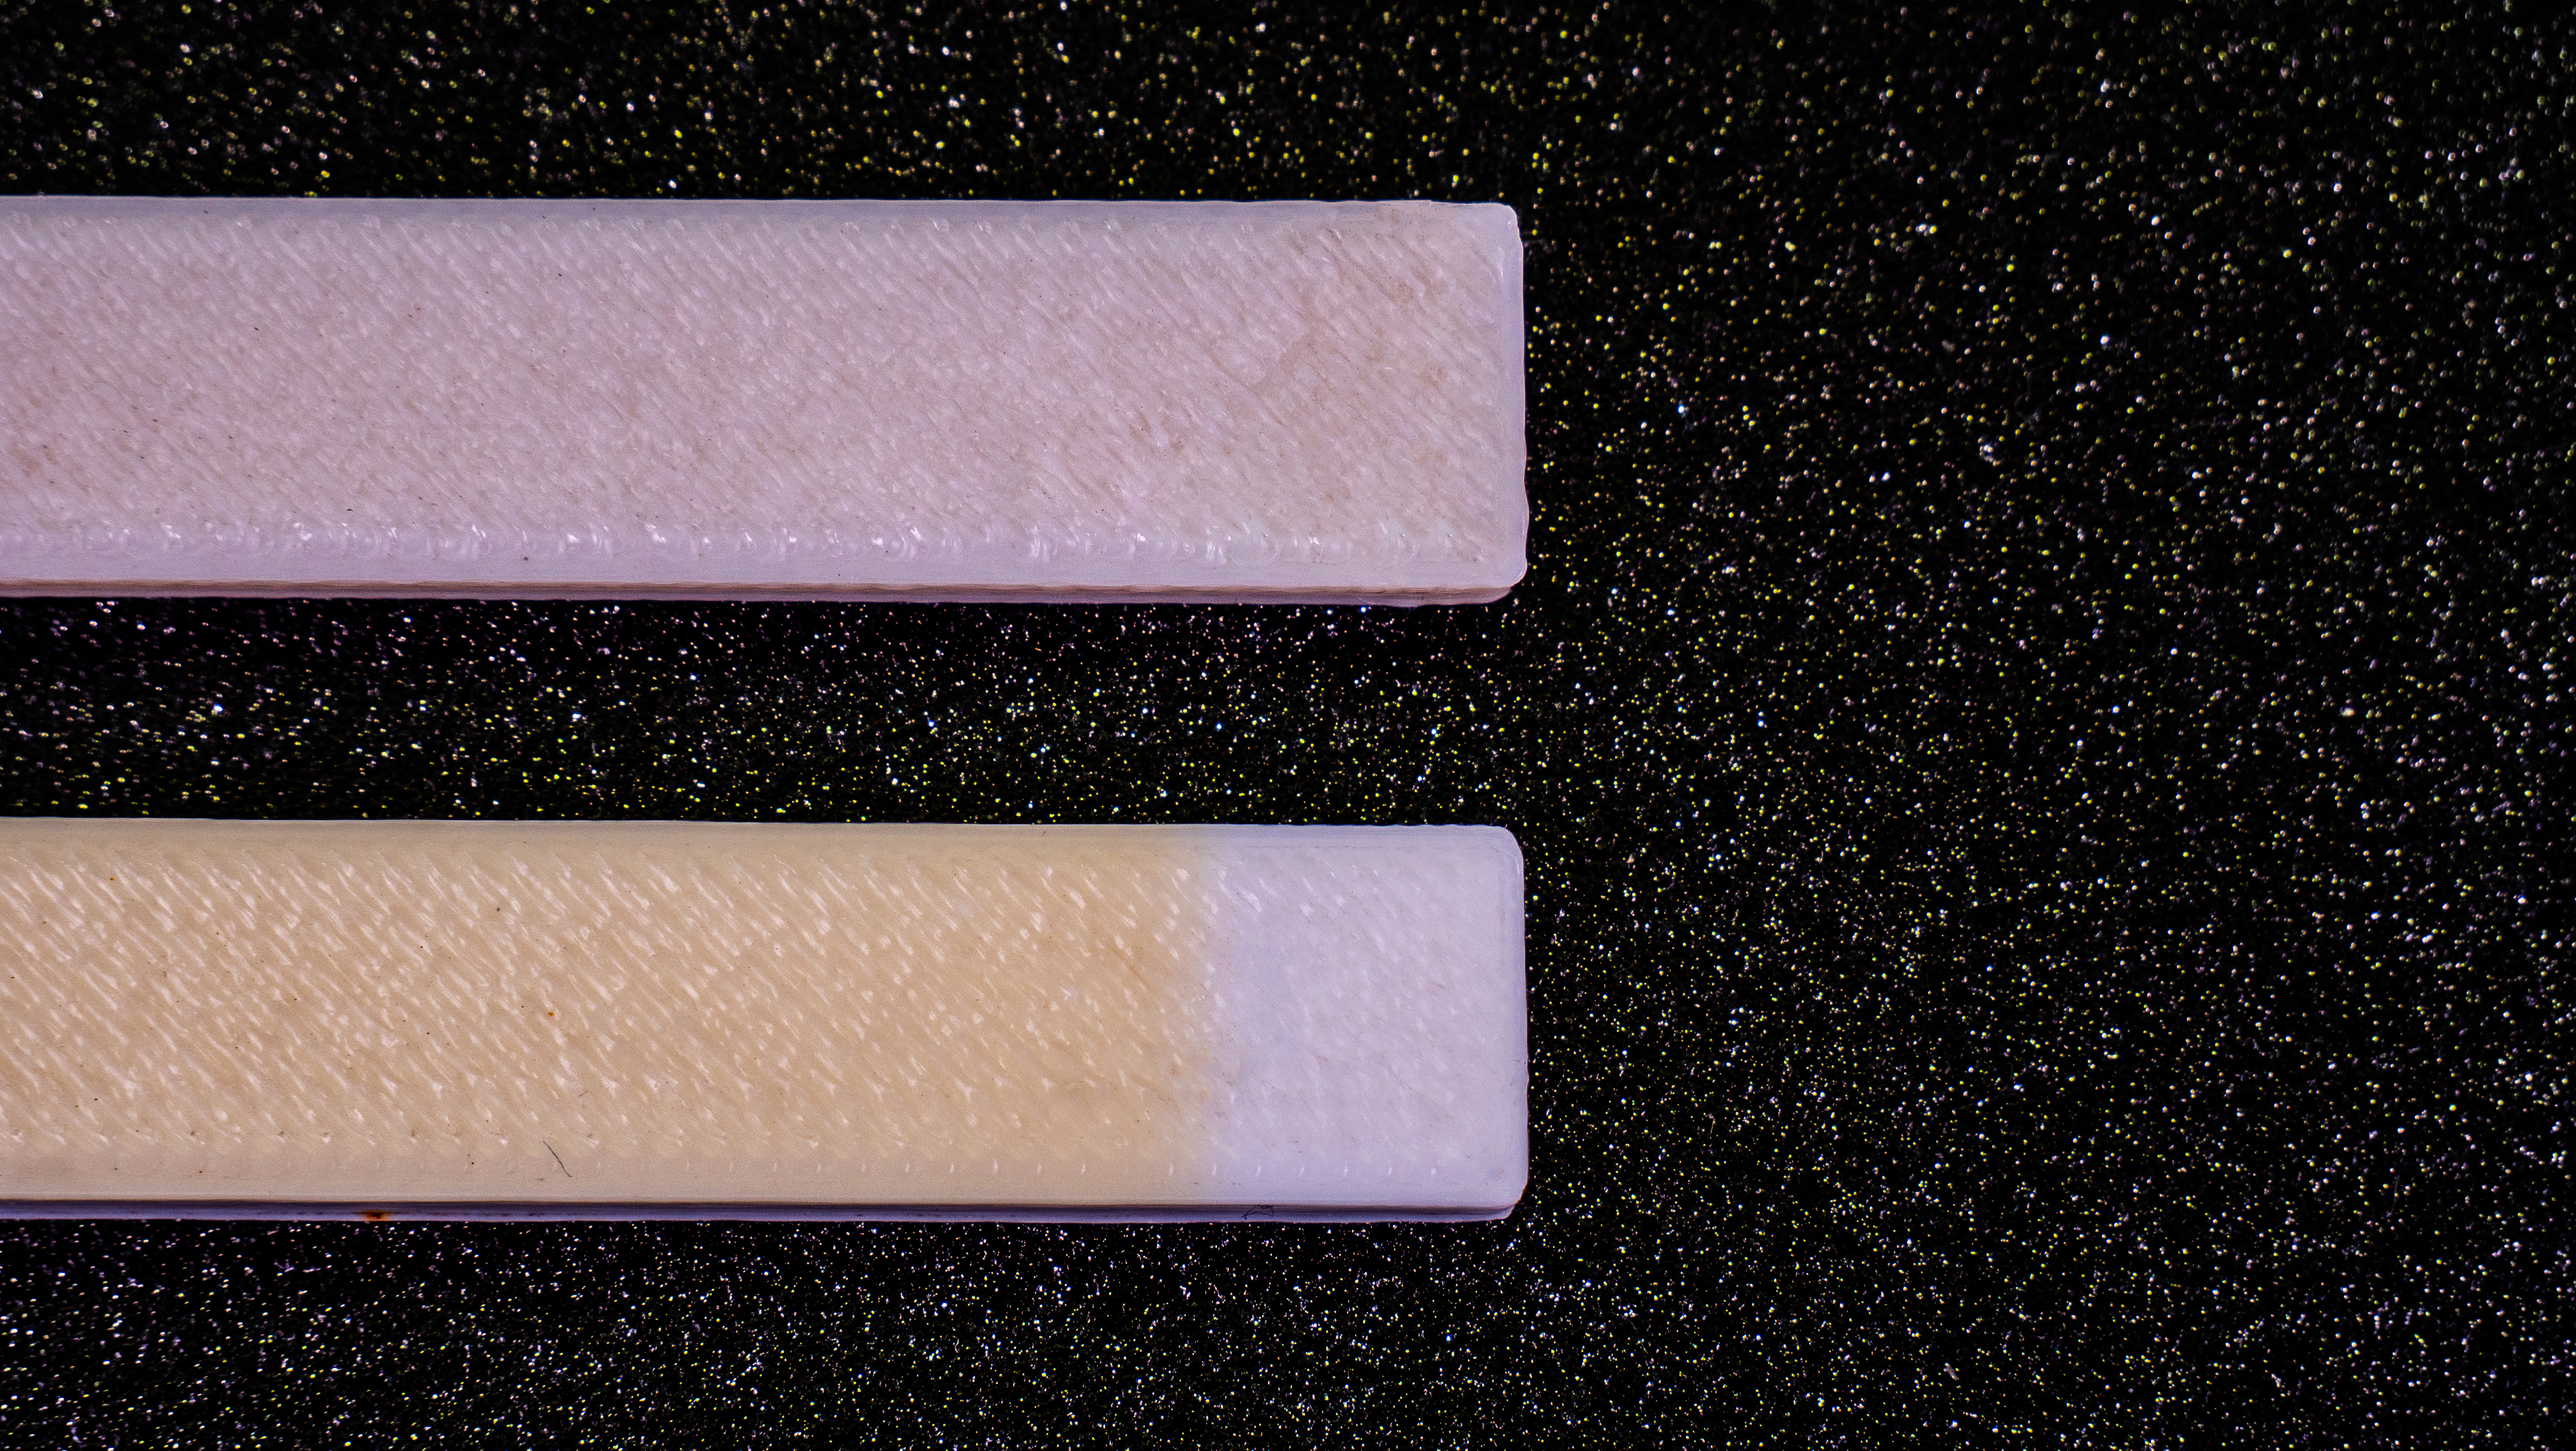
In the picture below, you can inspect two objects printed from ASA (the top one) and from ABS (the bottom one). These objects were placed outside and exposed to varying weather conditions. The right part of the model was covered and thus shielded from UV light. The difference is visible to a naked eye. Also, ASA (compared to PLA and PET) has a very high temperature resistance – up to 93 °C.
How to print with ASA?
High temperature resistance, one of the advantages of ASA, brings a certain side-effect that needs to be taken into account during printing: printed objects are prone to warping and lifting from the print bed. This is caused by the temperature difference between the nozzle (260 °C) and the ambient room temperature. If the print cools down unevenly, it creates an internal tension, which results in print issues. Generally speaking, 10×10cm objects should print fine, however, there are many factors entering the equation – shape, infill, ambient temperature, airflow and others. Also, the rule of thumb here is that objects with a round base will spread out the internal forces more evenly compared to an object with a square base.
ASA printing requires specific conditions for successful results. It’s important to run the prints in a well-ventilated room, because the material releases fumes and substances that could pose a potential health risk. However, when ventilating the room, do not create a draft around the print – this will negatively impact the result.
How to improve the quality of prints and eliminate defects
Skirt
The easiest way to reduce bending or warping is to adjust the height of the “Skirt” to match the overall height of the model – a Skirt is a single-perimeter wall, which creates a “wall” around the object. This reduces the cold air flow around the object and also retains some of the hot air rising from the heatbed, which helps to reduce the difference between the nozzle and the print itself.
The original purpose of the skirt was to ensure there’s an optimal level of pressure inside the nozzle. When it comes to ASA, the skirt is used for a different purpose – which brings one problem: the skirt has a shape derived from the shape of the printed model (in the top-down view). This means that a model with a square base will result in a square-shaped skirt. And since it’s a single-perimeter wall, it may have a tendency to lift from the print bed in the corners, which may negatively affect the print.
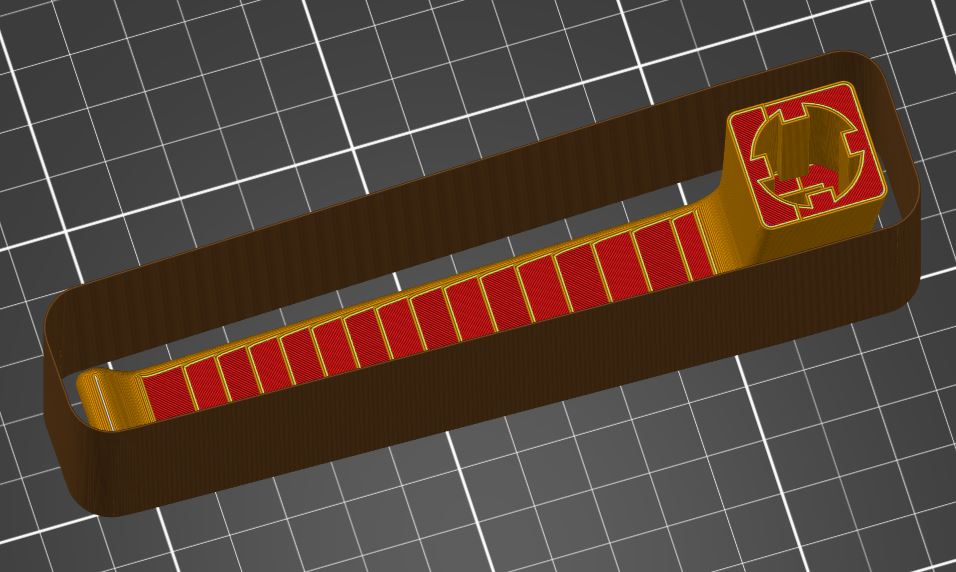
There’s a simple solution, though. You can create a custom-made skirt in PrusaSlicer and it will take just a couple of seconds. Import an STL model of a cylinder along with the model you would like to print. Change the size and position of the cylinder, so it encompasses the main object. Then change the cylinder’s parameters to 0% infill, 0 top/bottom layers and change the wall thickness to 1 perimeter. Yes, those are some extra steps, but the results are very well worth it.
 |
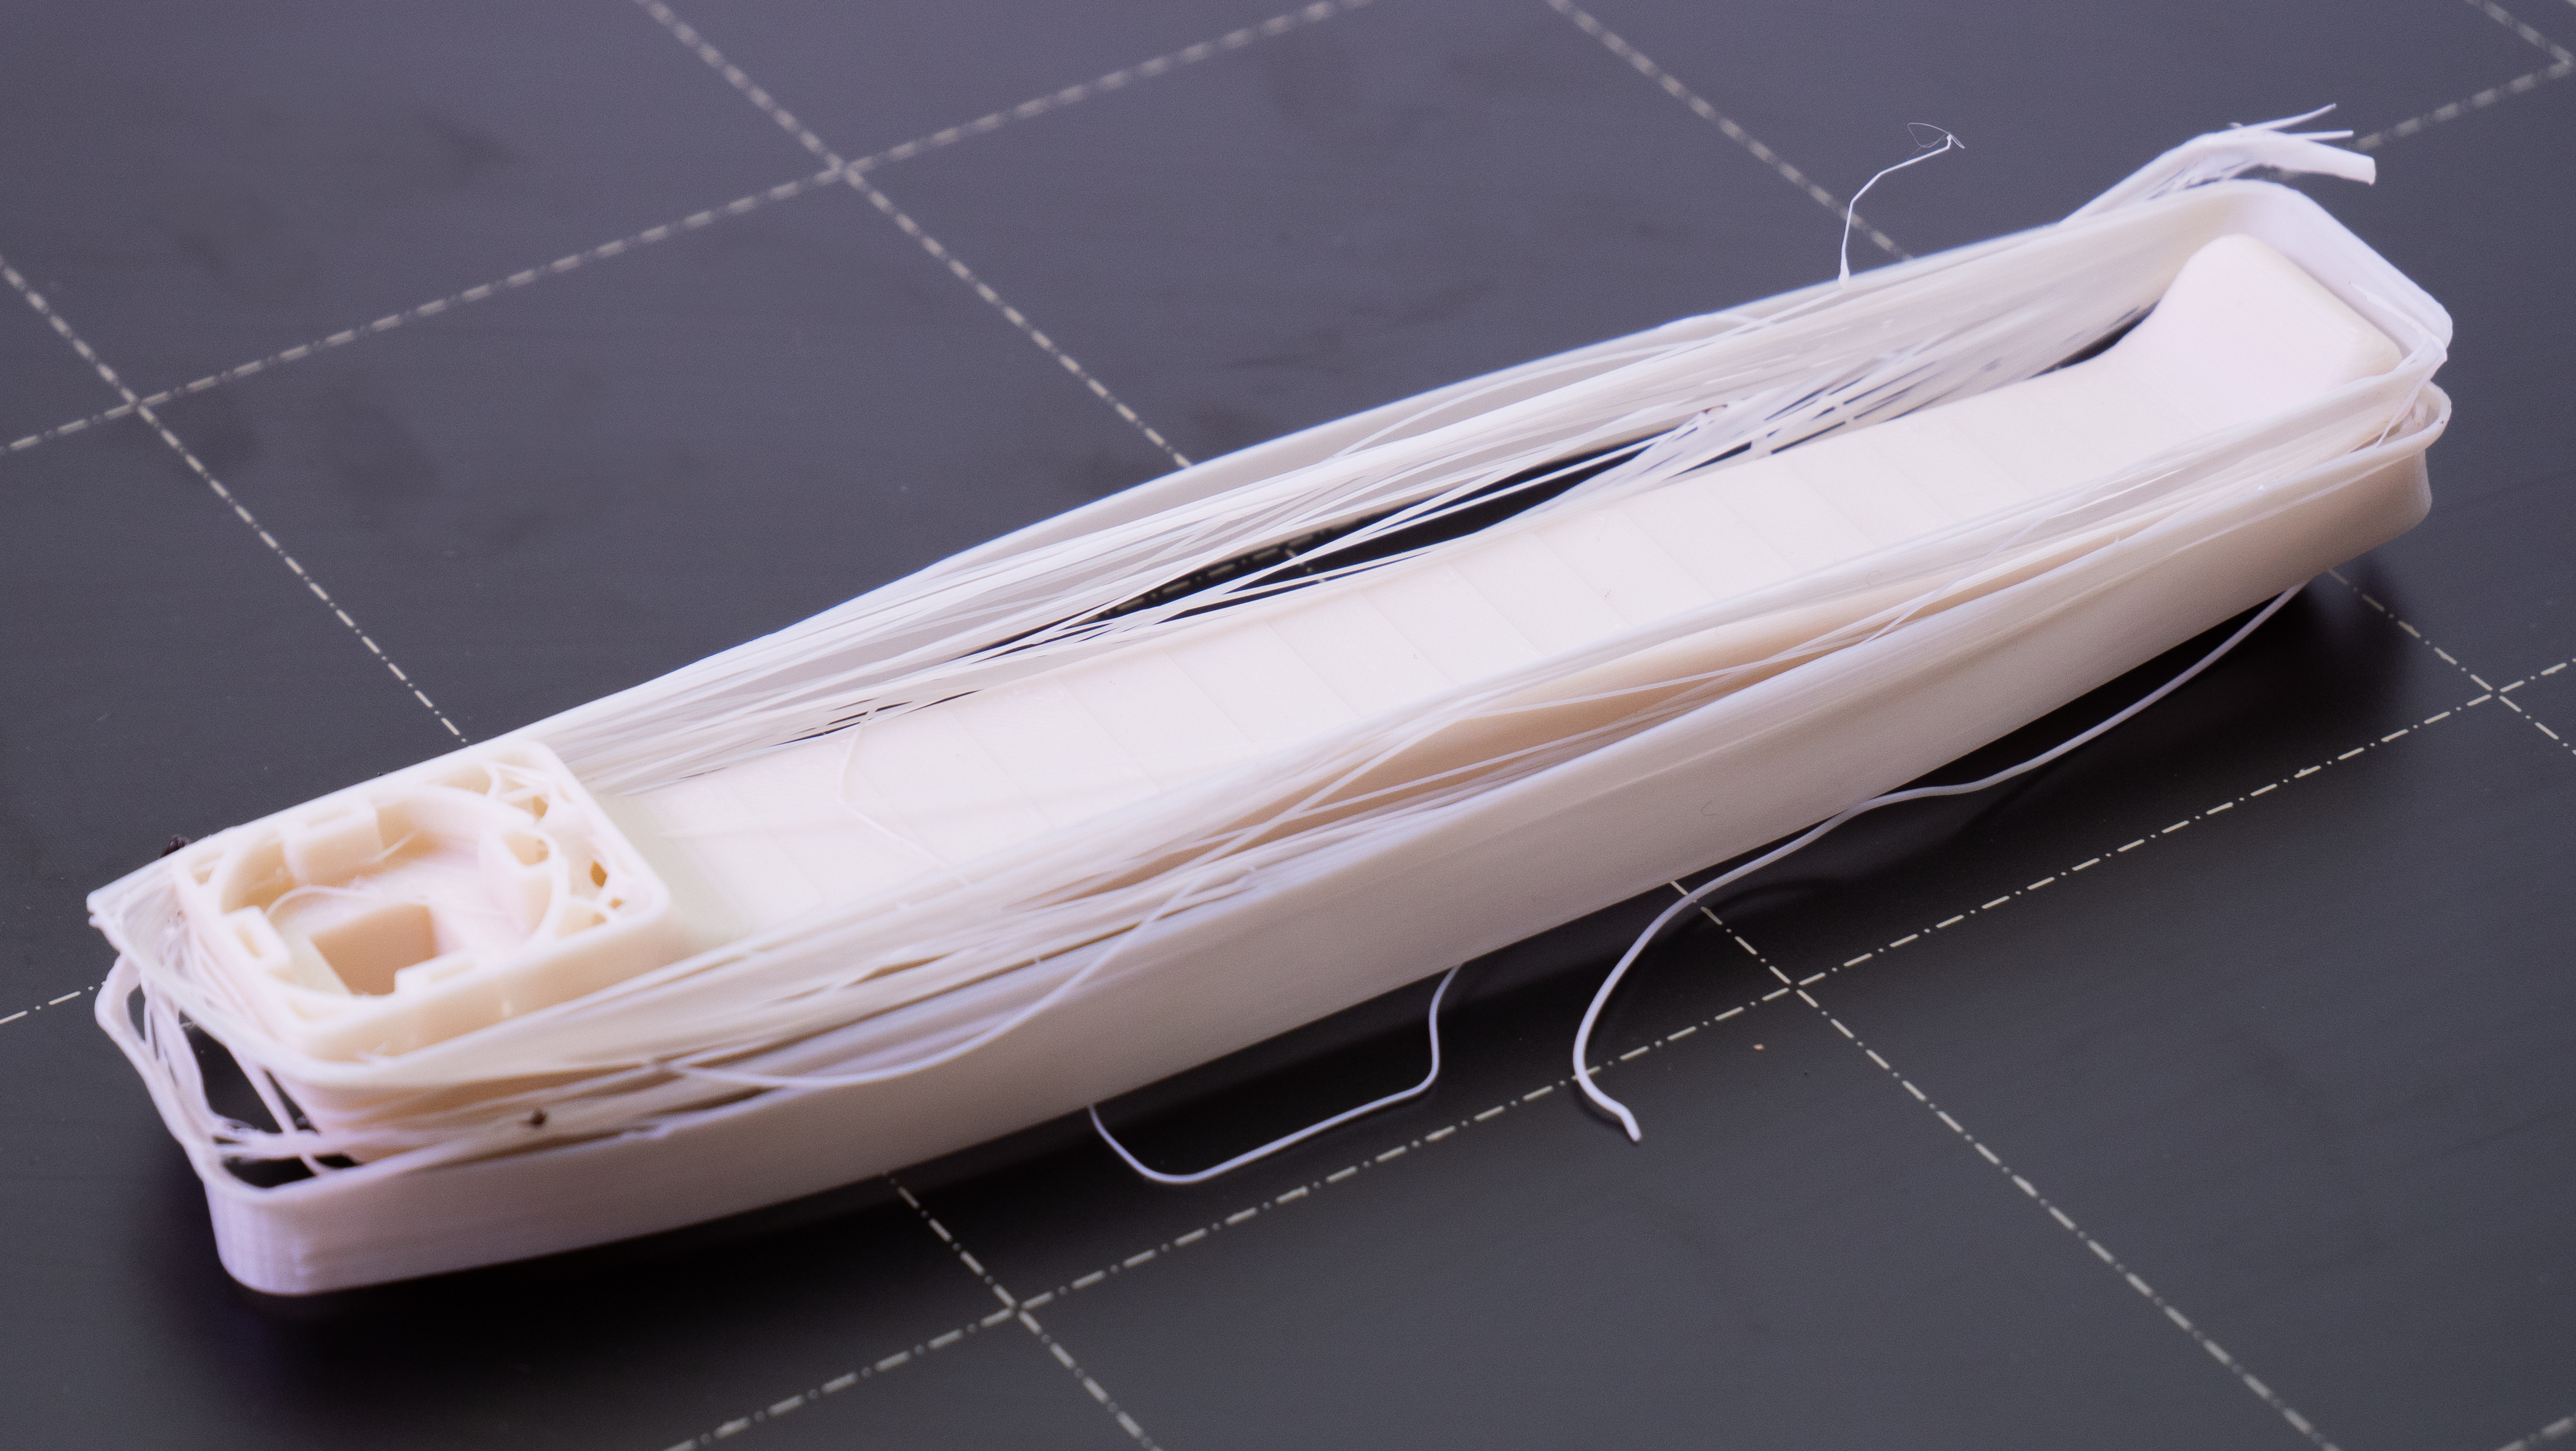 |
| Here’s an example of an automatically-generated skirt that detached from the bed mid-print | |
 |
 |
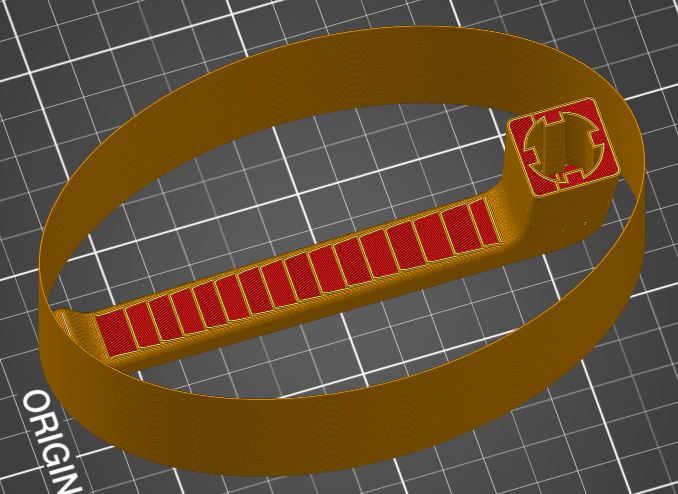
| An example of a cylindrical / oval skirt created using a separate STL model | |
Printing inside an enclosure
One of the best options is to place the printer inside an enclosure. This helps to create a micro-climate inside the box and also the flow of cold air around the printer is eliminated. If you would like to build such an enclosure, we offer our own solution: Printer Enclosure V1 or Printer Enclosure V2 (with MMU2S support).
The recommended print temperatures for ASA: Nozzle – 260 °C, heatbed (first layer) – 105 °C, heatbed (all other layers) – 110 °C. You can find pre-made presets in PrusaSlicer under “Prusament ASA”.
Which colors are available?
Due to a very specific use of ASA, we are offering four colors for now – some are inspired by other Prusament materials.
 |
 |
|---|---|
|
Prusament ASA Jet Black – color similar to Prusament PETG Jet Black, not shiny |
Prusament ASA Prusa Orange – same color as Prusament PETG Prusa Orange, not shiny |
 |
 |
| Prusament ASA Natural – color similar to Prusament PLA Vanilla White, without glitter | Prusament ASA Prusa Galaxy Black – color similar to Prusamet PLA Prusa Galaxy Black, not shiny |
All Prusament ASA filament spools have a guaranteed minimal weight of 850 g. Why not 1 kg like with every other spool? The reason is the material density – for ASA, this value is 1.07 g/cm3, however, for PLA and PETG it’s 1.25 g/cm3. This means that the volume of material on ASA, PLA and PETG spools is the same. In other words, you can print the same number of objects from a 1kg spool of PLA/PETG as from a 850 g ASA spool. The amount of material is better specified using in volume units or length, rather than the overall weight of the spool. If we wanted to produce 1kg spools of ASA, we would have to manufacture a new, wider, core of the spool. This would mean we would have to produce new boxes as well, along with re-adjustments of our filament manufacturing lines and other issues.

ASA post-processing
ASA is a material that can be easily post-processed. It’s possible to sand the parts using wet or dry sanding methods, smooth them out with acetone vapors, and glue them together with acetone. The result of acetone post-processing will be a very glossy, smooth surface similar to a surface treated with car paint. However, this also leads to a loss of small details and rounding of sharp edges.
WARNING: Acetone and its vapors are highly flamable! Acetone may also cause serious eye irritation, drowsiness or dizziness.
You can easily build an acetone smoothing chamber. You will need a container that’s acetone-resistant (e.g. from PP – Polypropylene). The best option is to have the print suspended in mid-air, so it’s not touching anything – contact areas would be easily recognizable. Then, pour some acetone on the bottom of the container and close it. You can accelerate the process with a fan (for quicker air circulation), or by slight heating of the chamber. Do not work with open fire anywhere near acetone or where acetone vapors may be present! Acetone is highly flamable!
What affects the results the most are the length of the exposition of the object to acetone vapors, the temperature of the vapors, acetone vapor concentration and the vapor flow in the chamber. Keep in mind that smoothing causes a slight increase of the object’s volume, and the surface will remain soft for several hours after smoothing. If you want to smooth out only some parts of the model, use a regular tape to mask selected areas.
While this is a great way how to make the surface nice, smooth and shiny, it’s not a universal solution. We would advise not to use this method in case you’re trying to achieve a perfectly precise result. Plus, acetone can create white maps on dark colors and if the liquid gets inside the print, it will deform the object.
Any notes on bed prep? For example with PEI and Flexibles, bit of glue stick.
These fine to print directly onto Textured sheet?
Hope they will say something about that also, but I have been printing with Fillamentum ASA on my smooth pei, and cleans the bed like when I print PLA.
But I’m printing without enclosure, so I have been using a fat brim to hold the object down (learned a few new tricks in this article, thanks), and then I let the bed cool down before I take pieces off.
I don’t do like with petg, use windex, since I don’t think it fuses to pei like petg does (or seems to do), but it remains to be seen.
Can’t wait to try this ASA!
Yes I’d like to know how to prepare the printing surface too. When I print on the structured powder UTEM surface, ASA stick so much that it is not possible to take it off the surface…
I just tried a print and it did not adhere well and got knocked off a few layers in. I am printing in an enclosure so warping shouldn’t be an issue. I am printing on the textured plate. Should I print on the smooth plate or use some kapton tape or anything?
Next, prusa should make their own TPU semi-flex material. Now that would be great.
Is possible to download model of a bicycle bottle holder?
I found it https://www.prusaprinters.org/prints/5003-asa-bottle-cage
It is a process of making three dimensional solid objects from a digital file. The creation of a 3D printed object is achieved using additive processes.
TV Repair helps you to solve your all TV issues quickly and at affordable prices.
https://www.techsupportdubai.com/led-tv-repair
STL?
Great tip on the “custom-made skirt” there.. But you don’t need to import an additional STL file. Just add a modifier (right click on the part and select Add Modifier, and select the shape you want), then in the right side of Prusa Slicer, in editing gear, select “Change Type”, and select Part. Now use the suggestion of changing top, bottom and perimeters.
Best to have a circular shape as the corners are the point where it may fail.
Yes you can Make your cylinder with prusa but you need to use the +Add button on the left to have the feature like top and bottom independent then the part you wanna print. So you can open another instance of Prusa Slicer add a part cylinder then save it as a .3mf. Then add the part in the other instance… Happy printing!
I made a protective cover over a pipe (it’s a 6″ pipe used for a swing gate on a trail to prevent cars from driving onto the trail) which we use for horseback riding and the end of the pipe was a bit sharp, so printed an ASA cap using at the time E3D’s orange ASA. I then stuck it on using 3D VHB. It has survived a harsh winter, rain and blazing sun without any fading or damage. And horses have definitely banged into it (I made it several CM thick to take that level of impact). I have an enclosure.
Does ASA stick to the textured PEI sheet ?
Stick a lot. I can not remove it easily… Do not know how to prepare the surface… Any idea?
I am not a plastics expert, would somebody please explain me what are the negative consequences of having styrene in the mix? Is it just the fumes while printing?
Extra question: apparently some blends of ASA are food grade. No word on this one. Still, do you think it is it safe to use it for pots to grow vegetables in?
I’d love to print ASA parts on my PRUSA I3 MK3S but I’m concerned the hot end 260 °C will damage my PTFE tube (or more) especially if I need to add a heated enclosure.
Is it safe to do so without breaking my printer or do I need to modify to all-metal hot end?
Think I found my answer, it has an E3D V6 All-Metal HotEnd already, sweet!
Science does not stand still. Once upon a time we could only dream about a printer, but today we can already use a 3D printer. I try to constantly study the history of an invention starting from research, development and testing. I even like writing a research paper at the institute if the topic concerns inventions, only I do not write very well, so I give it www.paraphrasingservice.com for paraphrasing. It is better for me to learn information and tell than to write. By the way, I dream in the future to invent something that will be very useful for people.
how bad are the fumes? are we talking like standing behind a car or being in a large city with traffic or something worse
For the folks talking about bed prep. I’ve been using my usual method of Aqua Net “Extra Super Hold” Unscented Hairspray. It works just as well as it does on PETg (sticks it for first layer, detaches easily when cool).
For those of you about to say something negative about hairspray:
I print 90+% PETg, mostly on the textured sheet (sometime the smooth). since 4/2018 I Have printed 48+ KG (tally of Amazon Rolls) of PETg, 4.8KG of TPU, 8 KG of abrasives + exotics like ASA, and 8KG of various PLA. Mostly on the Textured Sheet, some on the Smooth Sheet. Aside from the purge strip starting to show some wear (smooth has the nozzle heat bubble), and a noob mistake setting z too low, both sheets look perfect.
Fine! I am glad that science does not standstill. I am pleased to see that everything is developing around. I’ve noticed that along with the advancement of technology, the writing services have also improved. Services have improved the quality of their work, and I suspect this was done thanks to machines. However, I still don’t trust the unverified service and prefer to read reviews about them on the site https://bestwritersonline.com/ . This service helps you to choose the best quality and cheapest service.
We can repair your non-working Siemens washing machine easily in Dubai our company has years of experience in this field of repairing. To know more about our service, just contact us through our website.
https://artech.ae/siemens-washing-machine-repair-dubai/
Thank u for the study stuff and useful material about-the-successor-to-abs. Maybe u also have any material about the death of horatio alger by paul krugman? As I now am doing my essays and need such .
Thank u for the study stuff and useful material about-the-successor-to-abs. Maybe u also have any material about the death of horatio alger by paul krugman https://essays-service.com/essays/literature/critique-the-death-of-horatio-alger.html ? As I now am doing my essays and need such .
Links in this article still point to prusaprinters.org