


There are many reasons why you would want to cut a 3D model into more pieces and print those separately. An insufficient print volume is the most obvious reason. Even with relatively modest-sized printers like the Original Prusa MINI+ or Original Prusa i3 MK3S+, you can create huge objects! And even a larger (or shall we say XL?) print volume will sometimes not be enough to print everything in one piece 🙂
Check out this video: all the prints featured there were printed on MK3S/MK3S+ printers!
However, there are other factors as well. You might want to avoid overhangs, optimize the print layer direction (either for aesthetic or mechanical purposes), or assemble a model from multiple colors and materials. Printing separate parts also helps control the risk of a failed print.
Cutting the model is the easy part (you can do simple cuts directly in PrusaSlicer, actually). Now, let’s elaborate more on how to put everything back together. 🙂
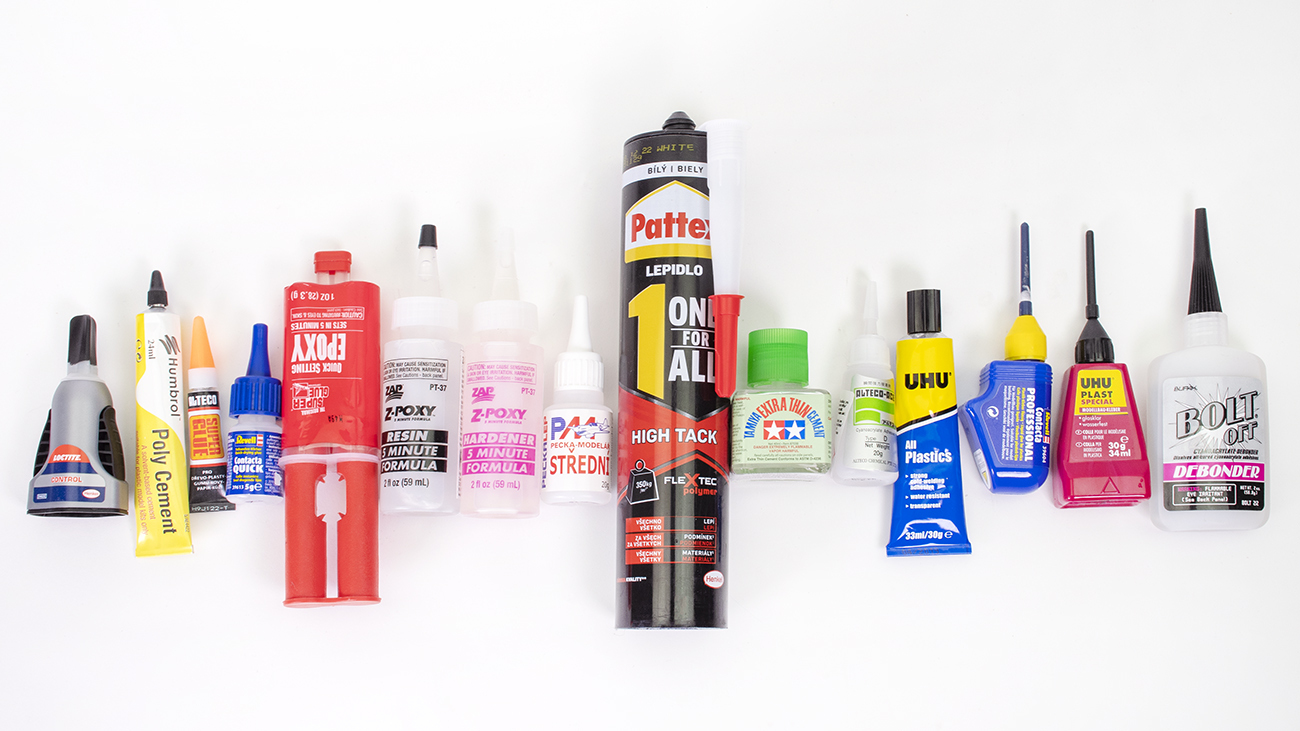
There are myriad options on the market, we will focus just on three main glue types that we consider the most viable choices: mainly cyanoacrylate glues, then solvent glues, and two-part epoxy glues. We will compare the pros and cons of each type and provide you with a few product examples which we bought and tested first-hand.
Disclaimer: Worldwide availability of certain glues can be very tricky. Even global brands don’t offer the same stuff everywhere or use different names, etc. We used what was available here, in the Czech Republic. We are aware that not all of the products are available to all of you. We will try to expand the article later with more alternatives, based on your suggestions. Thanks for understanding.
Table of contents
- Common rules of thumb
- Cyanoacrylates
- Solvent-based glues
- Two-part epoxies
- Other glue options
- Non-permanent means of assembly
- Results of a tensile strength test
Common rules of thumb
For a strong bond, the mating surfaces should be as clean and level as possible. Some types of glue prefer a smooth surface, some rather coarse, but still clean and level. Sand the surfaces down if necessary (but clean the sanding dust afterward), remove grease marks, paint, putty, and residues of previous gluing attempts.
Proper ventilation is a ubiquitous piece of advice that goes with everything, but it’s really twice as important with glues, which are often irritant or outright toxic and/or with slight narcotic effects. Remember kids, glue-sniffing is bad for you! 🙂
Before you choose the right glue, think twice about all the aspects of the application. Size, the material of your prints, and their intended use. Do aesthetic or mechanical qualities matter? How about resistance to heat or cold? Do you need a truly permanent bond or disassemble the model later? Are you going to post-process the seams somehow?
Simply put, gluing a resin miniature is going to be vastly different than assembling a life-sized cosplay armor costume.
Now let’s move on to particular glue types.
Cyanoacrylates
Cyanoacrylate glues, mostly referred to as CA glues or superglues (further only “CA”), are based on ethyl cyanoacrylate and related chemicals. The polymerization process is quickly started by contact with water. Normal air moisture is usually more than enough for a rapid reaction. If you want to accelerate it further, you can use commercially available solvent or water-based accelerators (activators), or just regular water in a spray bottle. A good trick is to breathe on the glued joint with your mouth (just make sure you don’t inhale the CA fumes) and let the breath moisture do the work.
However, usually, it’s rather the quickness of setting that poses a problem, especially with large parts. You have only very little time to adjust the joint, as it becomes sticky very quickly. This is twice challenging with resin parts, where the bond is almost instant.
Messing with the adjustment also compromises the final strength of the bond. If you don’t reach a correct fit in a few seconds, it’s usually better to clean off all the glue from the mating surfaces and start anew.
CA is almost equally suitable for all common 3D printed materials (PLA, PETG, ASA/ABS, SLA resin, etc.). It is usable even with TPU/TPE (Flex), as long as the mating surfaces are at least a bit stiff. A bit porous material (i.e., with 3D print layers) is not an issue, on the contrary, it improves the bond, while very smooth materials like glass, ceramic, or metal are problematic. CA interacts minimally with the glued material itself, with the exception of certain foam plastic materials (styrofoam), which are outright melted by CA. Also, it makes clear styrene plastic become brittle.
When drying, CA glue shrinks slightly and thick layers become coarse and wrinkled, so it’s not very aesthetic. Also, fumes from a larger amount of CA glue create white frosting (blooming) around the joint.
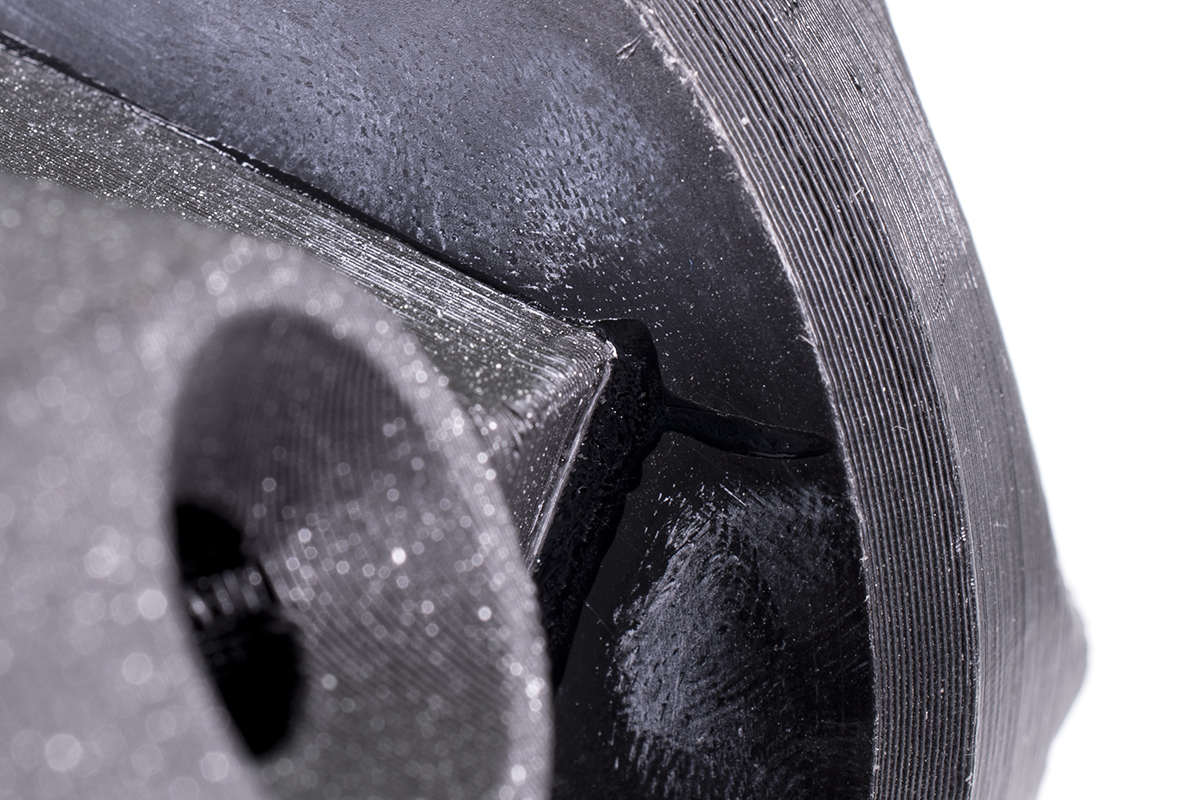
Note the whitish stains around the glued joint – typical CA frosting
The effect is most prominent when the fumes cannot escape (say, when you place a freshly glued object into a plastic container too soon). The longer the drying time, the more frosting. To minimize it, you need strong ventilation.
A regular CA is a rock hard when cured. Even though it dries almost instantly and is pretty hard right away, it reaches the maximum hardness only after several (8-24) hours. The hardness is a mixed bag though. First, CA has very high tensile strength, but quite low torsional and shear strength. That means the parts are much easier twisted or peeled than pulled apart.
Secondly, CA might be hard to sand down, especially if the surrounding material is much softer. This is not an issue with PLA, which is very hard itself but sanding for example glued resin parts can be tricky. The softer material yields faster, so you might end up with a patch of CA still present and shallow “valleys” in the material around it. It helps to sand the CA while it’s still not cured completely.
On the other hand, if you are patient, CA can be sanded to a very smooth, glass-like surface. It almost doesn’t peel or crumble and remains solid even in very thin layers. For these qualities, it is often used as a surface coating or excellent makeshift putty. For the latter option, CA is sometimes mixed with additives to give it more substance and make it easier to sand: talcum powder or so-called microballoons.
Note that CA becomes brittle when frozen, so it’s not suitable for outdoor use in temperate/arctic climates. You can exploit this characteristic though, to easily snap off glued parts by putting them in the freezer first.
As for the other end of a temperature spectrum, reportedly, regular CA keeps about 50% of its strength at 80 °C (176 °F) and about 20% at 100 °C (212 °F). Special heat-resistant CA products keep 80% of their strength at 120 °C (248 °F). Therefore, think twice before supergluing anything to your extruder…
CA has a limited shelf life, it thickens and finally hardens rock solid. Usually, it’s a question of mere months. Obviously, moisture speeds up the process.
As for storing CA in a fridge to extend its longevity, it’s a bit of a double-edged sword. Moisture hardens CA, and colder air holds less moisture. However, when you put the cold bottle or tube out of the fridge, water vapor will condense on/in it, making things actually much worse. Therefore it is usually advised to only store unopened containers in a fridge, and always let them warm up to ambient temperature before opening them. It would make sense to store CA in a drybox, although we didn’t test whether there is any substantial effect.
Your best bet is to try to keep the CA container clean and tidy for as long as possible. It is always better to not use the container directly, but carefully put a puddle of glue on a clean, non-porous surface and work from there, using for example a cocktail stick.
If the CA is in a tube, store it in an upright position, so the glue doesn’t stay in the applicator. Pinch the tube only very carefully to force the glue out (or it never stops flowing). If you spill the glue all over the applicator, don’t set your hopes on wiping it clean, you can’t stop the chain-polymerization and that container will probably become a lost case soon. It’s all about prevention.
Clogged plastic applicators can be pushed through with a needle or have the clogged section trimmed, metal applicators can be cleaned by burning them through with a lighter (remove the applicator from the container first, of course).
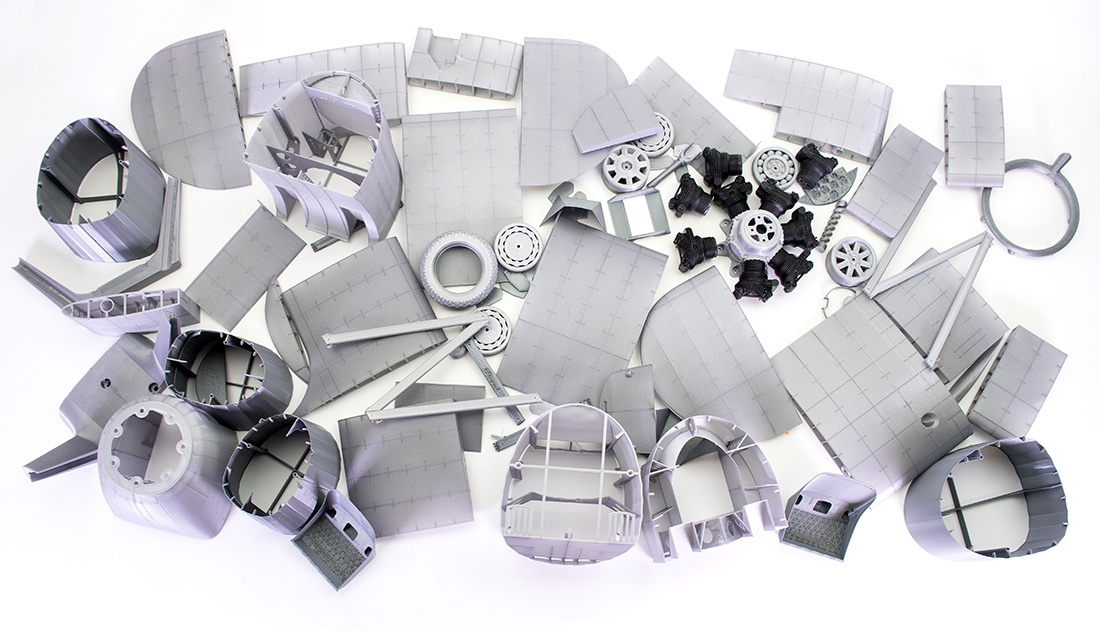
Parts of the Stearman Kaydet, a biplane model by 3D LabPrint. That’s a lot of stuff to glue together!
Debonders
Debonder is a special product used for dissolving cured CA. While CA is often used in a household by the general public, the existence of debonders seems to be a well-kept secret known only to some hobbyists. That’s a pity because the “reversibility” they provide to CA presents a big advantage over solvent-based and two-part glues. You can dismantle a glued model with little or no damage, clean off any glue stains, etc. With a cotton swab soaked in debonder, you can wipe off the excess glue from a joint, thus save a lot of time otherwise spent sanding the surface.
There is a catch though. Commercially available debonders are based on various solvents and have an unpredictable level of strength and speed. Some do nearly nothing, some eat even through the plastic around. Always test a debonder reaction beforehand to prevent nasty surprises, even if you start a new bottle of the same brand (manufacturers sometimes change the formula without warning).
Instead of a dedicated debonder, you can use some nail polish removers or even pure acetone. Of course, the same precautions apply.
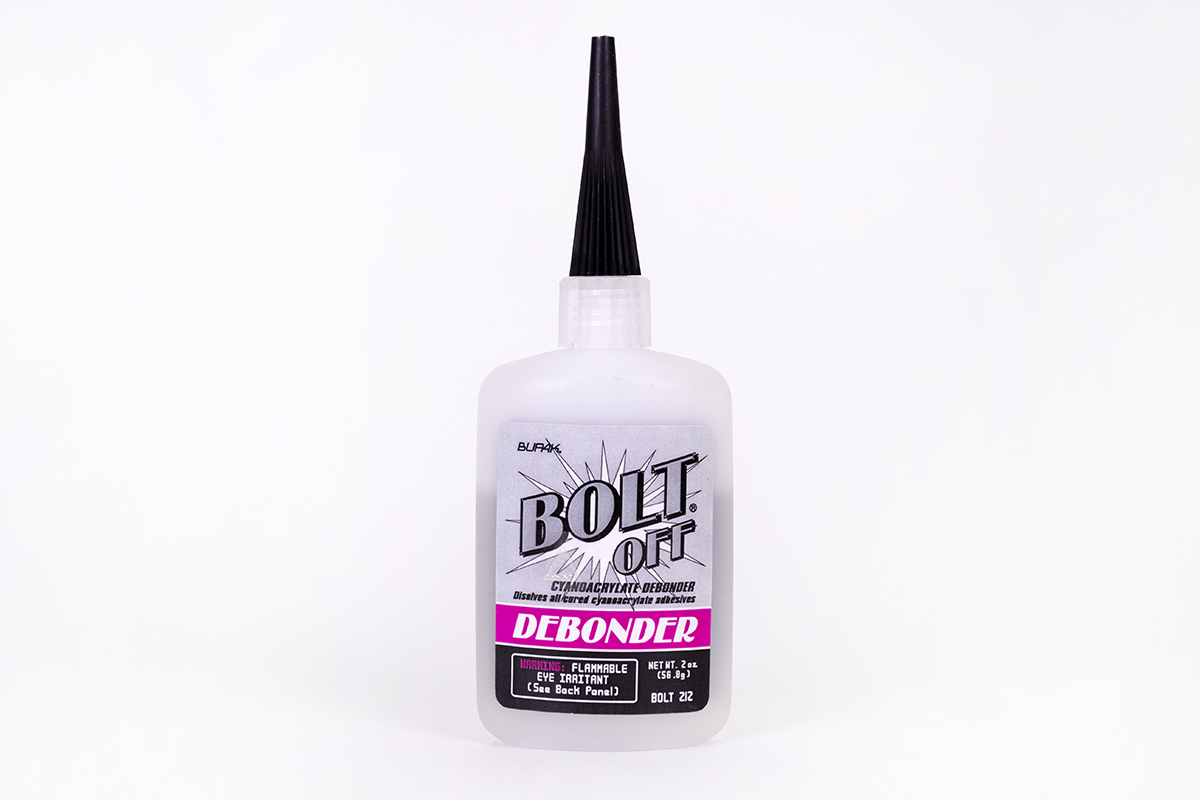
Bolt Off is a Czech product, but available in some hobby shops around Europe as well.
Which cyanoacrylate to choose?
In general, price and quality do matter, to an extent. The cheapest no-name CA sold over the counter in 7-11 stores is usually terrible, the tubes are often half-dried or half-empty and the whole other half gushes out when you try to pierce the tube to open it. Such glue provides a weak bond. Interestingly, it seems that the weaker bond, the stronger smell (probably because there is more solvent in the mix than actual cyanoacrylate).
For real CA connoisseurs, there is a record-breaking CA glue by 3M, able to hold an 8-ton forklift in the air, which costs about 20$ for a shot glass-sized bottle.
Usually, you can settle for something in between 🙂 Large companies like Henkel (Loctite) or Alteco make 1-2$ tubes which offer an excellent value.
The thing is, even the most expensive CA will thicken and then dry out relatively quickly, so don’t splurge unless you know you will use the glue often and/or in large amounts.
In the examples and test results below, you will see that the two best performers by far were the simple Alteco $1 tube and the Pecka Modelar glue. The latter is a local scale/RC modeling store’s in-house brand. While it won’t help much to all our readers outside the Czech Republic, at least it’s an indirect piece of advice: in small hobby shops run by enthusiasts, you will often find much better products than in large DIY stores!
There are many cyanoacrylate variants created by mixing the common basic substance with various additives, yielding very different characteristics. Here are some examples:
- Gel (viscous) CA glues, mixed with ingredients like fine silica powder. They take a little longer to set, therefore are easier to use especially if you need to quickly adjust the position of parts. Their bond is slightly weaker. Since they dry longer, they usually produce more frosting. Are very handy for applications, where the bond is otherwise too quick, like with resin parts!
- Rubber-filled CA glues for a more flexible bond. They are usually black tinted, which helps when cleaning and sanding the glued parts, as you can actually see where the glue is (btw, you can tint a regular CA as well! Use a lacquer, not a water-based paint though).
- Odorless CA glues’ advantage is not only their (near) absence of smell, they also don’t create the typical white frosting caused by the condensed fumes of a regular CA. That makes them suitable for example for transparent parts (visors, windows, windshields, model airplane canopies, etc.). Their setting time is usually slightly longer and the bond is weaker. The odorless CA glues are usually “foam-safe” as well (do not melt styrofoam and such).
- Extra-thin CA glues, with a watery consistency, similar to extra-thin solvent glues, used for gluing while employing capillary effect (more on this below).
Examples of CA glue products:
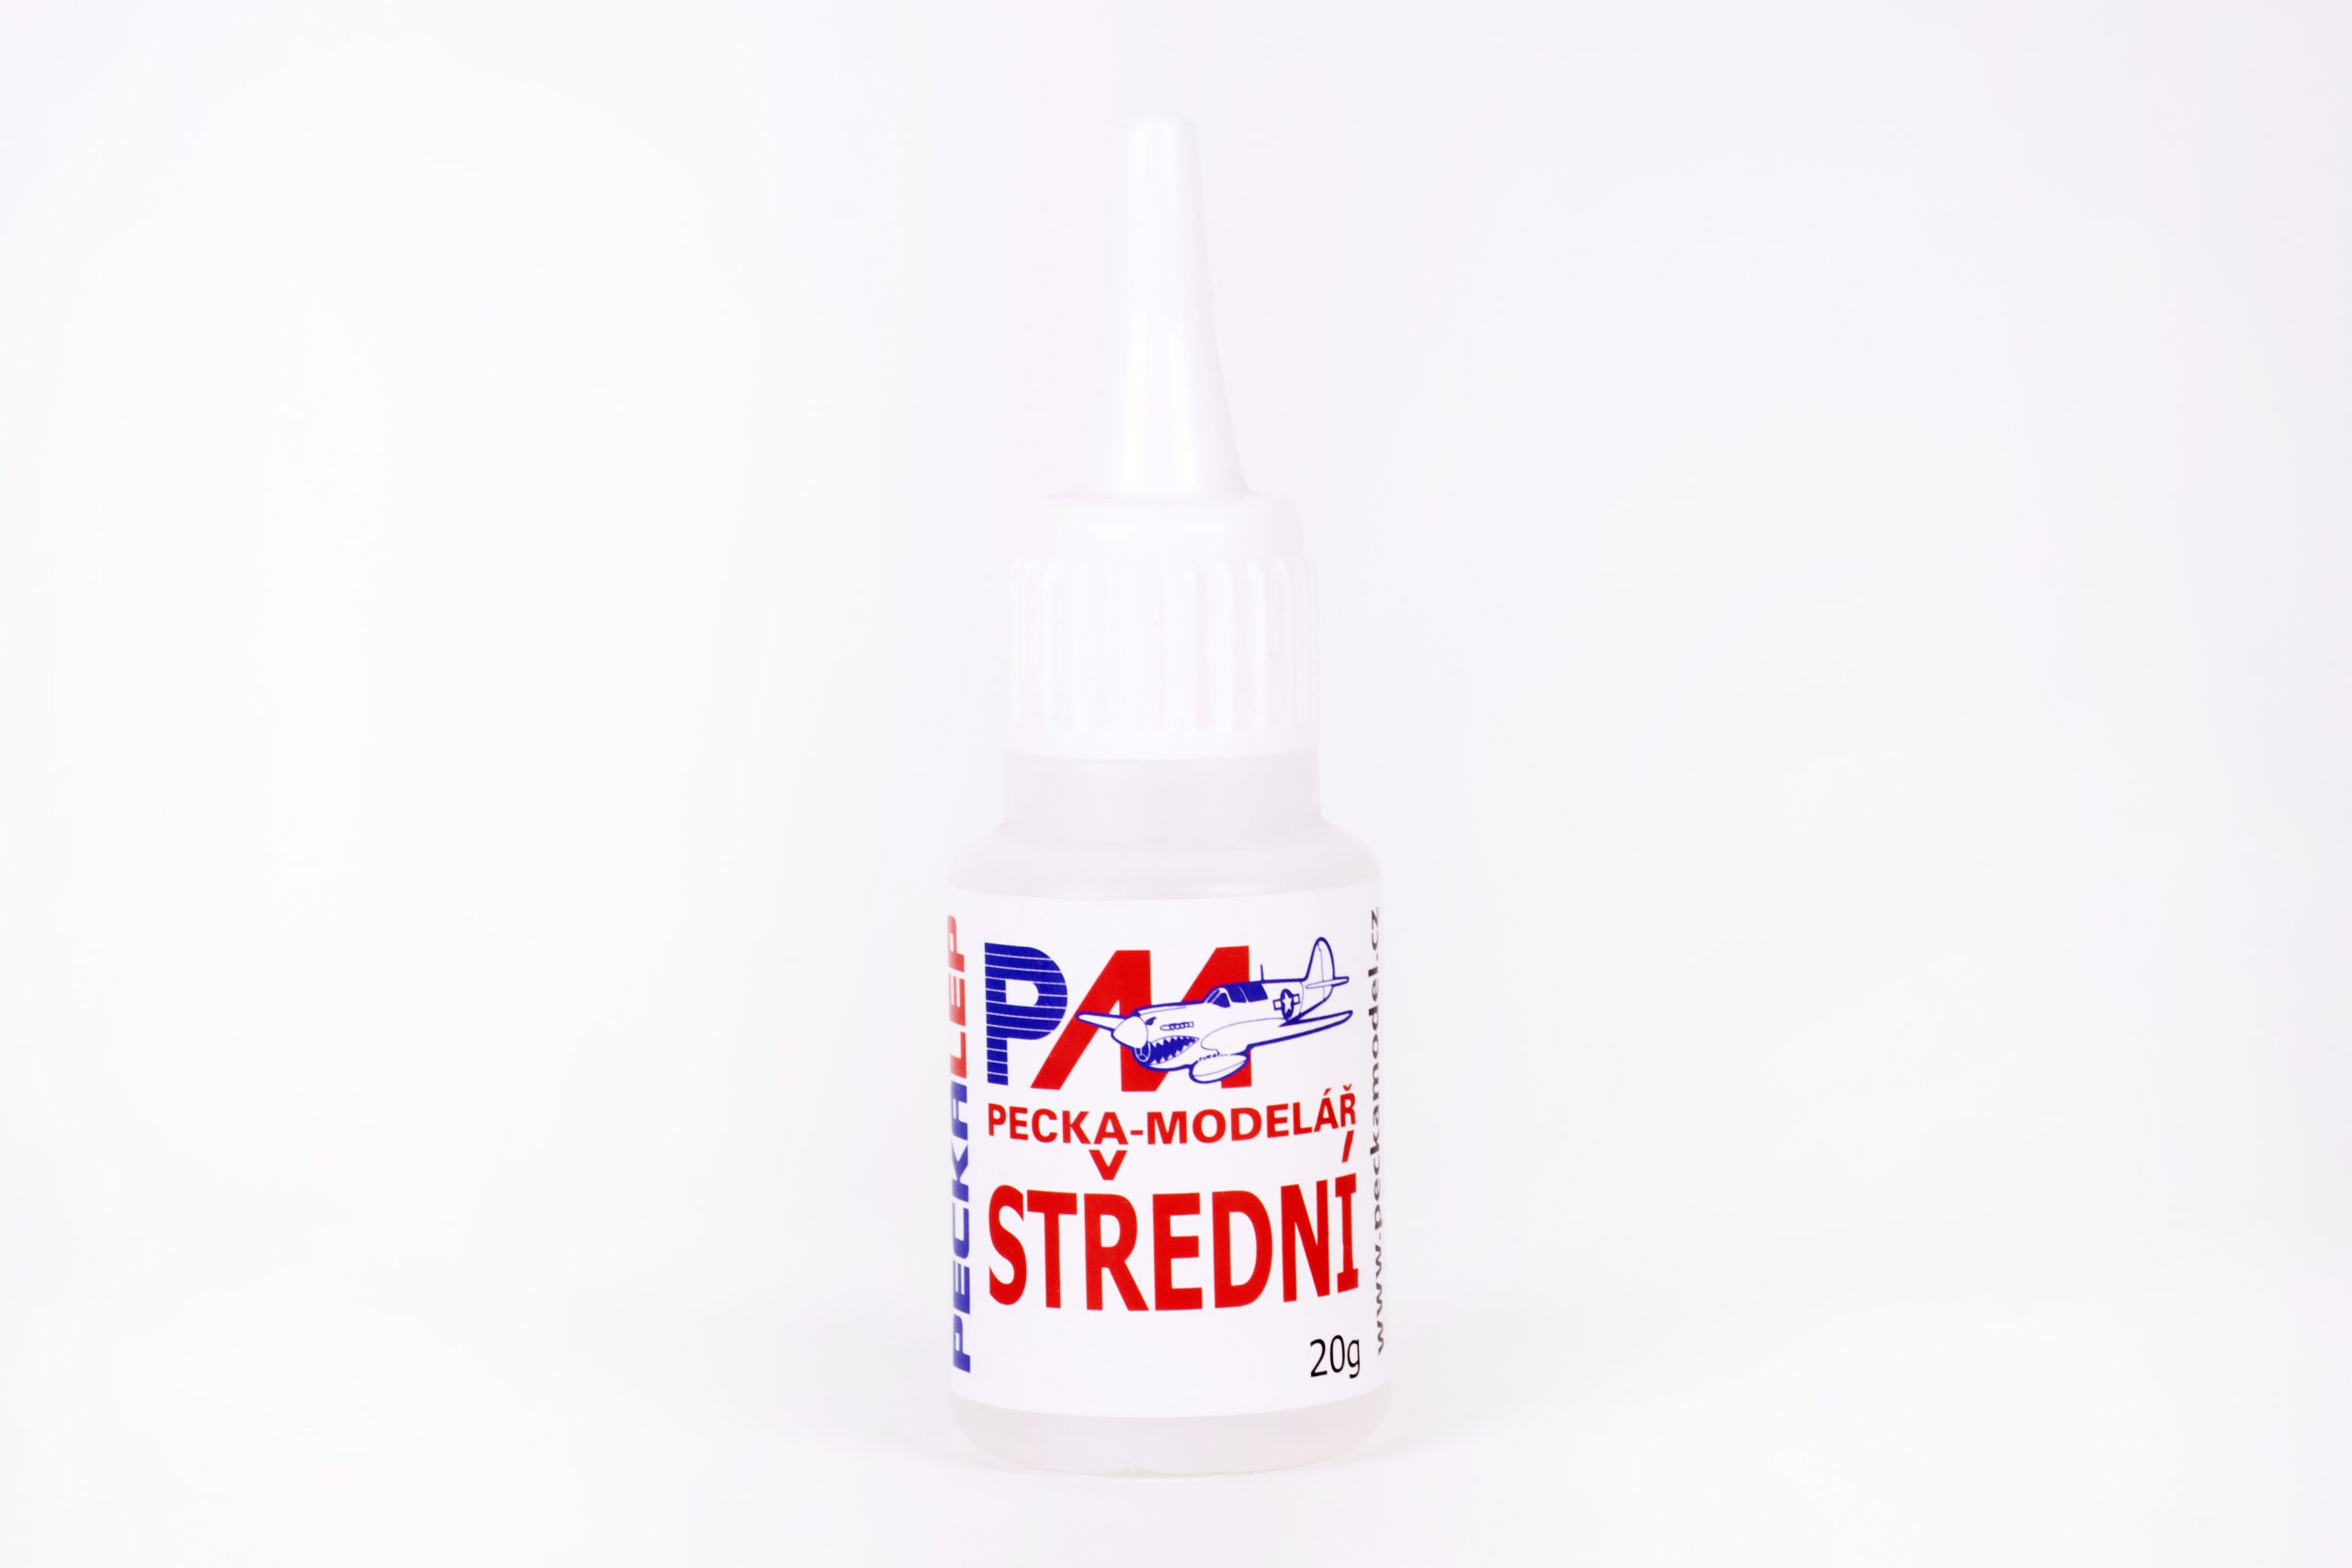
Peckalep Medium
This is our go-to CA we use on daily basis. Its only downside is its rather impractical container which clogs quickly. Very strong, one of the best in the tensile strength test.
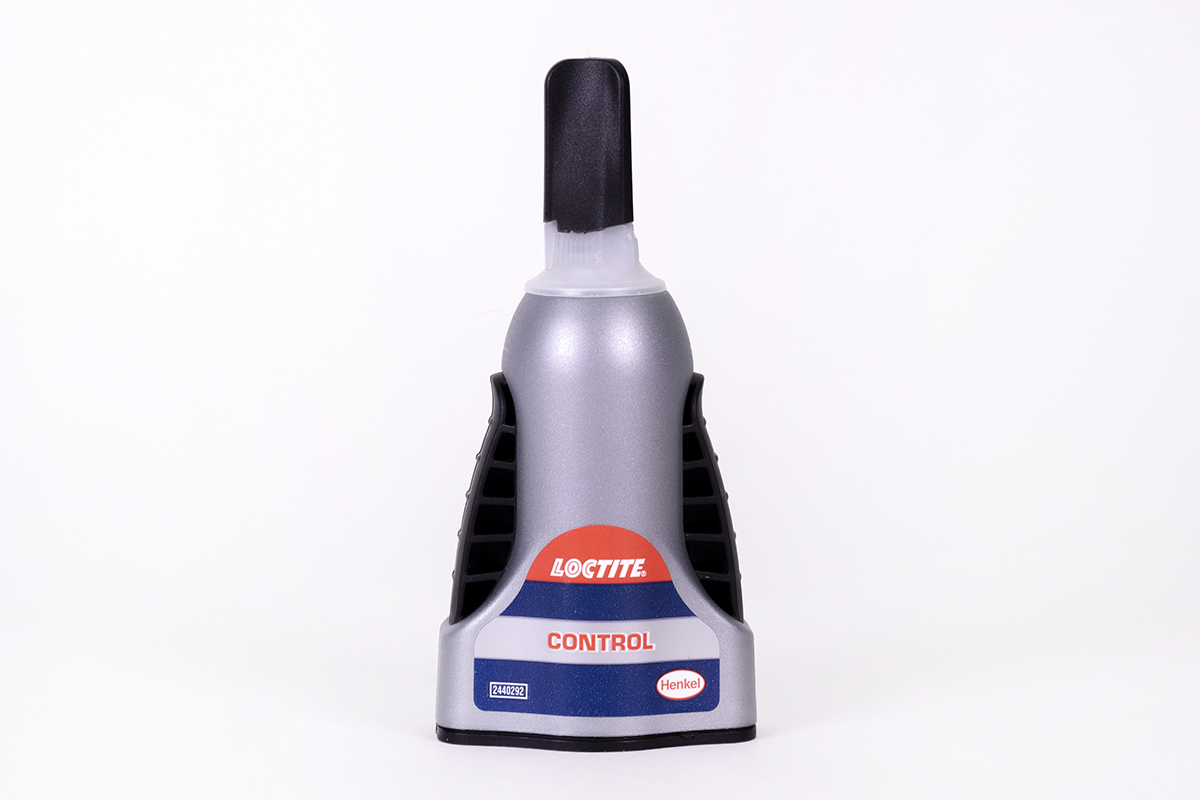
Loctite Control
Reasonably strong, with a very good application system (pressing the button on the bottle sides)
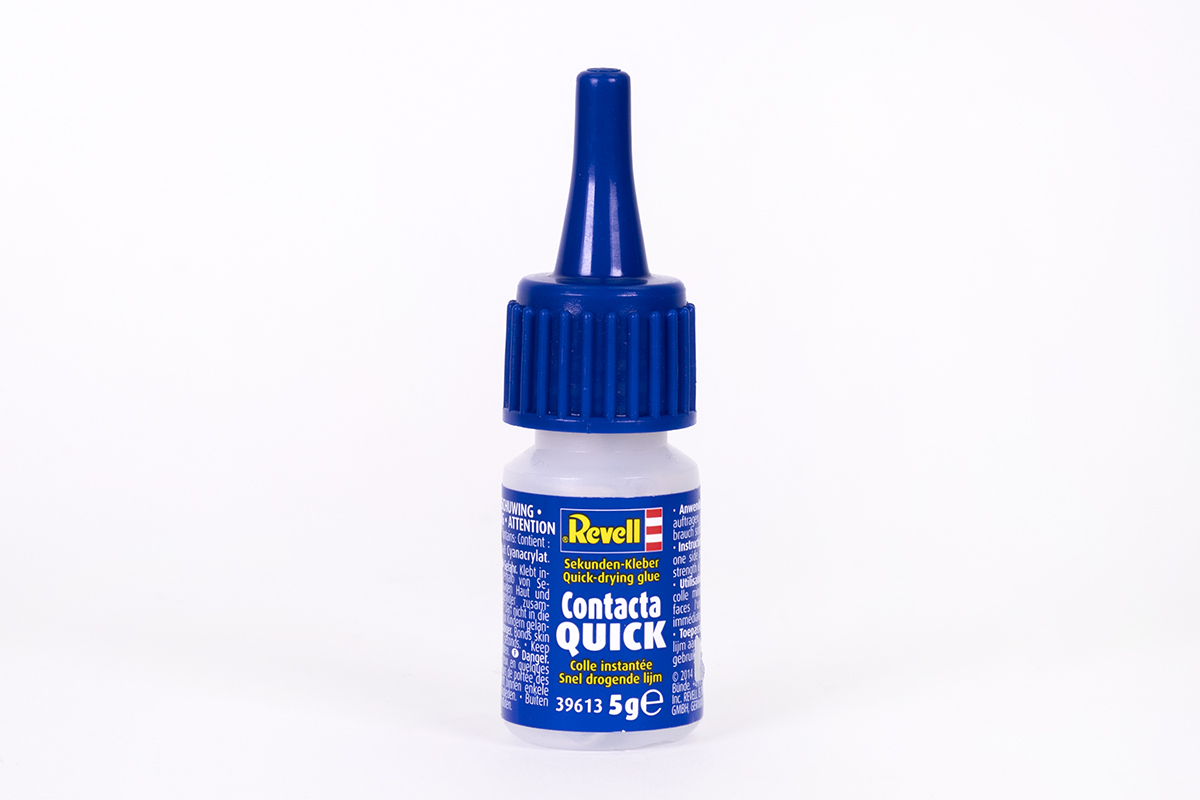
Revell Contacta Quick
Good, but with an impractical container (too stiff bottle and the applicator clogs quickly). Note that there are other glues called Revell Contacta as well (Contacta Professional and Contacta Clear), on a completely different, non-CA basis, which is a bit confusing.
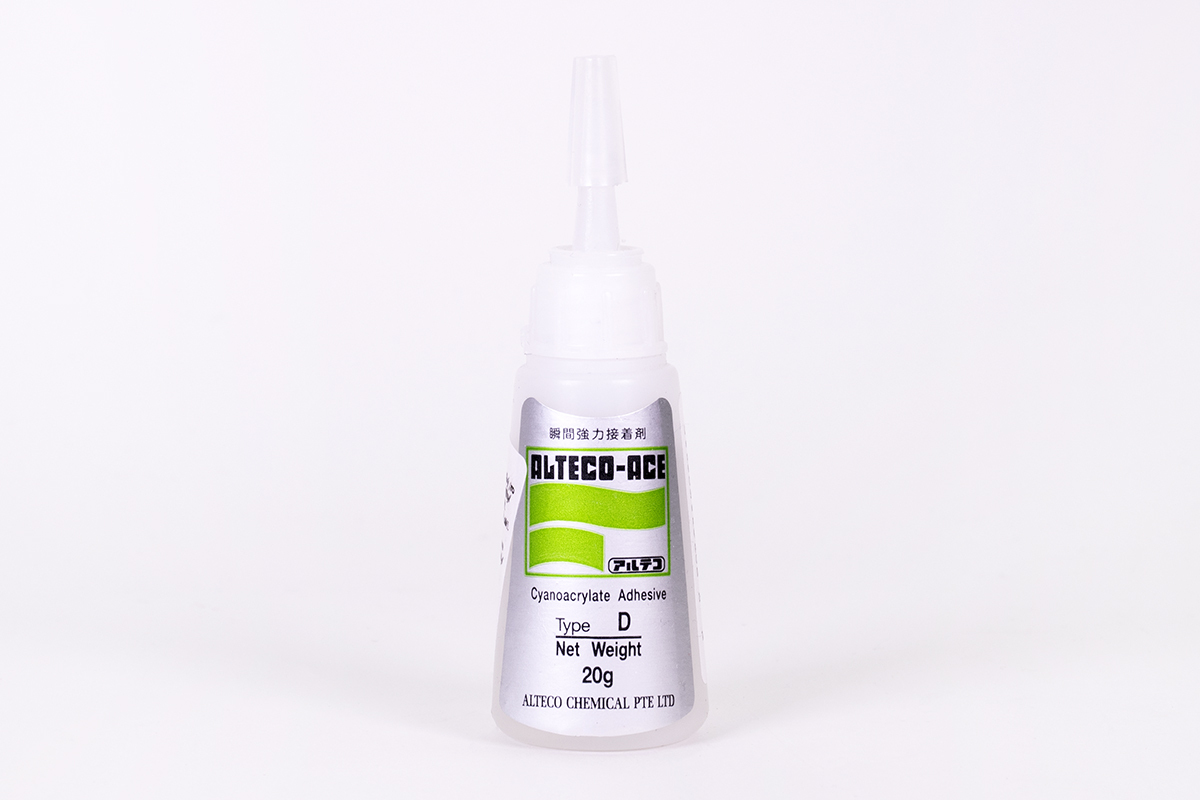
Alteco Super Glue D (20 g)
An example of a quality extra-thin CA intended for capillary effect gluing. Excellent for what it does, but it’s a rather expensive glue in a large container that thickens and clogs quite quickly, so make sure you can really use up all of it in a short amount of time.
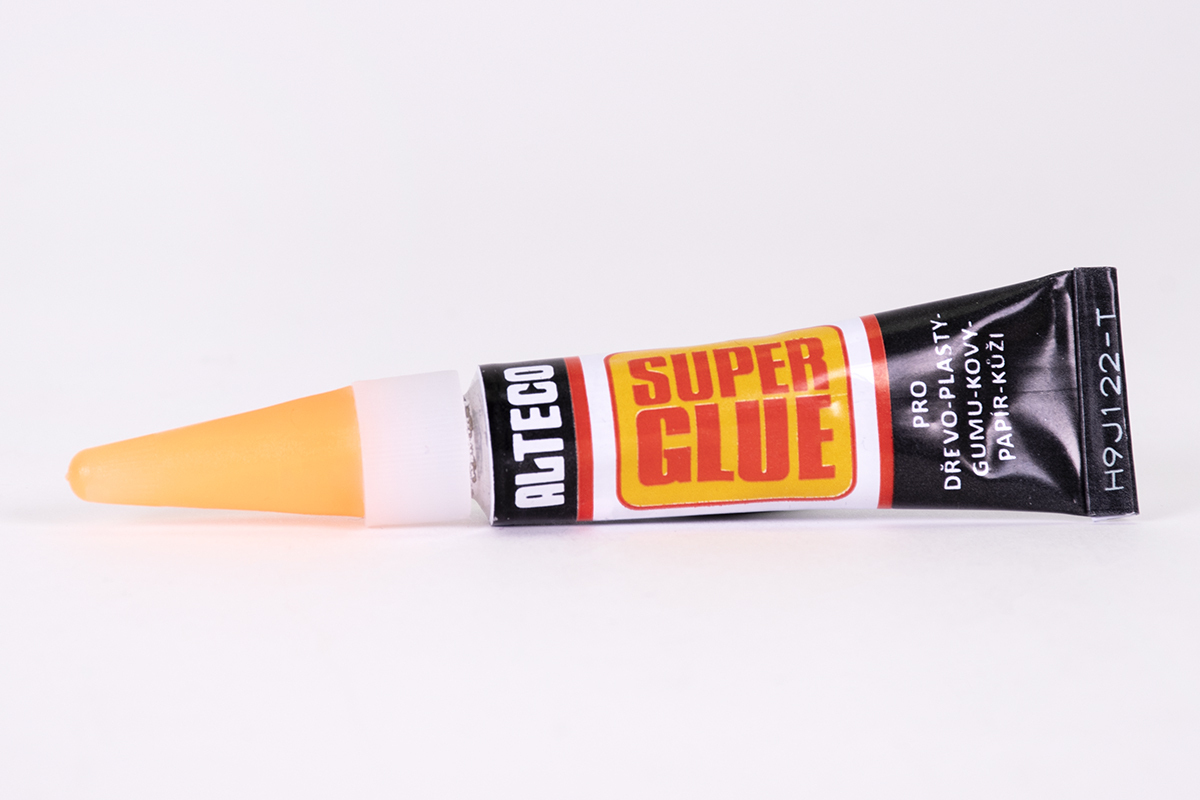
Alteco super glue (3 g)
Last but not least, the plain, worldwide available Alteco glue tube. Best tensile strength test results, excellent value.
Warnings, tips, and fun facts about cyanoacrylate
CA is relatively non-toxic (despite the “cyano” that sounds like cyanide), but the fumes can be a strong irritant, especially when CA is used in larger amounts and/or poorly ventilated space. The symptoms are not serious but can be unpleasant (like common cold, itchy eyes, stuffy nose).
There might be a strong, exothermic reaction in contact with some fabrics, for example, cotton or wool. Usually, the fabric just becomes warm on touch, but in an extreme case, CA could really burn a hole in clothes and towels, while emitting smelly white smoke!
By the way, note that the emitted heat depends on the quickness of reaction, therefore when using activators to speed things up, the heat also increases, sometimes to a level where it could slightly deform materials with low-temperature resistance, like PLA.
There is one thing CA bonds better than anything else: the human skin and tissue! This is actually not a bug, but a feature 🙂 The first widespread practical use of cyanoacrylate was by combat medics in the Vietnam war, to quickly seal wounds on the battlefield. To this day, many hobbyists use CA to tend little finger cuts, ranging from rock climbers to scale modelers. The common issue is that they can’t use a regular band-aid because they need to keep maximum sensation in their fingers. Feel free to try this, at your own risk of course! Keep in mind that regular CA is indeed not a medically certified product and can cause irritation to your skin.
In any case, intentional or accidental, CA will easily peel off with shed skin after some time.
One last warning: everyone thinks accidents with superglue only happen to stupid people until it happens to them. It could happen even to some of the world leaders!
But seriously, opening a CA tube with your teeth while immersed in work and emptying it into your mouth is… an imaginable situation. By the way, one of our colleagues glued his knees together when he instinctively tried to catch a falling CA tube by slamming his thighs together, similar to an ice-hockey goalie save! 🙂 So, be careful.
Solvent-based glues
Solvent-based glues work simply by partially melting the material and chemically welding it together. Obviously, unlike with CA and debonder, this is an irreversible process and you have to be extra careful, as spilling the glue or joining the wrong parts means damaging or destroying your print.
It takes some time before the solvent evaporates and the material hardens again, thus giving ample time to adjust and fine-tune the joint.
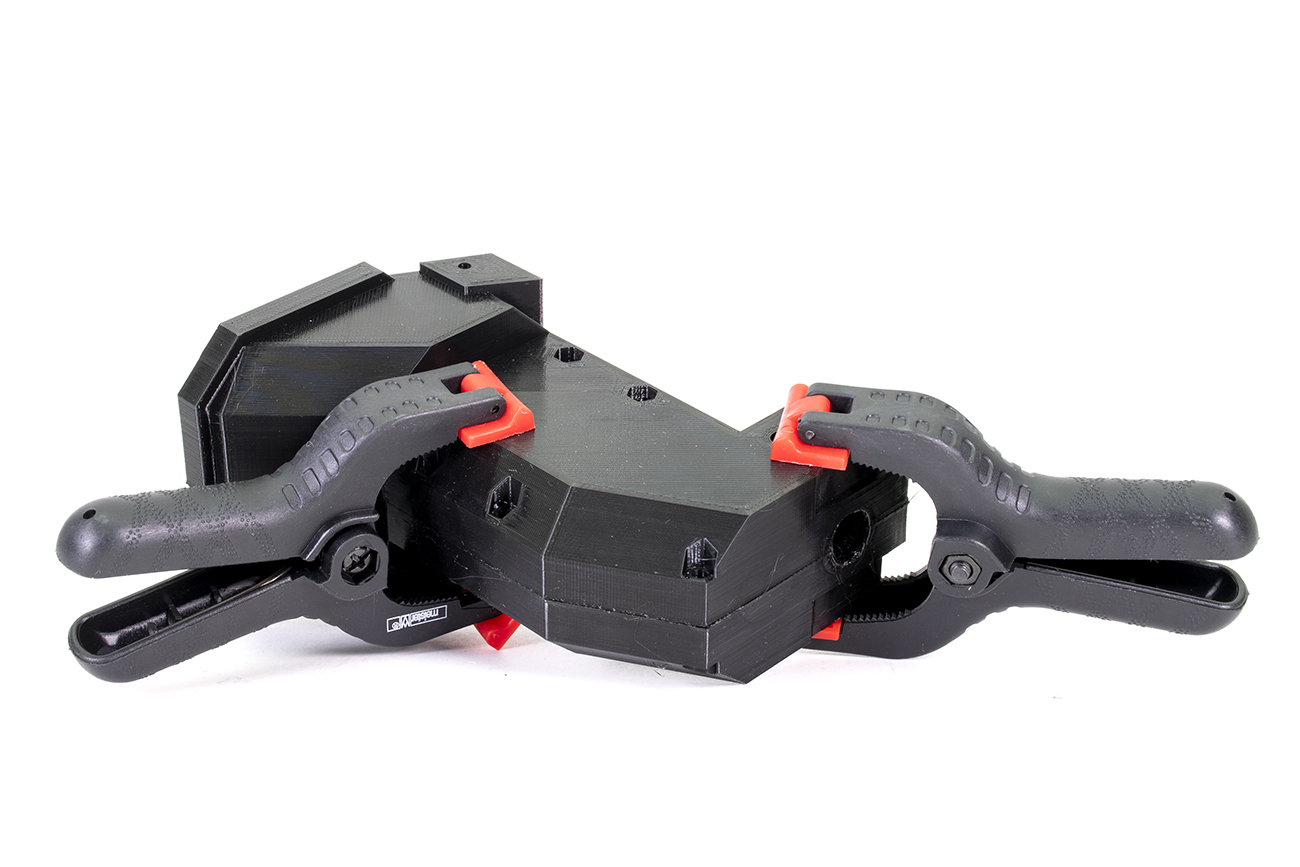
Because of the longer setting time, consider using some tools to hold the parts together: clothespins, rubber bands, or various clamps, available both in model hobby shops and large DIY stores. Pressing the parts together can greatly improve the strength of the bond.
Even though the parts often hold together just fine in a couple of seconds or minutes, the joint takes a longer time to fully cure. Actually, with larger prints (or if you use too much glue), it can take many days, while the joint still “breathes” the solvent ingredients (you can check the smell by putting the glued object into a closed container).
Even a fully cured joint will not have the exact same characteristics and mechanical strength as the surrounding material, but you can get quite close when taking the time to prepare the mating surfaces and pressing the parts together long enough.
Note that as the glue evaporates, the joint tends to shrink (sink) a bit.
Unlike with CA or two-part epoxy glues, you can hardly use solvent-based glues as a coating or putty, as it is just melting the surface while adding little or no new material to it. However, you can fill larger gaps by gluing in pieces of plastic or filament bits.
Although it can thicken and dry out, generally, in an airtight container a solvent-based glue could last for many years. A clogged cap could actually help to seal the tube airtight 🙂 There are two basic types of solvent-based glues: extra thin glue consisting of a solvent or a mixture of solvents alone, and a thick glue, where the solvent is mixed with some dissolved material to give it more substance.
Either of these can be a commercial product or just a bottle of solvent, or your own ad-hoc mixture. For instance, pure acetone often serves as an inexpensive extra thin solvent glue. You can also make a thicker glue simply by dissolving pieces of plastic in it. Every veteran of 3D printing remembers (or is even still using) the ABS juice 🙂
Capillary effect gluing
The main advantage of using the extra thin glues is employing a so-called capillary effect. Simply put, narrow spaces tend to “suck in” liquid. In our context, it means that instead of smearing the glue directly on the mating surfaces, you can just gently press the parts together and apply the thin glue from the outside. Dab the glue on a brush to the joint and in a split second, it will flow in and over the mating surface and glue the parts together. Repeat if necessary. This is a fantastic technique and if done correctly, presents the cleanest and easiest method of gluing.
However, there are few things to watch out for, especially when gluing typical FFF prints with a rather rough surface. First, the feasibility of this technique depends on the quality of mating surfaces – they should be really smooth and level. Secondly, the 3D print layers will also be subject to the capillary effect. And so will be your fingermark grooves! Both can make the glue travel somewhere you didn’t want to and damage the surface of your print.
Which solvent-based glue to choose?
Compared to CA, solvent-based glues are much less universally usable. Different solvents are compatible with different plastics. The thick glues will still provide some sort of bond (since they don’t rely on the solvent alone, but the dissolved ingredients as well), but it is not going to be that strong. This is well illustrated in the tensile strength test table below.
When searching for compatible materials and solvents, you can check our great material table. ABS and ASA can be glued with acetone, HIPS with limonene, and PVB with isopropyl alcohol. Only PETG is unfortunately inert to all chemicals normally available to a hobbyist.
What material can be smoothed, can be usually also glued by the same solvent. Not always, though! Surprisingly, PLA can be glued with acetone just fine, even though it cannot be smoothed with it (it does nothing and in the end, the print just falls apart).
There is a wide choice of plastic modelers’ glues on the market. Because plastic models are made of styrene, these glues can be used to join styrene-based filament materials like ABS or ASA. However, there are surprising exceptions, so take nothing for granted! One of the modelers’ glues we tried didn’t react with ASA at all, even though it glues regular styrene perfectly (see below).
Examples of solvent-based glue products
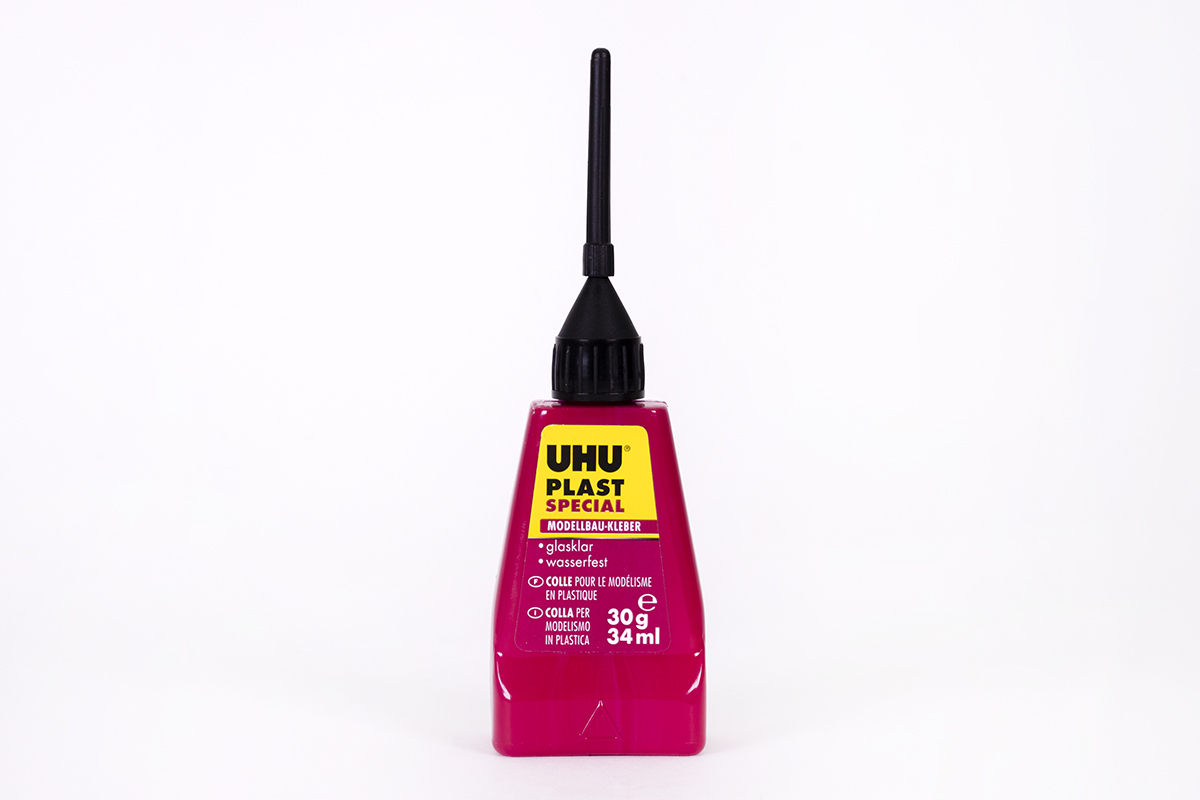
UHU Plast Special (30 g)
Convenient, soft container with a long needle applicator. In addition to styrene-based materials, it should be effective on some other plastics including polycarbonate as well. Its consistency is about halfway between thick and extra-thin glues.
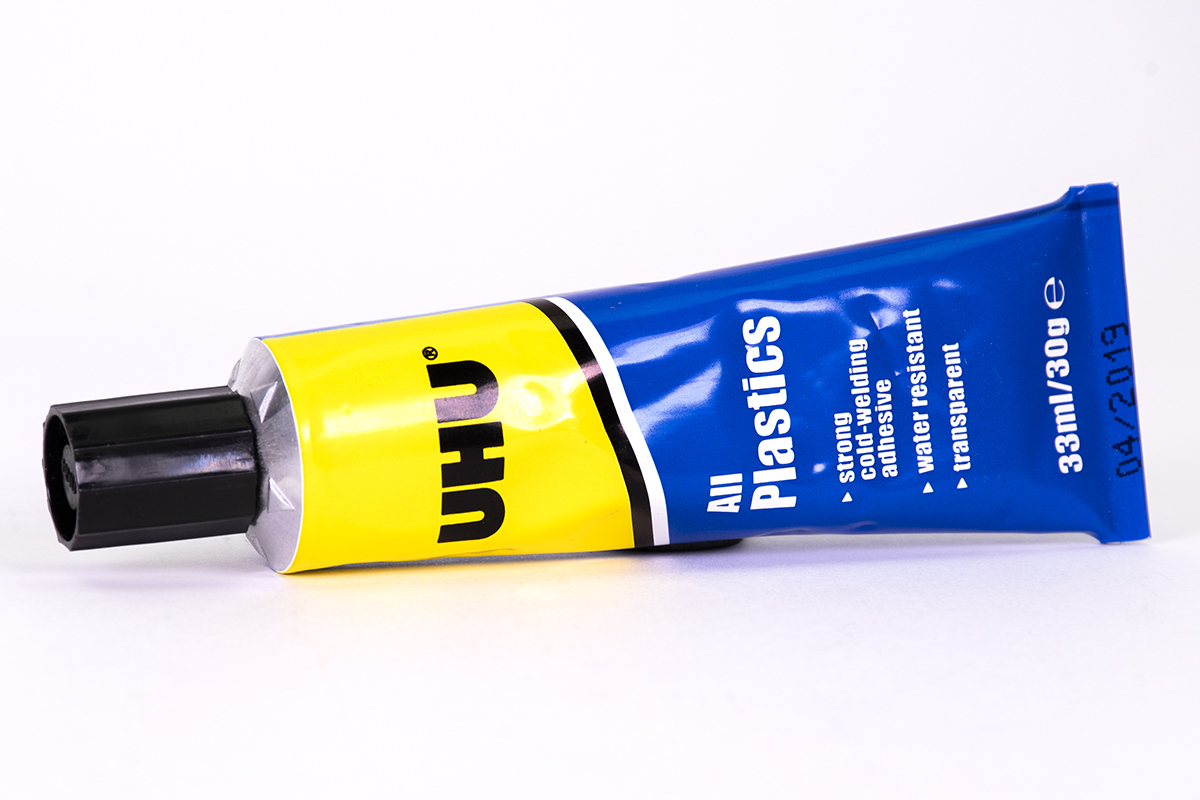
UHU All Plastics (30 g)
Thick glue in a tube, which doesn’t allow for much precision. Marketed as “universal”, however, the description kinda contradicts that: it says it’s not suitable for styrene, polypropylene, polyethylene, and other plastics. Mediocre tensile strength test results confirm the “jack of all trades, master of none” saying.
Tamiya Extra Thin Cement (40 ml)
Similar to Gunze Sangyo Mr. Cement, this is one of the two most popular extra thin glues for modelers. It’s in a glass container with a small brush built into the bottlecap. Note that Tamiya makes multiple variants: normal, quick-setting, for ABS, and a limonene variant (which could be handy for HIPS, but we didn’t have an opportunity to test that).
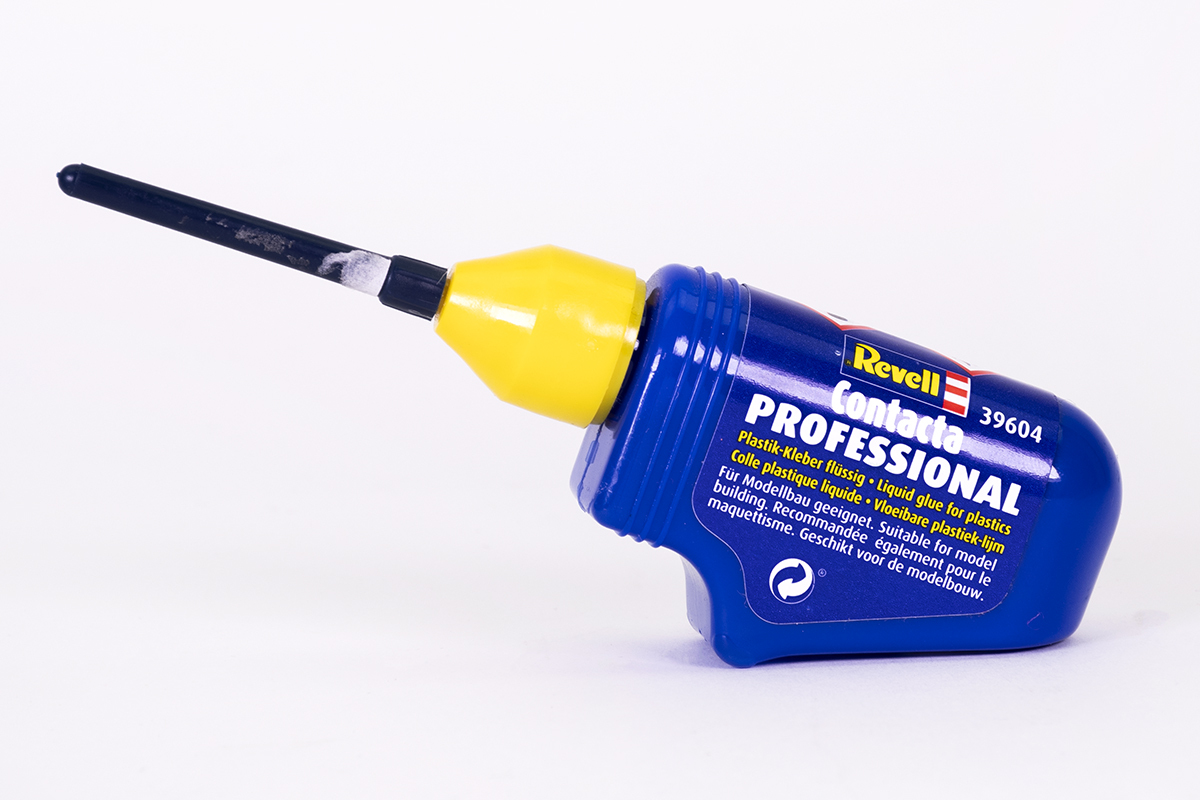
Revell Contacta Professional (28 g)
Similar to the UHU Plast Special. Don’t mistake it with the Revell Contacta Quick, which is a CA glue. Doesn’t glue ASA at all.
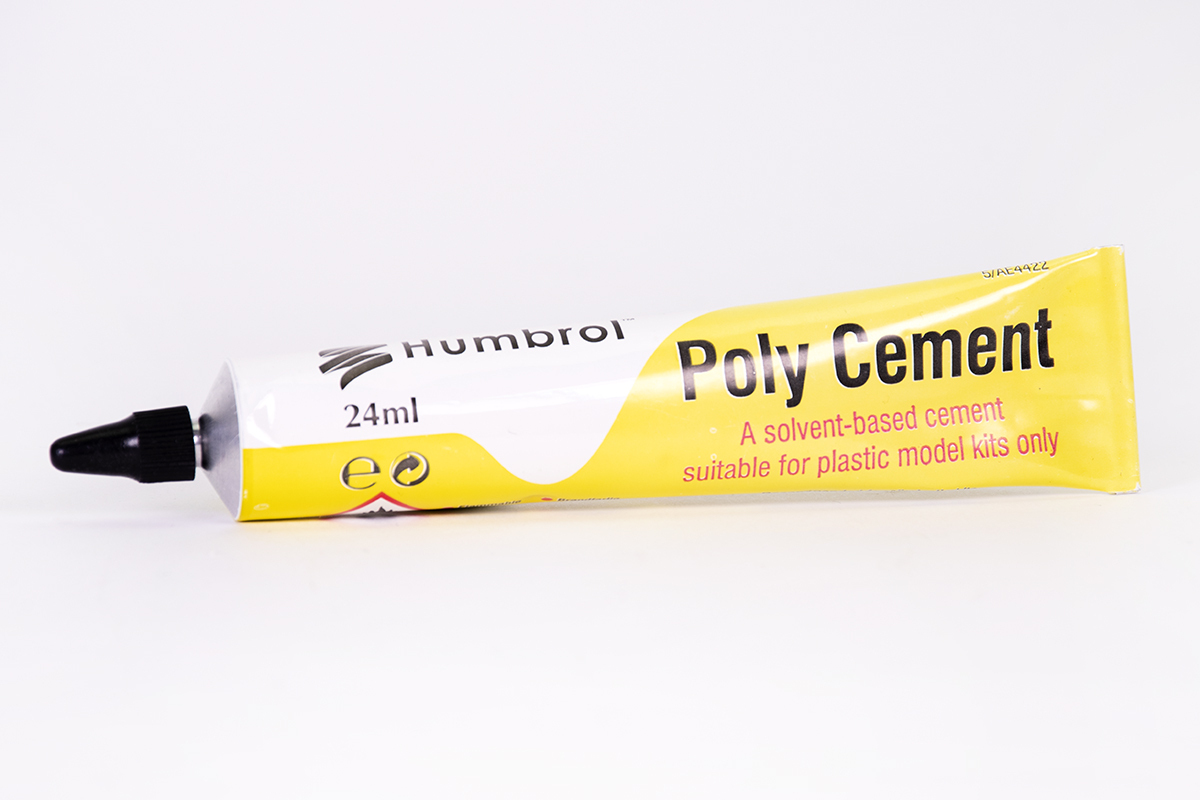
Humbrol Poly cement (24 ml)
A classic thick glue in a tube for modelers. Again, not very good for precise application, but relatively cheap and more suitable for large parts compared to the extra-thin glues.

Warnings about solvent-based glues
As was already mentioned earlier, the main disadvantage of solvent-based glues is irreversibility. Be extra careful not to damage the glued parts or your surroundings.
Also, take extra care regarding ventilation, solvent-based glues are generally those with the most prominent smell and flammable, harmful, or even narcotic ingredients (like toluene).
Two-part epoxies
The last type of glues we will describe in more detail are the two-part epoxy resins. These glues are stored as two separate components: the resin itself and a hardener. By mixing the components together in a prescribed ratio, chain polymerization is activated.
The disadvantage is obvious – mixing the components can be perceived as a hassle. You need a suitable disposable container – empty pill plates are great for this. You can also mix the components right on the mating surface. Be careful not to contaminate the resin with the hardener!
Similar to CA glues, there are several variants of two-part epoxies with very different qualities, depending on various additives. From the three options given in this article, they are the most flexible (figuratively and in some variants also literally). Some of them might be crystal clear and odorless, some look like stinky mud.
Two-part epoxies have a wide range of applications in postprocessing. They can be used as coatings or putty. Crystal clear variants that don’t shrink and frost like the CA glues, are often used for imitating glass (in model car headlights, etc.).
Probably the most prominent characteristic is the curing time of each variant, which could vary a lot, ranging from less than 90 seconds to more than 12 hours. The drying time can be increased or decreased a bit by the amount of hardener, however, it is not advisable to go against the instructions, as too much hardener can produce heat, create bubbles, or otherwise degrade the result.
Why don’t just always use the quick setting variants? Well, the long curing serves to provide plenty of time for the still liquid epoxy to creep in each pore and crack of the mating surface, thus providing a stronger bond. When using them as a coating, a longer time helps the coat to spread evenly (auto-level) on the surface. Also, the longer-curing variants are usually stronger and less brittle. It is possible to combine them with CA glue – attach the parts through a few CA points and fill the rest with epoxy.
As for the shelf life, these could be a little tricky, as unlike CA glue which just rolls over and dies visibly, two-part epoxies might still look the same, but it seems their qualities degrade significantly, sometimes they never cure completely. For example, we tested a several years old Alteco glue, boldly called “3-ton epoxy” – let’s just say it didn’t hold up to that name and therefore isn’t even included in the test results.
Which two-part epoxy to choose?
As mentioned above, the two-part epoxies present such a huge group of products, it is hard to characterize them in a few sentences. Below in the examples, we offer two 5-minute variants, as this curing time is usually the convenient tradeoff for most applications.
Two-part epoxies products examples
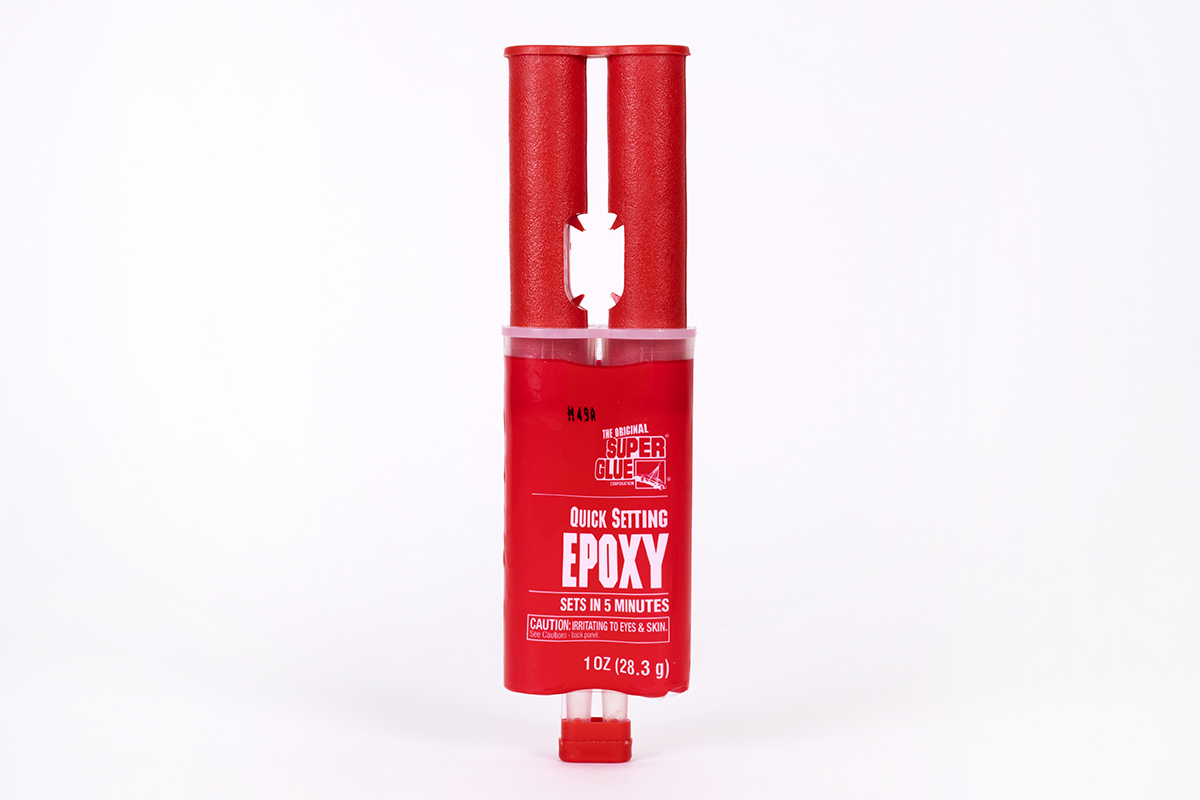
Super Glue 5 Minute Epoxy (28,3 g)
A special cartridge container that lets you squeeze out equal amounts of both components. Great for mechanically stressed joints.
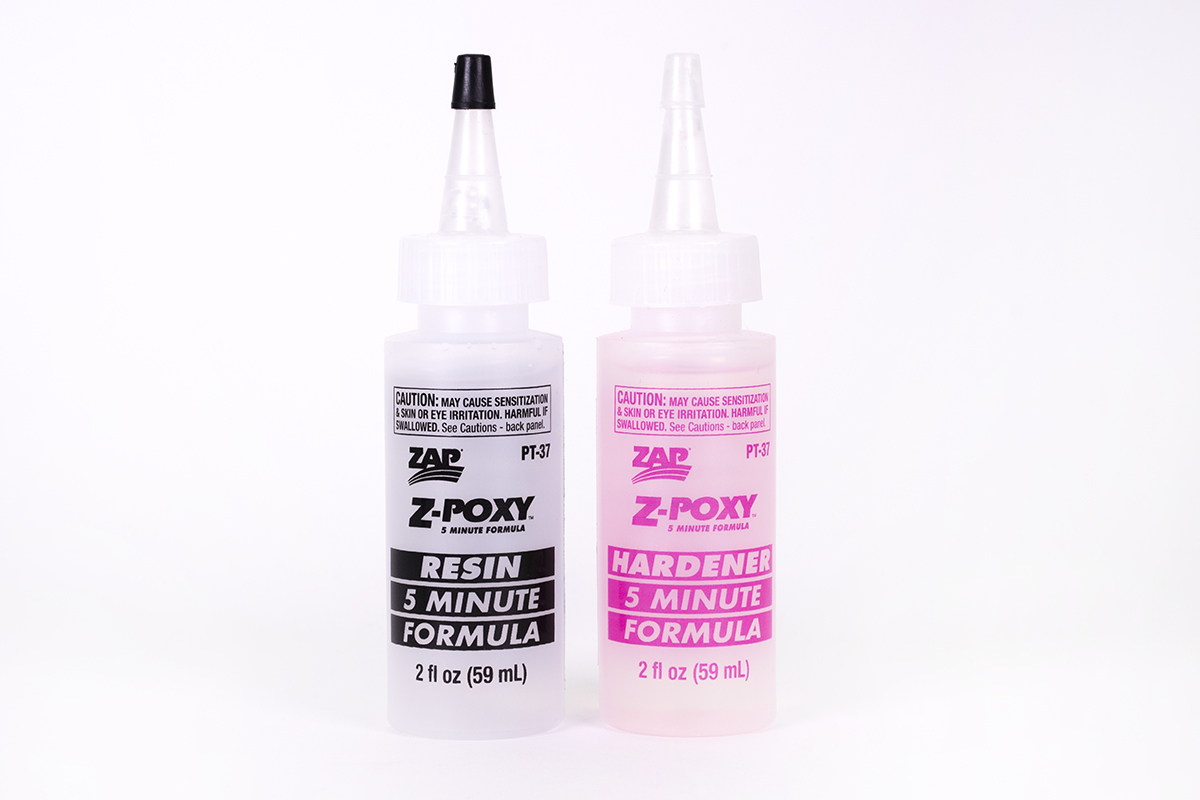
Z-poxy (118 ml)
Very similar to the previous option, but components are in separate bottle containers.
Warnings about two-part epoxies
Similar to CA glues, epoxies are relatively non-toxic (always check the particular product though, as additives play its role, etc.), but can act as an irritant.
Reportedly, cured epoxy can be removed with acetone or vinegar, however, we didn’t have much success with that. The maximum you can hope for is to make the epoxy more loose and then scrape or peel it off. It does not dissolve like when using debonder on a CA glue.
Other glue options
We are still far from exhausting the topic, even with an article as loong as this one 🙂
There are many other glue options that we didn’t explore in detail. At least for the sake of completeness, here is a list with a few notes:
- PVA/wood glues (probably not strong enough for most plastics),
- contact cements, typically for shoe repairs, etc. (might be good especially for flexible filament materials!),
- hot adhesives, i.e. a glue gun,
- silicone,
- and gluing SLA resin with SLA resin cured with UV light (this sounds dubious, as the resin would probably cure just on the surface, but we found this advice on the internet, so who knows?).
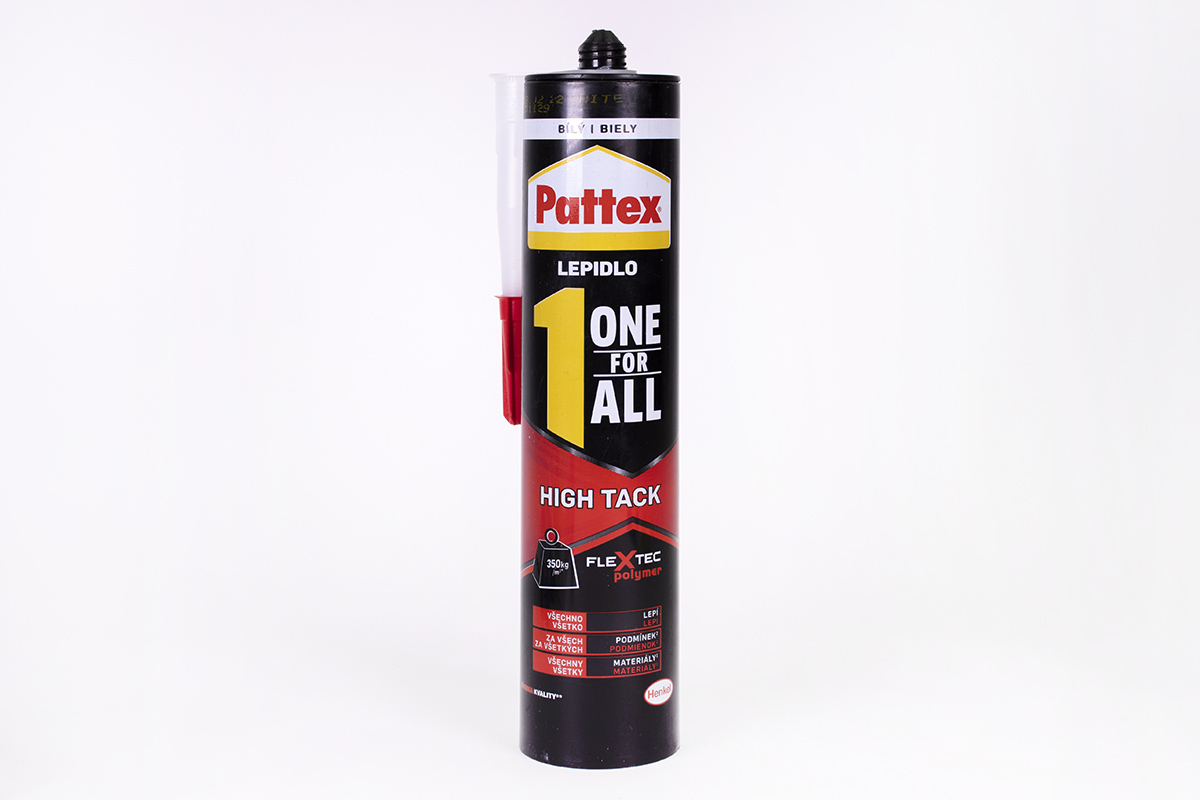
There is one type of glue that deserves extra mention, even if it doesn’t really fit into any of the three categories above. It’s a real heavyweight weapon for gluing very large objects, for example, life-sized statues such as these gate guardians of our factory:
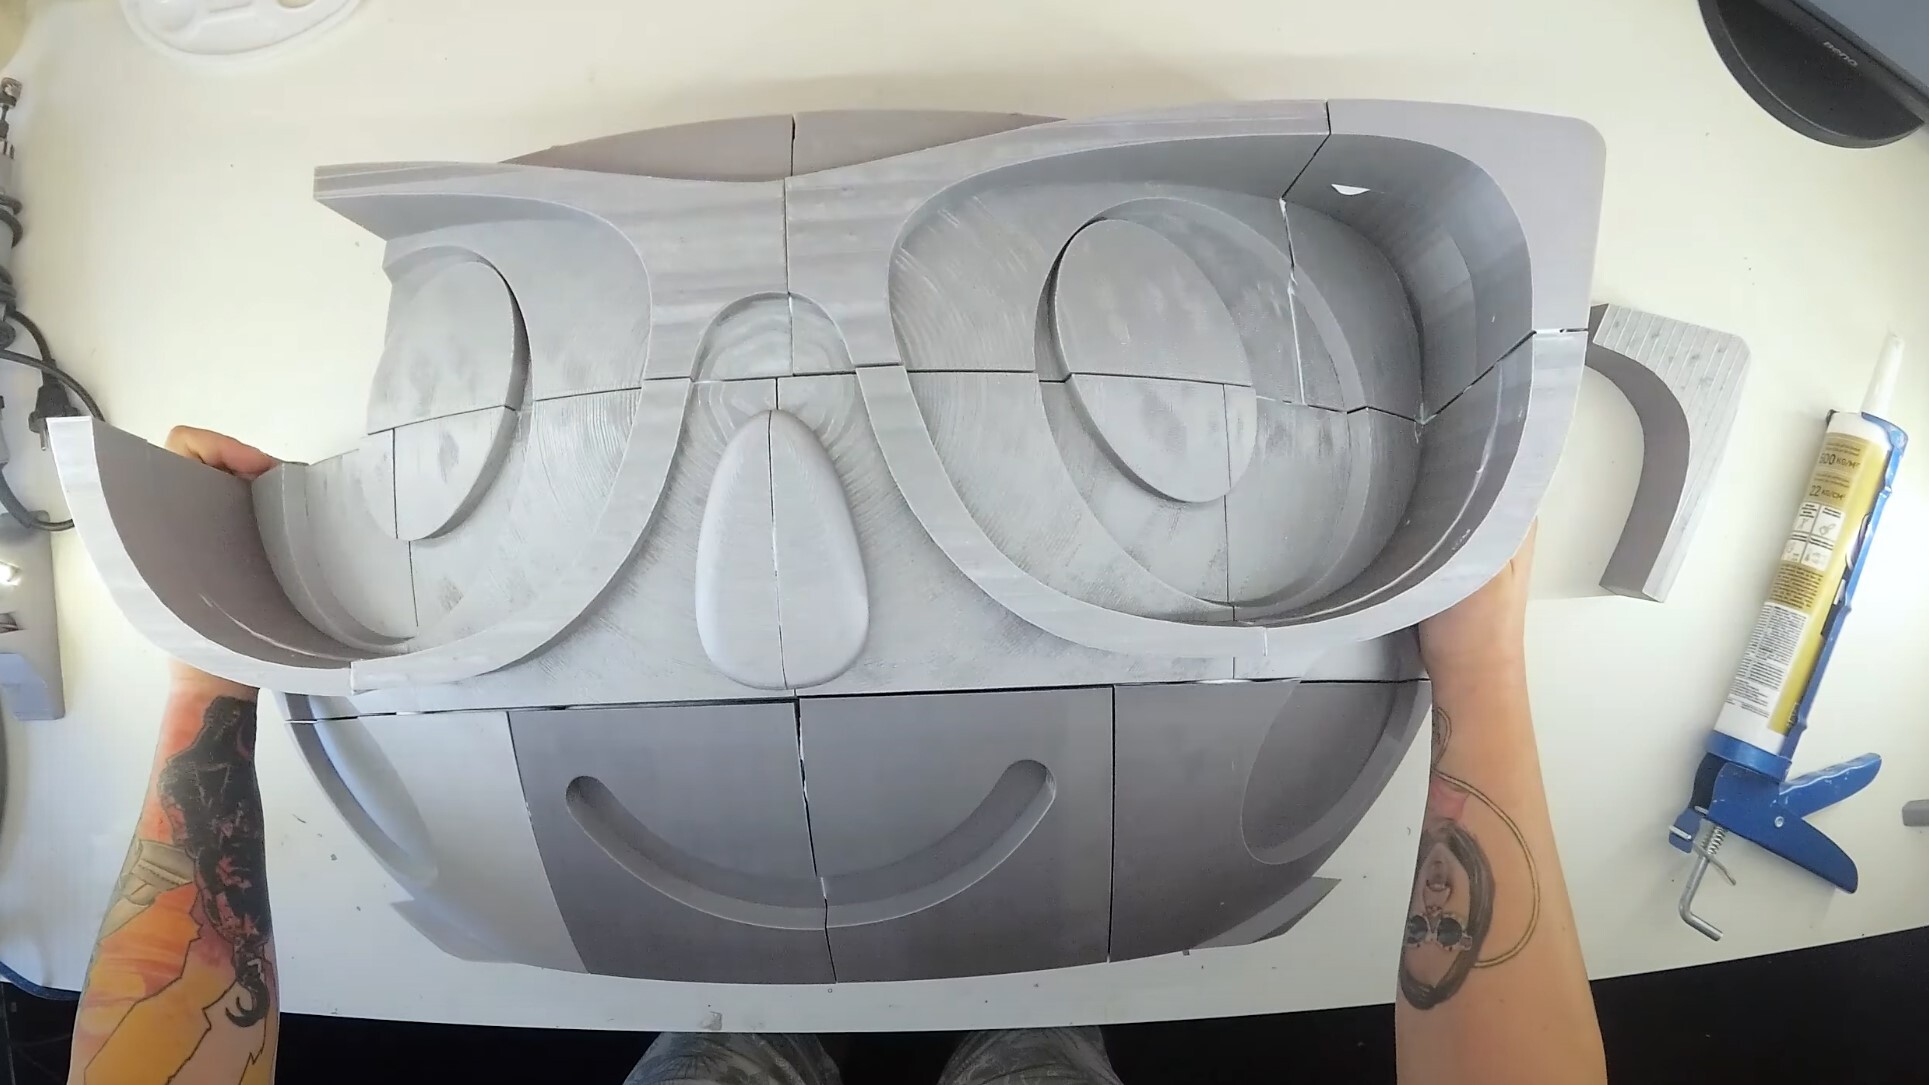

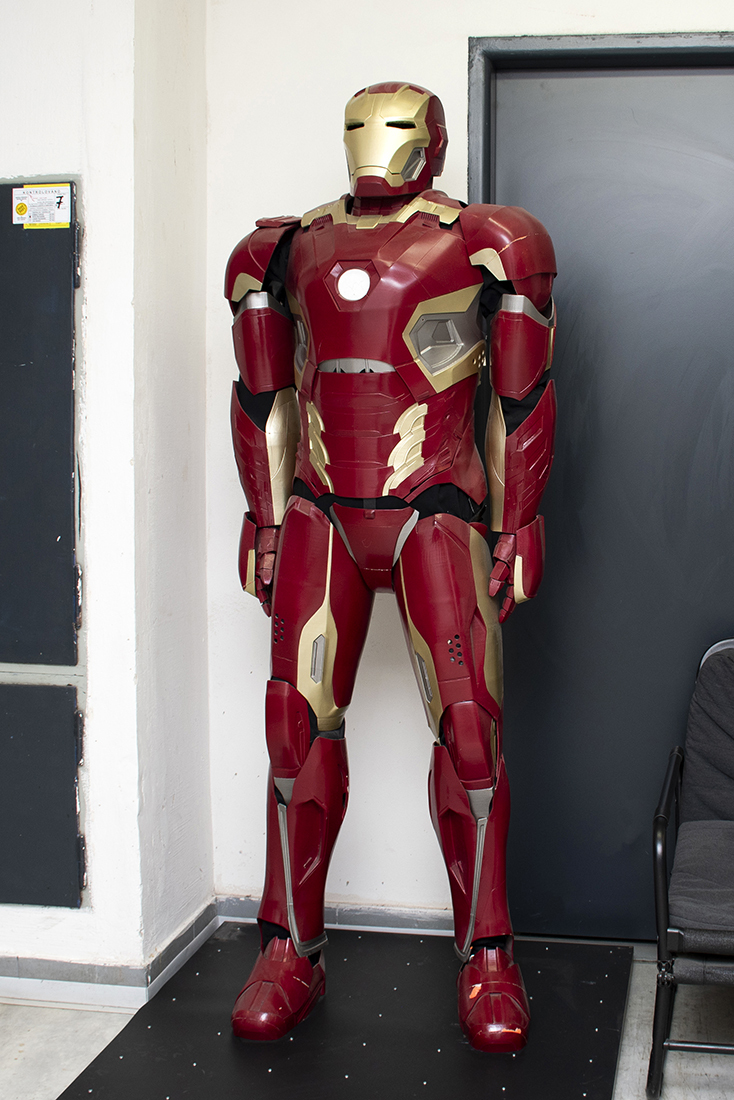
We are talking about a polymer-based, so-called mounting (construction) glue. Specifically, we use the Pattex One for All product made by Henkel. It’s available in a large cartridge (440 g), is easy to work with (on large surfaces), and has a strong bond. You can adjust the joint for about 10 minutes. It is fully cured in 24 hours.
Non-permanent means of assembly
If you don’t want a permanent bond, you can assemble the parts using screws or magnets.
For example, tabletop wargaming miniatures often include magnets, either in their bases (to attach them to a magnetic box bottom for safer transport) or in their hands, so you can alternate between various weapons, etc. There are many articles and tutorials available on this topic, for example here.
Tip: In PrusaSlicer, you can use the Pause Print function to embed nuts, magnets, or other material right into your prints! You can consult our Knowledge Base article.
Results of a tensile strength test
Below you can find the results of a tensile strength test, made with the three most regular filament materials, using the standard printed samples and testing machine (the same as for example in the article about annealing). Please consider this just a very quick overview (a proper test would include multiple samples and controlled conditions).
| PLA (MPa) | PET (MPa) | ASA (MPa) | |
| Peckalep Medium | 10.2049 | 12.5826 | 7.22657 |
| Loctite Control | 9.47398 | 5.93799 | 4.62067 |
| Revell Contacta Quick | 5.05587 | 5.46793 | 4.97564 |
| UHU Plast Special + | 0.85584 | 2.50882 | 2.47262 |
| UHU All Plastics | 4.92676 | 4.75582 | 4.29022 |
| Super Glue 5 minute Epoxy | 6.33216 | 5.12435 | 2.02793 |
| Z-poxy | 5.01506 | 3.72287 | 2.69042 |
| Tamiya Extra Thin Cement | 4.38035 | 2.23122 | 6.06334 |
| Alteco Super Glue | 9.8082 | 13.0643 | 9.43857 |
| Revell Contacta Professional | 2.024 | 0 | 0 |
| Humbrol Poly cement | 3.16562 | 3.44785 | 7.4363 |
| Alteco Super Glue D | 7.95353 | 4.47277 | 11.2999 |
Send us your feedback!
And that is all. Since we tackled a relatively broad and complicated topic today, we ask for your feedback even more than usual. Send us tips on local products that might help other people in your area, elaborate on some of the options listed in the “Other glue options” paragraph, or let us know about some completely different gluing methods we didn’t think about.
Happy printing!
I’m really surprised Methacrylate plastic welder wasn’t included in this list.
It’s some wicked strong stuff, and I’ve used it successful with plenty of 3D PETG prints.
http://torukmakto4.blogspot.com/2014/03/tech-devcon-tenets-methacrylate-plastic.html is a good article on it!
Hello,
thanks for the tip! I just looked it up and that Devcon glue is actually available here in Czechia, so I am going to test that.
Thanks, I don’t think you’ll be disappointing.
It bonds PETG and ABS very well, and I’ve used it for many PETG prints, but I don’t think it’ll handle PLA well. That’s a con I didn’t really think of since I rarely print PLA for structural objects.
Also if you get a tube that’s been sitting around in a warehouse for a few years it’ll probably be expired and won’t work, thankfully I’ve yet to have that happen to me.
Oh, and make sure to give it the full 24 hours to set properly!
Have fun!
This is a great guide!
And I have a question that is related to this.
How are you parting parts?
The only method I used so long was either doing this it Fusion360 with a construction plane and cutting it along the plane, or in the slicer. But this leaves the print with a flat mating surface (which sometimes doesn’t fit snug on the edges because of a not yet calibrated linear flow on my Mini).
What I would rather wish would be to have a kind of “key-lock” mating surface.
Do you know a good method to do this?
@Platzhalter,
Split with a plane.
Sketch on the plane.
Draw a joining shape.
Extrude it in both directions (cutting the 2 parts).
Extrude it again in both directions (new body).
Then use push/pull to shrink the new joining body so that it fits by a small tolerance, or shrink it a % in prusa slicer at print time.
I’m currently working on a 1:12 dollhouse for my spouse. For joining walls in the z-axis I use an L shape male and female joint. On the X or y axis’ I’m using square dowels that fit snugly and will be gluing on the planar edges.
I just finished the electrical connections box, full size it needs to be split in 3 I did a planar knife projection that would split the box into three parts. By filling the ends with a face I ended up with three printable sections. These sections will be screwed with inserts and glued for added strength. The box has to be strong enough to hold the upper two floors and attic.
BTW, I am using 3d blender for design which took me a while to learn enough to develop my ideas. From what I’ve learned I definitely would’ve made a better structure but there are too many pieces to redo anything now.
Also worth mentioning 3D pens. I recently printed two PLA parts and “glued” them together with that same PLA.
I tried gluing together a PETG faceshield with 2 part resin (Poxipol) to quite good effect. For extra safety I added a top cover and all parts are nice and solid.
You want to glue PLA? Use plain Acetone. Its easy to handle, has infinite pot life (except evaporation) and its fumes are similarly dangerous to CA.
Just take care you dont spill any, as it leaves visible spots. But thats the same as with CA.
Using this technique, I glued a model consisting of 80 parts in 5 colours. Worked like a charm
FDM is a process that works by heating up polymers and then pushing out thin lines, layer after layer, hot enough that they directly bond together. Wait a moment… Heat up your solder iron to about print temperature and you can easily weld stuff together. you can even add some excessive material to your model on one part and remove a bit from the other part, so there wont be any bump. This requires some engineering and a steady hand, but its totally doable. I created a PETG model consisting of 152 parts in six colours with a total of 300 welds.
I was not successful using spare filament, its far more trickier than regular soldering as this stuff is extremly sticky, stringy, not fluid at all and generally not behaving well.
I’ve been using soldering irons lately to weld parts together. It’s a skill like any other—takes a while to learn. [There are Japanese artists who work with hot plastic to reproduce restaurant dishes for display. Mad skillz!]
I have dedicated one chisel tip, and one needle iron to plastic. Works better than expected, but takes time to make the joints look good. If I am willing to take the time (rare), I can build up a weld, file it down to grade level, then apply progressively fine emery paper and elbow grease, with final polish to a high shine.
I use SLA resin for bonding parts, and gap filling.. Especially if there is a seam that I want to hide like on a sword blade, or a helmet. A UV flashlight and some UV resin works amazingly well on PETg, ASA, PC, and PLA.
Only if the part has a small cross section (aka how deep the light needs to penetrate to cure). If the part has a big cross section I’ll use CA or “Go2 Glue” in the middle, and resin on the edges.
Best part of it is how perfectly it wetsands and turns out flawless. Way better than 3D Gloop, Bondo, and even my other favorite plastic wood filler for the surface finish and how it bridges to the parts.
In the US, you can get small tubes of construction adhesive made by Gorilla and Loctite (I don’t have access to the Pattex brand). I have a project to test them on, so I’ll find out soon how well they work. Thanks for the tip.
Nice article! Is it recommended to use a hot plastic gun to solder PLA pieces?
I made similar tests in order to bond PLA+
And Acetone does work with PLA+ bond it at all.
Best results I got were with Cyanoacrylate and with solvent welding using Dichloromethane.
More info here: https://youtu.be/5LqmyYqS6-k
Are you looking for custom packaging for your CBD boxes? Well, look no further! Becouse Custom CBD Packaging Box is here for you. There are two major reasons as to why you should use a customized box for your CBD boxes; market size and CBD unique position in society.
Very useful guide, I bookmarked it. One small tip (!) for supergluing tiny printed parts is to buy a pack of super glue precision tips. You put a single-use tip on the glue tube’s nozzle and get a longer and much more narrow tip, for more exact application. One brand is ZAP but the much cheaper no-name versions on Amazon, Aliexpress etcetera work great too.
Thanks for a good, almost scientific report! Before it, I was reading about a need for a special glue for 3D prints, but failed to buy a recommended one as fast as I needed it. On a short notice, I bought Pattex Special Plastic in the next OBI (a kind of “Home Depot”) market. It seems to work very well with PLA and PETG. I had some test prints glues and was not able to brake them apart with hands. It was good enough for me.
I have had great results using PVC Cement to bond PETG to PETG. This glue is commonly used in plumbing applications to weld plastic pipes together, is available at home improvement stores (at least in the US), and is inexpensive. Look for Tetrahydrofuran as the active ingredient and use in a well ventilated area.
My experience:
CA glue: a glue that will glue PETG (and PLA) to nearly anything is Loctite 435, and a bottle will last for about 6 months.
Epoxy: seems to bond nearly any plastic, including PLA and PETG is JB Weld Plastic Bonder. Haven’t tried it with PETG to metal. I get it at Home Depot, but should be available anywhere.
Great guide about gluing… but can we please have one about the assembly part as well? Or does somebody has a link to one?
Questions I have are around:
– How to best cut the model? Thinking about holding all in place when gluing for instance…
– How to align the different pieces? I am currently quite often use little metal alignment pins. If the holes are dimensioned correctly I dont need and or hardly and glue, the different pieces hold in place just by the pins. Perhaps there are other ideas out there as well.
– What about getting rid up the seam gaps? I read a lot about Molto.. and people who said Molto stinks like crazy… and use tree fillers instead. Is there a color neutral way, so I dont need to paint the print afterwards? What about pens, they could be an option? Are there any good pens out there?