


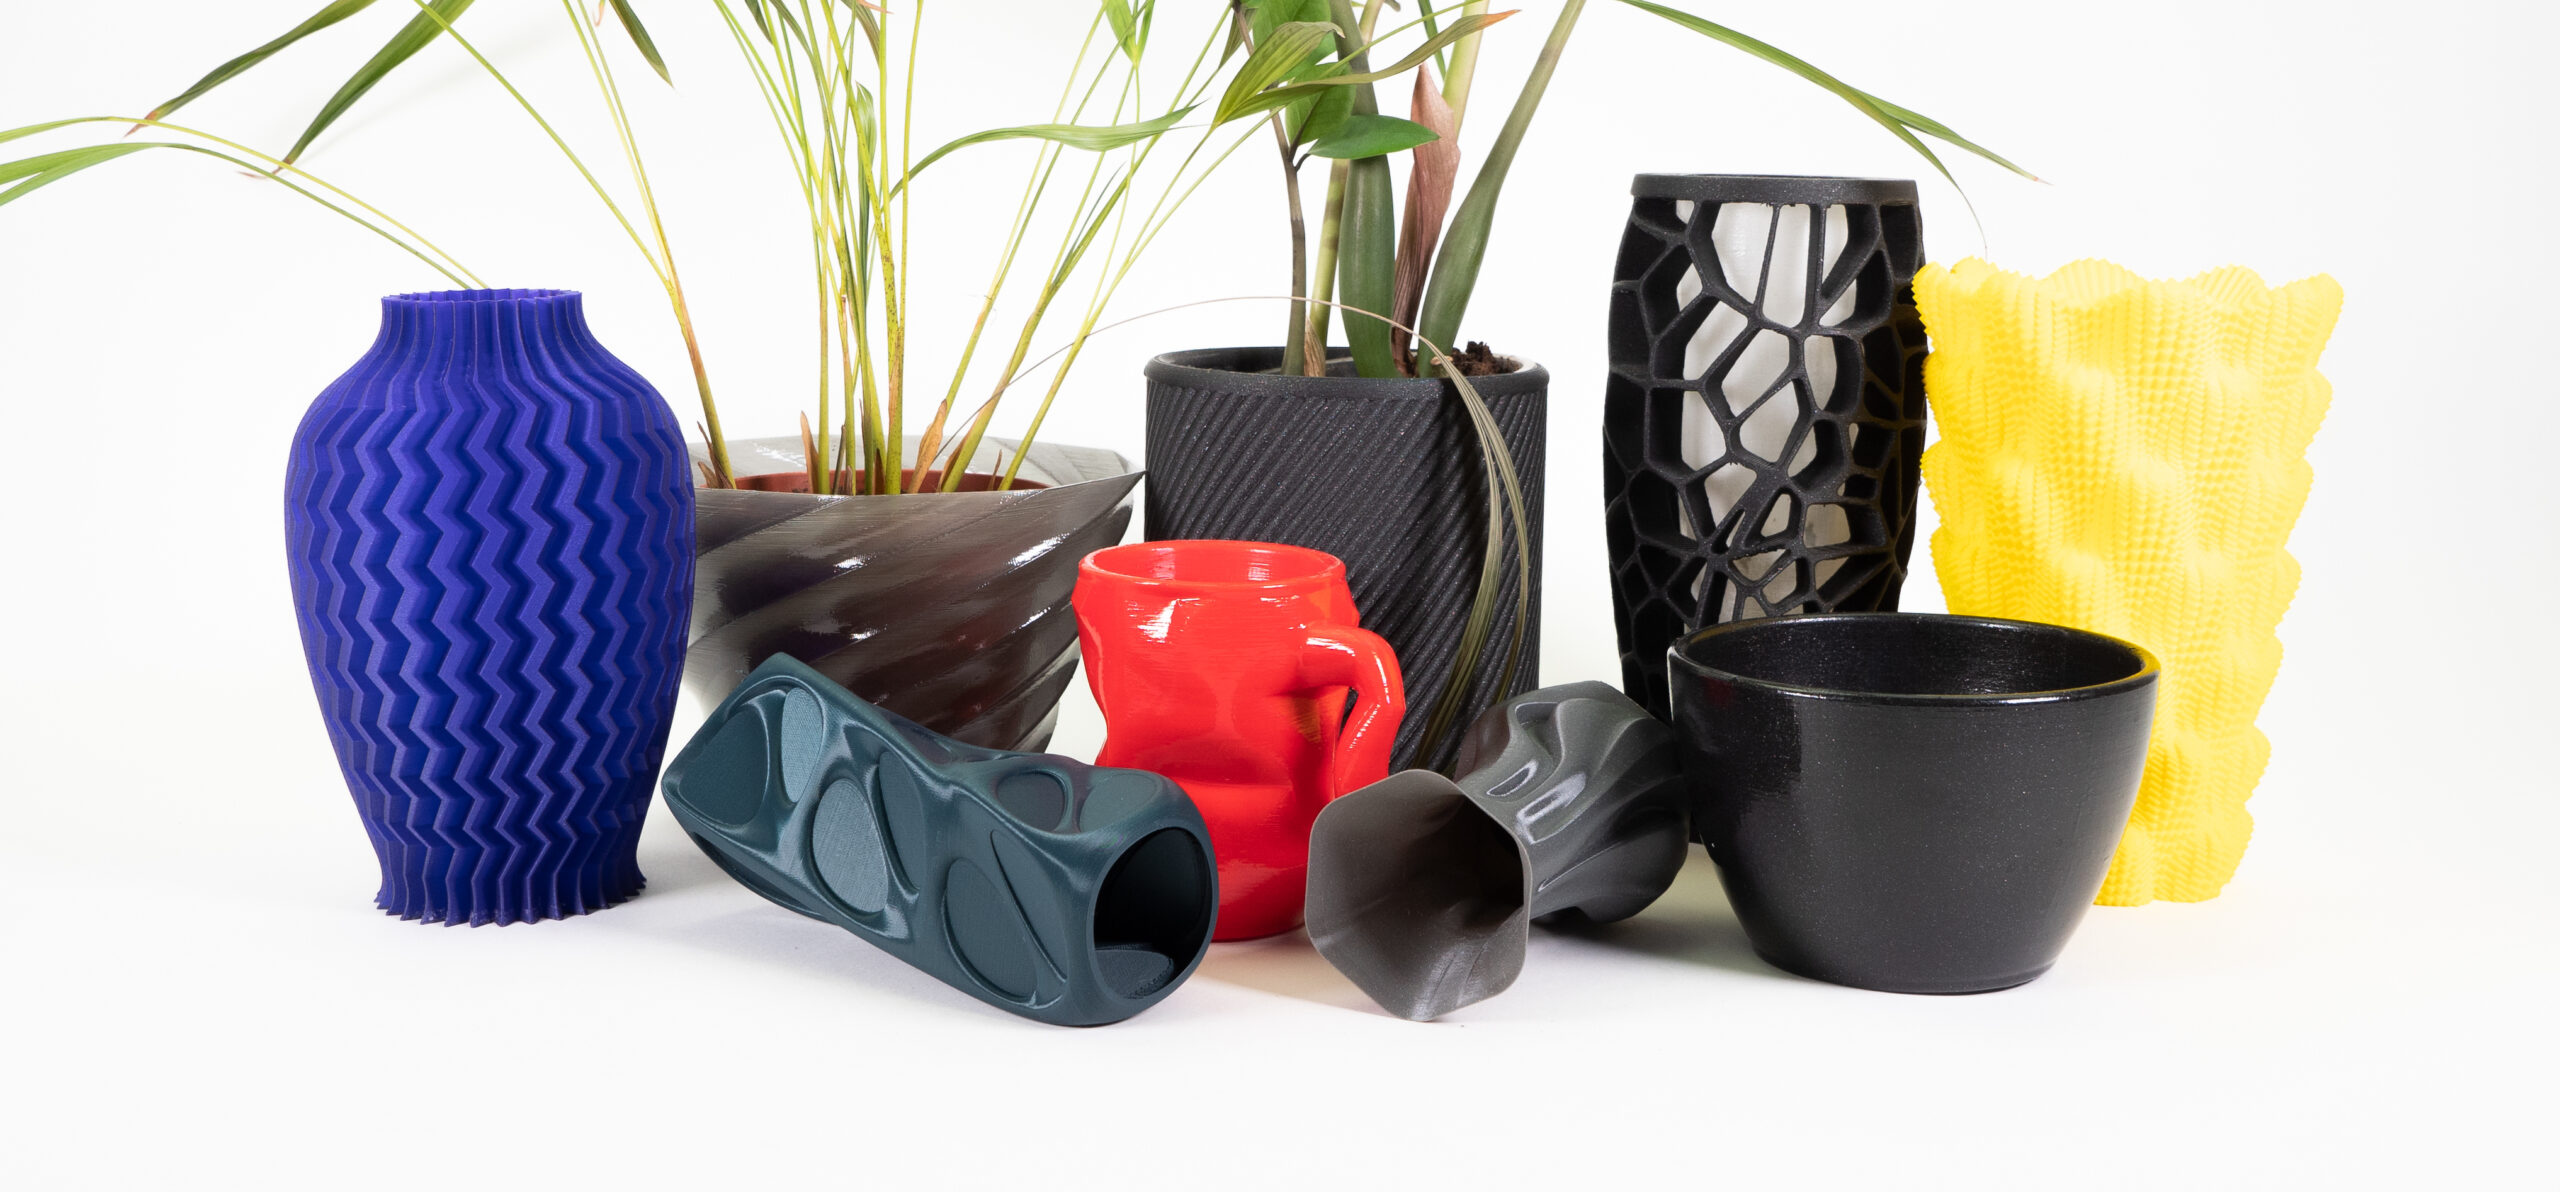
Have you ever tried printing vases, bowls, cups and other waterproof models? If so, what type of filament did you use, what settings did you print it with? Were you ever able to make your model watertight?
You probably know by now that 3D models won’t be waterproof without any extra work. If you tried to fill various vases printed with regular settings (0.15mm – Quality, 15% Gyroid infill) with water, you probably found out that thin-walled models tend to leak a lot, whereas those with thick walls usually hold the water much better. The nature of 3D printing means it may not have the same characteristics that we are used to from the injection or blow-molded plastics, therefore it’s necessary to make few adjustments to prevent fluids from leaking. In this article, we present useful tips and tricks that prevent water leaks and will make your prints more functional.
Easy Isn’t Always the Best
Your first thought might be that the easiest way to accomplish a water-tight print is with some form of post-processing. Simply print the object, then cure it with epoxy resin, or smooth it with acetone, etc. These processes might not be the most practical solution though. You need to spend extra time on post-processing, even gather some required tools, manipulation with acetone might be required, etc. For these reasons, it’s better to design your print and adjust your slicer settings in a way that the print is waterproof from the start, and there’s no need for post-processing.
The good news is that we’ve run numerous tests for you to find the best settings to make watertight prints. We printed several dozens of test models to find where the waterproof boundary lies, then we compared our results along with some of the suggestions commonly given on the internet and we are happy to present the results to you.
Material Choice
There are filaments that provide good mechanical, temperature, or chemical resistance, but are there any types of materials that excel in their water resistance? Well, yes but actually no.

First of all, there are some filaments like PVA and BVOH that are completely unfit for attempting to print a watertight part because they are soluble in water. If you were to pour water inside a print created in one of these filaments, in no time it would start to leak and turn into something resembling something from someone’s nose. But is there any difference between PLA and PETG?
Here’s our verdict: If you print models with thick walls (6 perimeters / 2-3 mm or more), it actually doesn’t matter what material you print with. However, with thin walls (2-4 perimeters / 0.9-1.8 mm) the difference becomes clear. Here, the best water barrier is provided by PP, followed by CPE, PC, ASA and ABS. TPEE was slightly worse but still had very similar results. Other tested filaments (HIPS, Nylon, PETG, PLA, PVB) leaked significantly more.
Several sources claim that PLA can partially dissolve in water and lose its ability to hold water. The reality is that PLA won’t dissolve but in certain conditions can swell and serve as a wick for water, meaning in theory, there can be a situation where you would fill the vase with water and it would leak after several weeks. In our testing though, we didn’t have this problem with any of our test objects (printed with Prusament PLA). This included flower pots printed in PLA, that over our long testing period, we noticed no leakage at all (see our gardening article).
Choosing the right model
One of the keys to success is to avoid overly complex models. Models with complex shapes usually have more holes in their walls that might cause leaking. It’s also good to choose models with thick walls (2-3 mm or even thicker). If you choose a model that will allow you to set, for example, only 2 perimeters, it will probably be unable to hold water and will require some form of post-processing.
Layer height
Various articles say that you should increase the layer height to reduce layer seams, one of the main sources of leakage. Similarly, some people say that printing transparent prints is better with high layers too – and we disproved this hypothesis. Now we have disproven this method for printing waterproof models too. Printing with slightly thicker layers makes sense only for printing with wider nozzles but when we talk about 0.4 nozzles, it’s best to print with 0.15 mm layer height. Contrary to other people’s statements, we found that the lowest layer heights (0.05 mm) had the best waterproof properties and the highest layer heights (0.3 mm) had the worst. To be clear, it seemed that the main source of leakage wasn’t from contact between layers but seams and the transitions between solid infill and perimeters. Printing with 0.15 mm layer height not only provides great print quality but also quite good waterproofness. The main goal is to make the wall as dense as possible and we showed that the best way to achieve this is by printing with low layer height, solid infill and high temperature – see our older article about printing transparent parts.
Bottom/top layers
We didn’t forget to test a number of top/bottom solid layers. Interestingly, we found that the number of solid layers isn’t as important as the number of perimeters. All our test objects with 2-7 bottom solid layers (and 8 perimeters) were waterproof. It’s important to know that the bottoms of these cylindrical test objects were printed with a flat surface facing down on the heatbed and that the first layer may have become the main water barrier due to it being squished into the bed. The main problem with bottom solid layers is infill overlap between the solid layers and the perimeters. You can tweak these settings (print settings / advanced / infill overlap) to improve the connectivity or increase flow (see below).
Perimeters
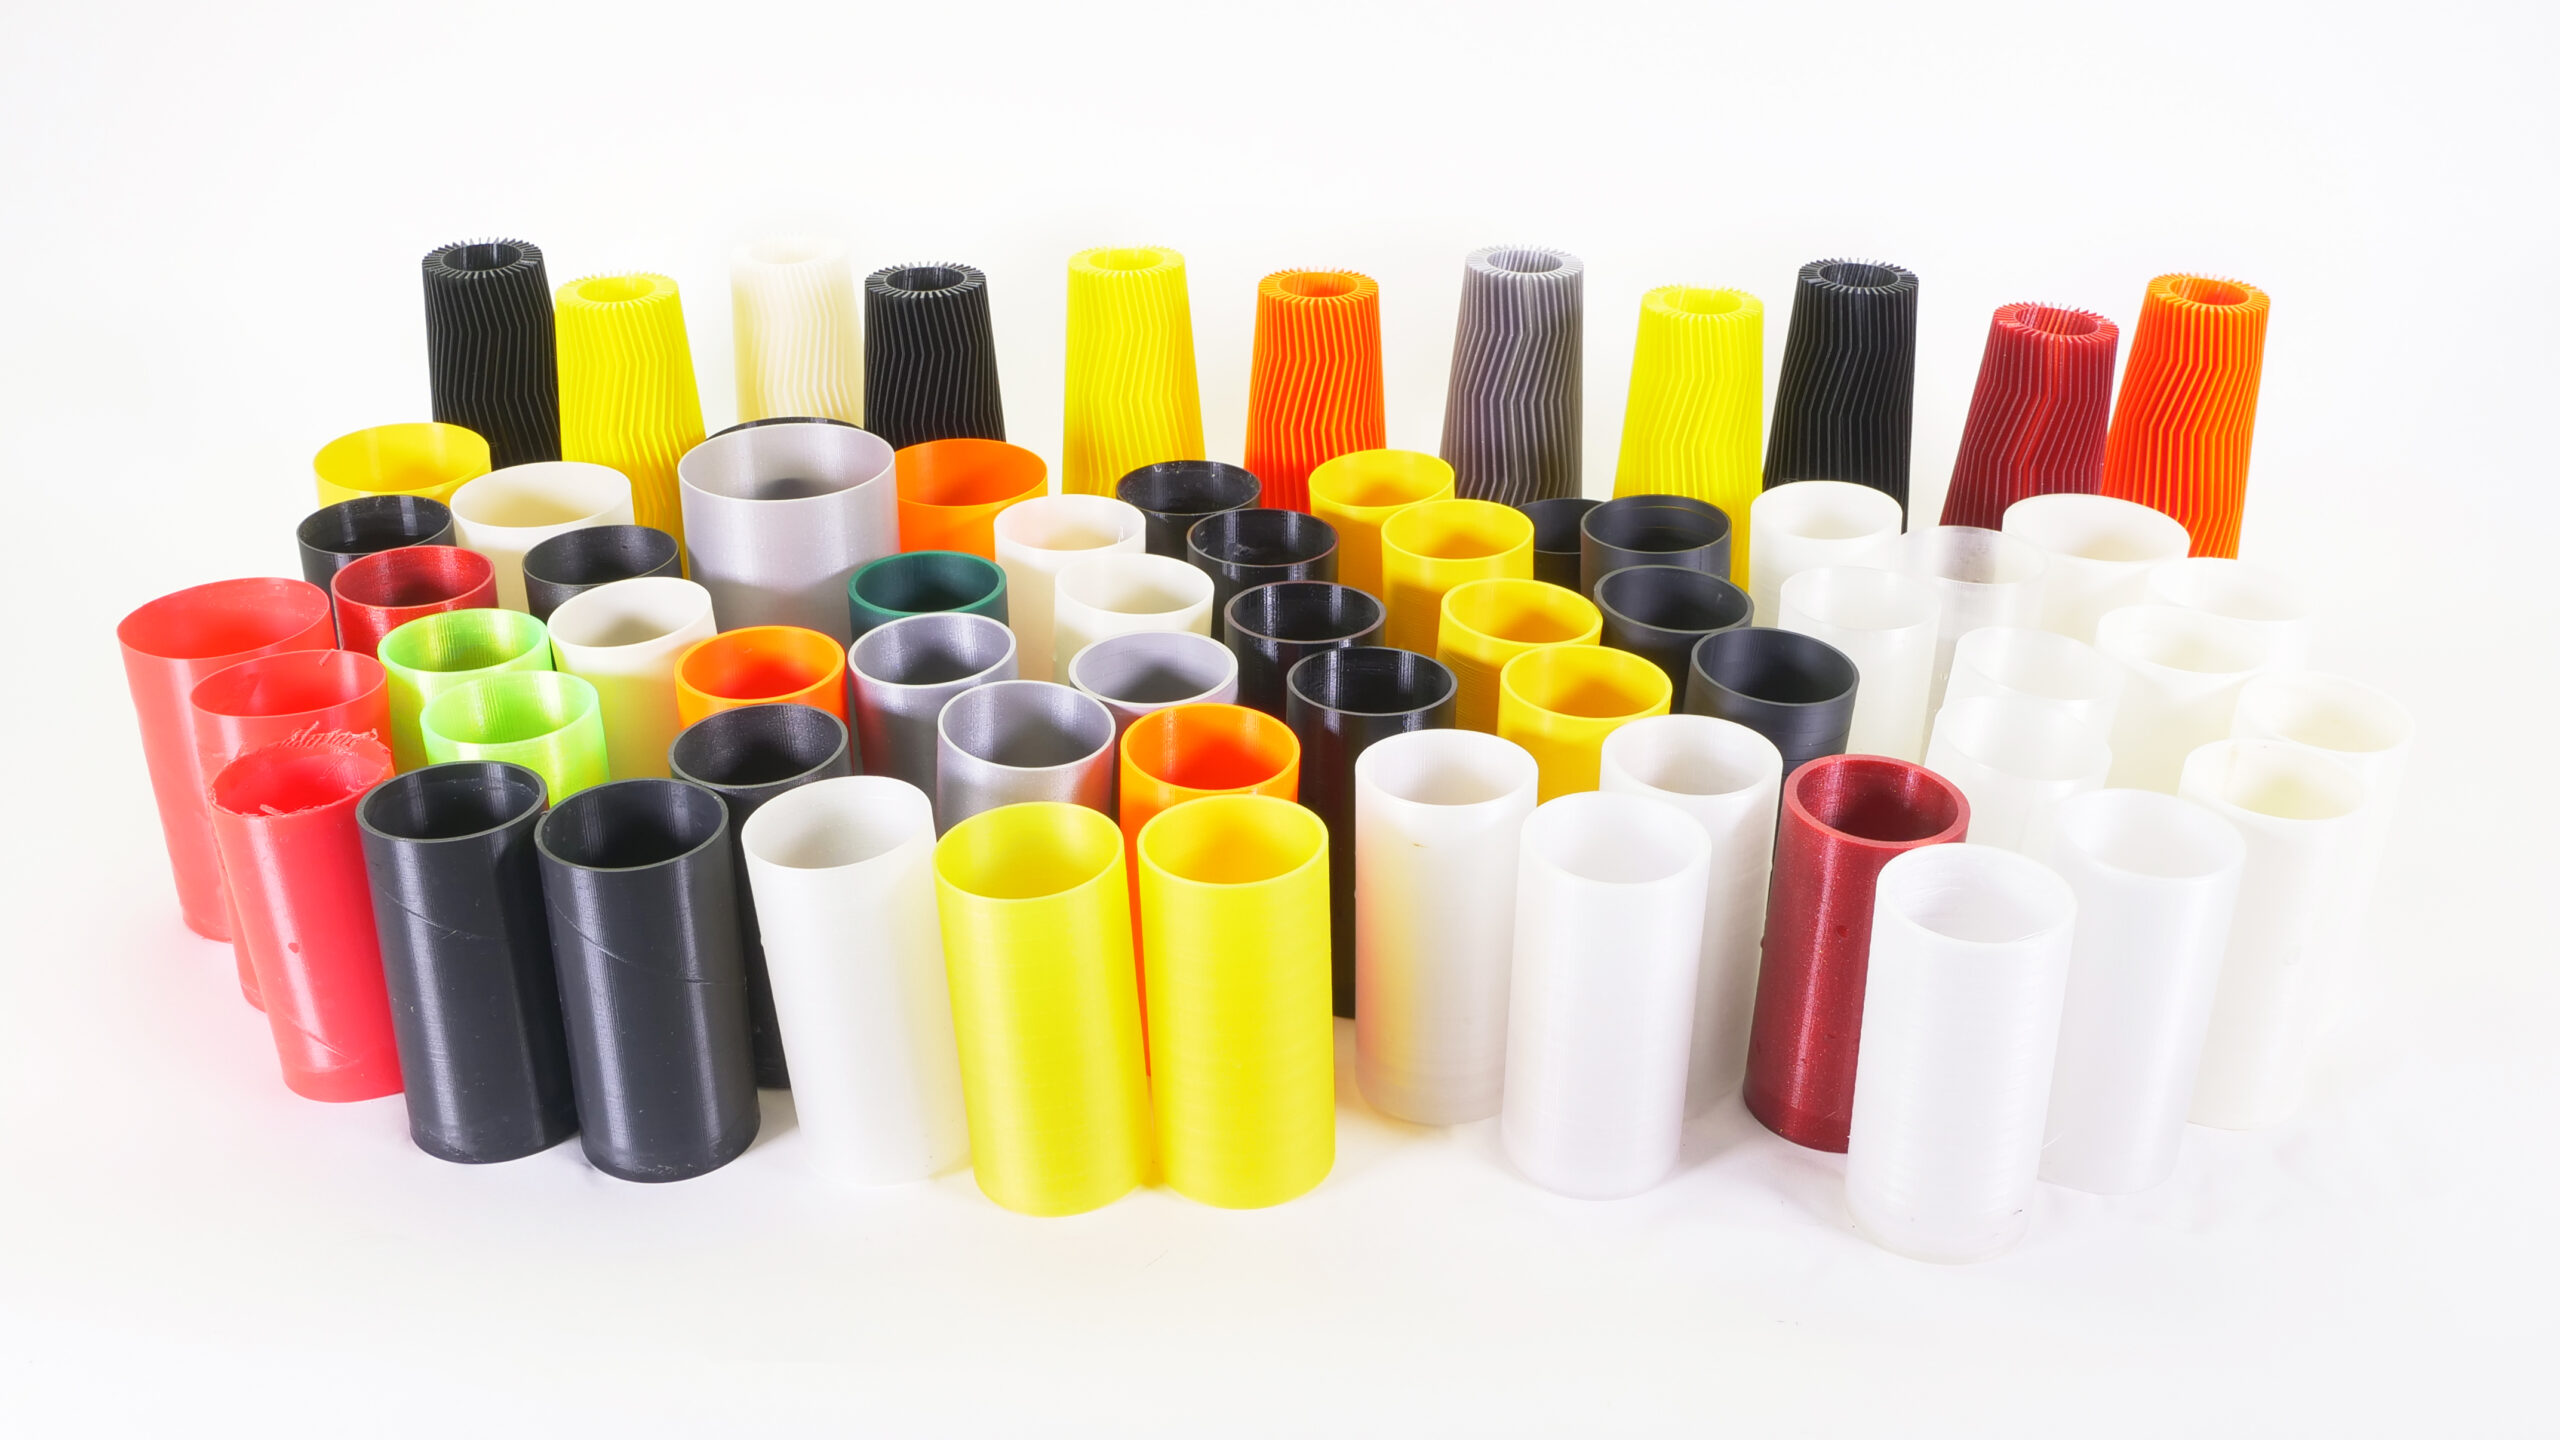
Our test results show that the number of perimeters is the most important (most common) element influencing how waterproof the final print is, simply said: The more perimeters you use, the higher chance you have to end up with a waterproof print. In our tests, most of the 3D printed parts worked fine with 4-6 perimeters (wall thicknesses of 2-3 mm). Of course, various materials have different perimeters required to become waterproof. Below you will find limits for chosen materials when you print a simple test cylinder:
| Material | Minimal number of perimeters |
| ABS | 2 |
| ASA | 2 |
| CPE | 2 |
| PC | 2 |
| PP | 2 |
| TPEE | 3 |
| PETG | 4 |
| PLA | 4 |
| PA | 4 |
| HIPS | 5 |
| PVB | 5 |
Printing with one perimeter in vase mode was sufficient to become waterproof for all tested materials. This helped back up our finding that the main source of leaks found in prints is the seam created when changing layers. More simple models can be printed in vase mode but complex shapes may not. That’s why we consider two perimeters as the lowest value.
Flow
By increasing the flow setting, you can make the model more waterproof too but it has one great downside, the print will lose its precise dimensions and it will probably have an unsightly surface. It might not bother you much if you are printing a design that doesn’t require much precision, often then you can increase the flow to 105-110% (Filament settings / Extrusion multiplier), but don’t forget that it will likely cause a lot of stringing and oozing (PETG for example).
Increasing the flow is probably the simplest way to gain waterproof qualities for your 3D print. If you want to print with vase mode, this is probably the only way to seal the walls (unless you want to go down the post-processing road).
A Couple More Tips
- Make sure that the nozzle is clean outside and inside. Dust (and other) particles present in the nozzle, or the nozzle clogging, might increase the number of holes inside your print.
- If you print models with thick walls, it’s unnecessary to print them with 100% infill, but in this case, it is important to increase the number of perimeters. A higher number of perimeters not only increases the waterproofness but also improves the mechanical properties of the model.
- Increase temperature by 5-10 °C (according to the filament type). The most ideal settings are to increase the temperature in combination with low layer heights, this will improve the layer-to-layer connection. The result should be a model as dense as possible.
Summing It All Up
- Choose simple shapes for printing
- It’s best to print thin-walled models with PP or CPE
- Do not increase the layer height (0.15 or lower is good)
- The number of bottom layers doesn’t matter. However, set it to 5 or higher, just to be sure.
- Print with 4 perimeters or more (when not printing in Vase mode).
- Increase the flow if you can’t use more perimeters.
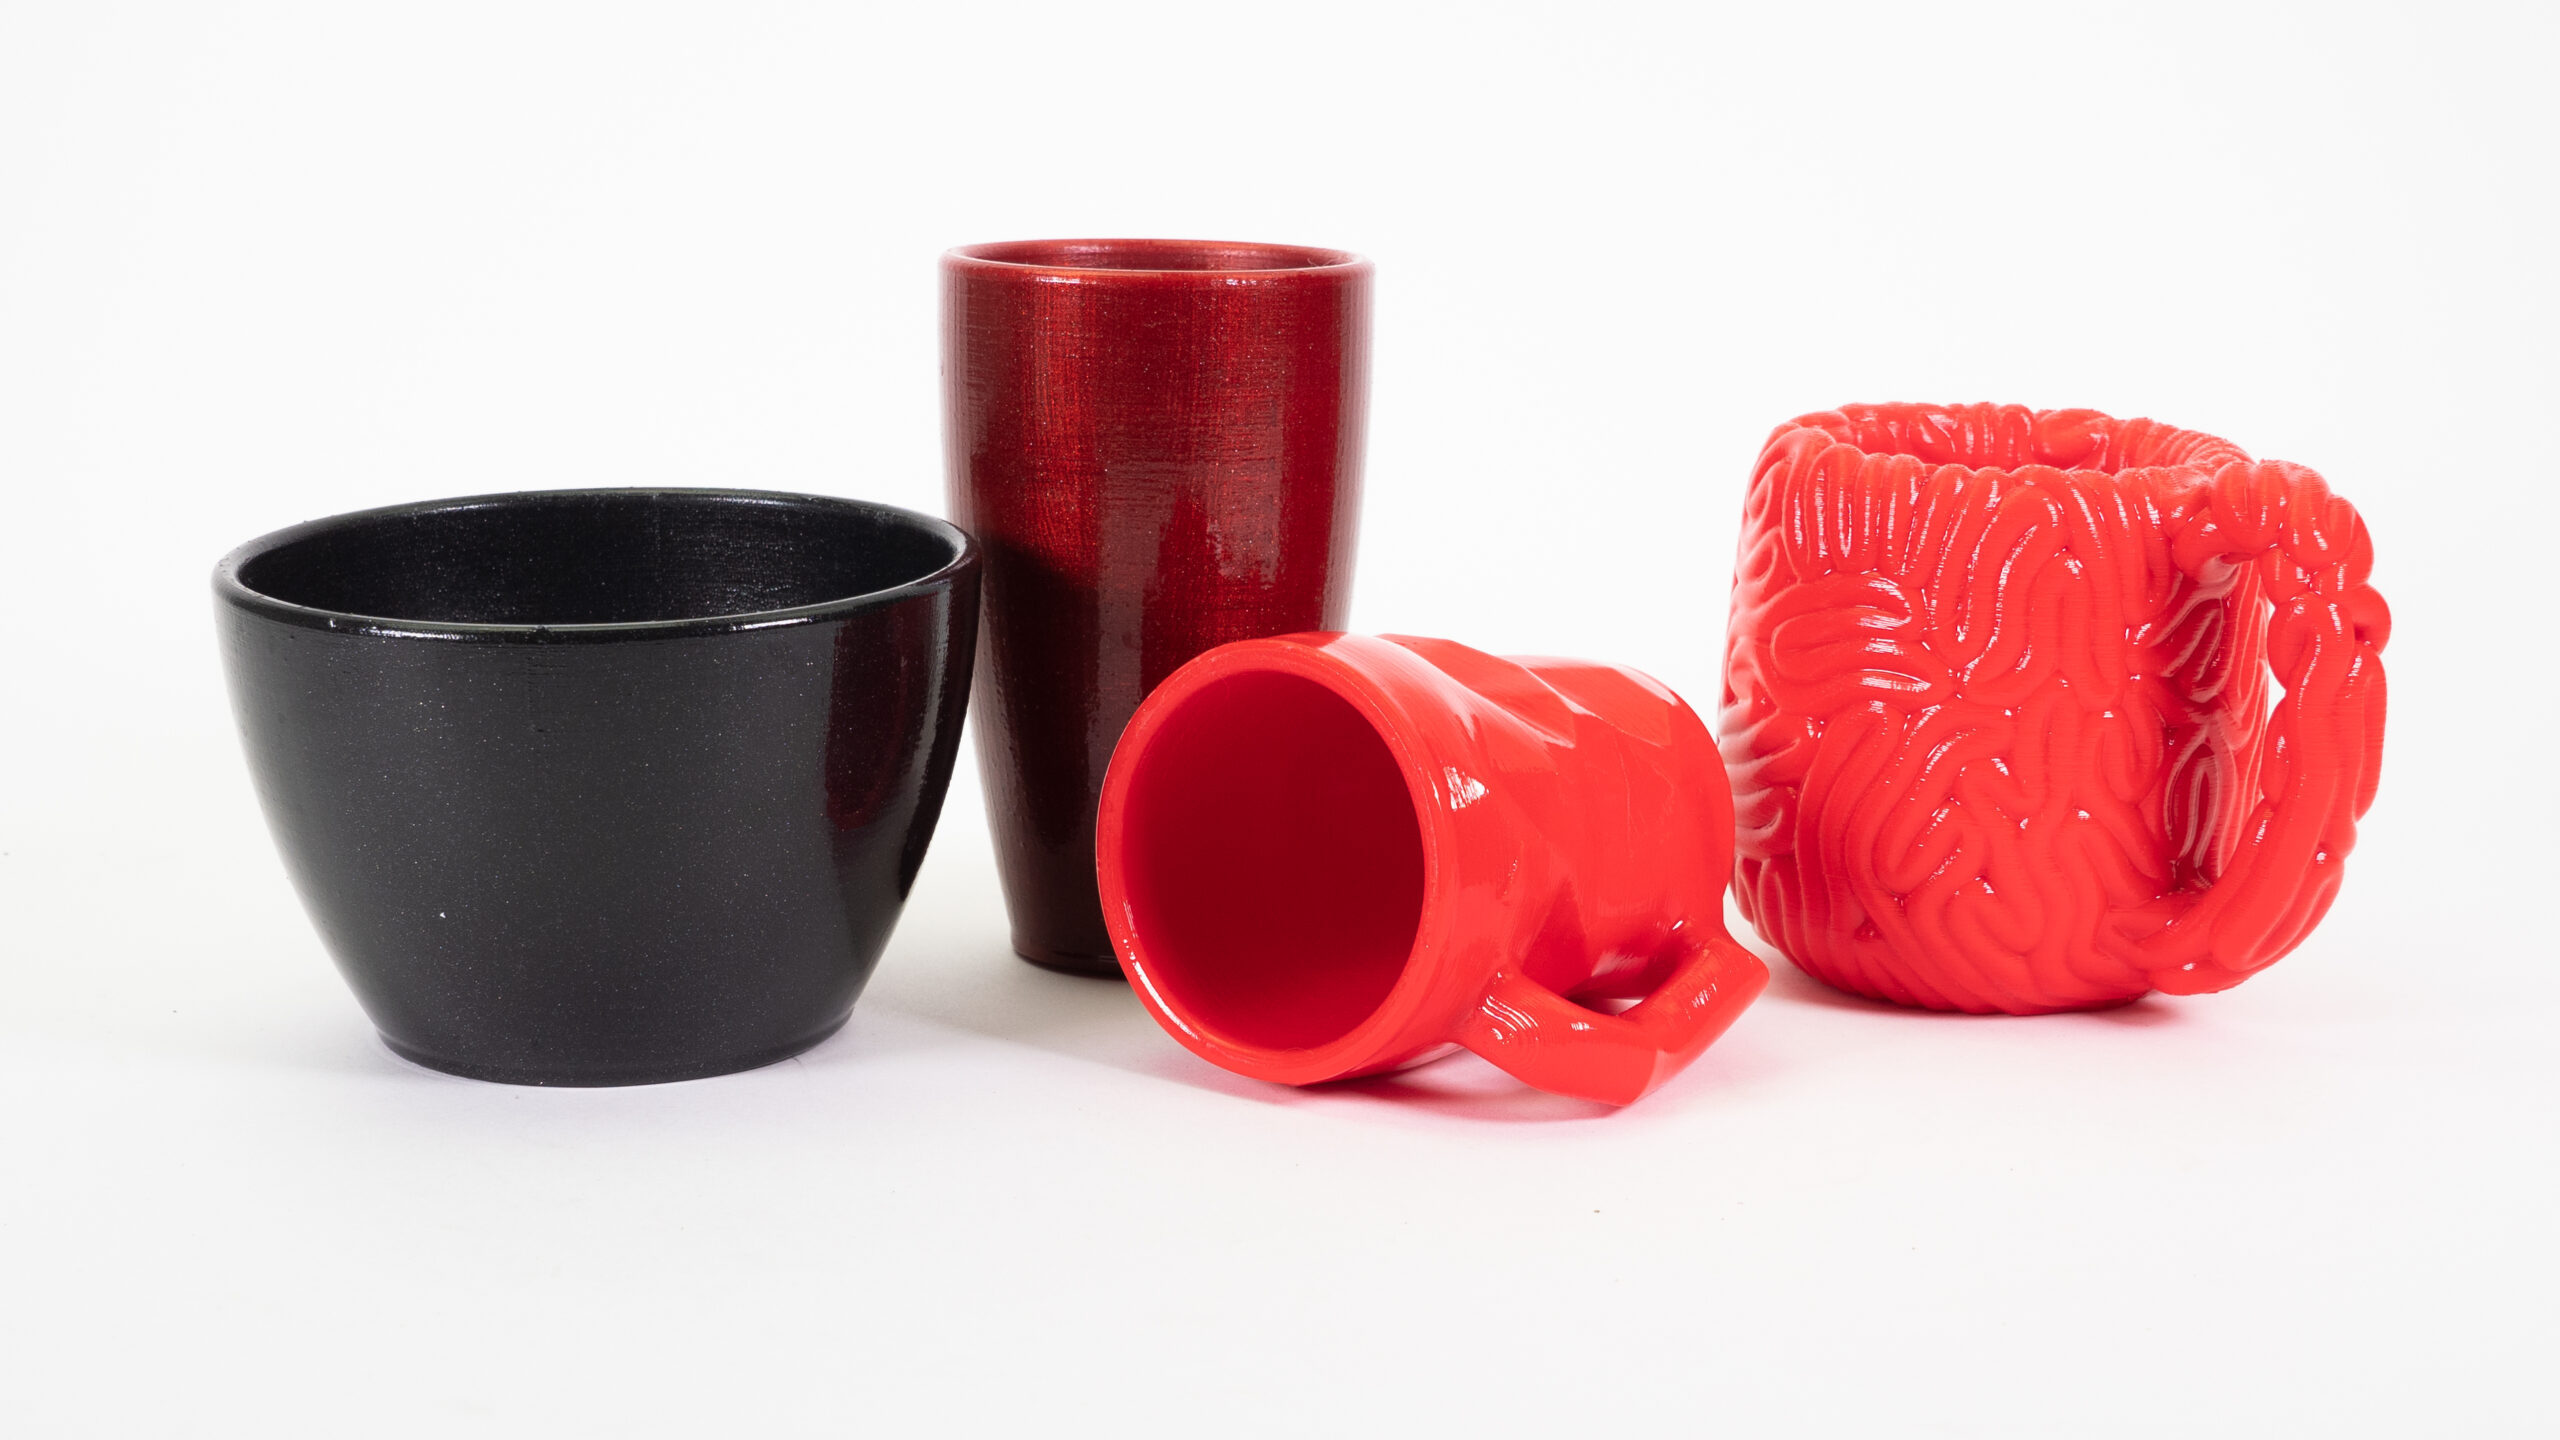
Postprocessing Solutions
As we have shown, with some basic settings changes and the right choice in filament, it’s usually possible to obtain waterproof prints without any postprocessing, but what if we need a little more? Here are some postprocessing possibilities for getting the most out of your prints.
Acrylic lacquer
The simplest, user-friendly method for making a waterproof vase, is using clear acrylic varnish. Simply spray the model outside and inside a few times and let it dry. Acrylic varnish (matte and glossy) can be bought in an average hobby market or hardware store. Keep in mind that we don’t recommend using acrylic varnish to make food-safe models. For these cases, we suggest using certified food-grade epoxy resin or choosing another method of surface post-processing.
Nail polish
This may sound a little strange but Nail polish may seal the surface too. Its main advantage is accessibility, simply buy it in a drugstore or ask anyone who uses it. The main disadvantage of this method is its impractical application, nail polish is usually in small bottles with tiny brushes. Plus it’s quite expensive compared to other methods.
Epoxy resin
Sealing the surface with food-grade epoxy resin will not only help you make the model waterproof but it’s also one of the few methods that can be used to make food-safe 3D printed dishes. Keep in mind that using epoxy resin is very messy work that comes with fumes that will likely require extra safety measures. It is highly recommended to use gloves and respiratory protection at a minimum. You should always follow the manufacturer’s recommendations, especially when trying to make food-safe models. Curing the epoxy resin may also take several days adding to your wait time to complete your project.
Chemical smoothing
By far the most elegant method of post-processing is chemical smoothing. It’s relatively clean work, although it usually comes with some odor. However, the result is a clean, smooth version of the material you used. Probably the biggest downside of this method is the low number of materials that can be easily smoothed. To be clear: every type of filament has its solvent but there are only four materials that can be smoothed with common and safe chemicals – ABS, ASA, HIPS and PVB. We’ll not discuss the methods of chemical smoothing here, it would take the whole article. Wait a minute, we’ve done that already! Check our older article and read our material guide to find out more.

Making vases, cups, and other waterproof models is not rocket science. With proper print settings, you can print a myriad of models and with a little bit of post-processing, nearly everything can become waterproof. You may object that we didn’t mention all of the possible variants. For example, vacuum impregnation or annealing is missing here, but hopefully, we will all agree that these are advanced and rarely used methods, even by the most experienced makers. In a future article, we’ll show you whether it’s possible or not to print truly watertight (airtight) models, for example, closable boxes that can be submerged in water for some time. In the meantime, we would love for you to share your watertight prints with us. Happy printing!
Thank you very much for this very interesting article. Indeed I am currently working on a projekt where waterproof prints are a plus.
Can you please clarifiy a bit more about your tests results regarding PETG being waterproof or not? Quoting from the blog article “Other tested filaments (HIPS, Nylon, PETG, PLA, PVB) leaked significantly more” and referring to Prusament PETG Information Website ( https://prusament.com/materials/prusament-petg/) who states “Because of the very good layer adhesion, the PETG prints are suitable for waterproof applications”.
I’m confused about “leaked significantly more” and “suitable for waterproof applications”. Or does it really all come down to perimeters and layer height?
Hello, PETG can be used for watertight printing thanks to its hydrophobic nature (after all, PET is used for water bottles) but there are lots of variables that might cause leakage. First, there are print settings that may cause a lot of mess (this applies basically for every filament) – retractions, linear advance etc. These settings might work well for printing nice objects but they also might cause holes inside the perimeter walls. We didn’t want to adjust any advanced settings to make it as easy as possible.
The next problem worth noting is mositure absorbtion. Pretty much every filament works better when it’s dry. If you keep PETG unpacked in damp environment, it will absorb moisture and make the print quality worse. It might not be even noticeable on regular prints but it can lead to appereance of tiny bubbles that might worsen the waterproofness.
Plus, there are other (sometimes filament specific) problems mentioned in the article (layer height, flow etc.).
Conclusion: We tested PETG that was open in the office for several weeks and we didn’t adjust any settings whatsoever. We wanted to show people where is the limit of regularly stored PETG. Dry filament might work significantly better but we haven’t tested it.
I’ve had success with airtight Ninjaflex prints for soft robotics using some of the same techniques you suggested here, I was able to only use 2 perimeters but my problem was mostly with overhangs which I solved with printing inserts out of PVA to put in during printing. I’ve also tried some post processing methods involving heating the part but never had success. Great article with some good info.
Hello there,
Greetings….!
Thanks for your article. I am currently doing fused filament metallic prints. The filament that I am using contains 90 percent metal and 10 percent PLA. After sintering, the volume will be reduced and finally, the metals only remain. My question is, I am planning to increase the overlap of each seam. How can I do that ?. In prusa slicer, I found an option `overlap`, but it is for the overlap between the infill and perimeter. I need to play with different percent of overlaps of seams in the infill. Please guide me on how to do that. Thank you
Hello, I’m afraid that PrusaSlicer cannot do that. The only editable overlap is the one between infill and perimeters…
In other Slicer like (S3D) it’s called „extra restart distance“ and „coasting distance“. Maybe there are similar settings in prusa?!
A new member. Is this the place I can ask my questions
How to log into blog
Thanks for sharing this post.
What about something eco-friendly to obtain waterproof prints in the post processing? Colud be possible to use beeswax?
I saw few articles using a beeswax for waterproofing a 3D print but it didn’t look very convincing. The surface finish wasn’t very nice to look at and seemed to be prone to peeling off.
I found that increasing the extrusion width to 200% helps with waterproofing (more surface area to bond. I can get waterproof prints with one perimeter if the geometry isn't too complicated, also I can't have anything where there's a big distance between perimeters in subsequent layers.
I also turn the fan off
This isn't much different than the tutorial for printing transparent objects; You want as much layer adhesion as possible, but in this case, your object doesn't have to be solid